
Over the past couple years, I’ve installed dash cams in every vehicle I own. I think its cheap insurance to be able to have photographic evidence in case of an accident.
 The dash cam I’ve come to like is one sold by Amazon.com, put out by “Black Box”. Its sold by several other names. It doesn’t come with a memory card, so I also order a high speed 32 gig card. This is enough for about 5 hours of recording.
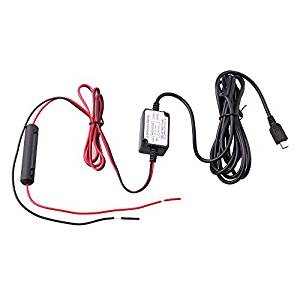
Camera 12 volt to 5 volt power supply
CAMERA POWER
The camera is powered by 5 volts from a mini USB connector on the camera. The camera comes with a cigarette lighter power adapter plug, but I don’t use it, I use a 12 volt to 5 volt mini USB power supply and wire it directly into a circuit that gets power anytime the ignition is on. The camera comes on and starts recording when I start the engine, then stops recording after the ignition is shut off.
The Southwind originally came with a rear view camera and monitor that got its power on the ACC circuit. These wires ran through the TV cabinet that hangs from the ceiling, so this is a ideal source of power for the new dash cam circuit. I wired the dash camera power supply into that circuit, and ran the USB mini connector through the front of the cabinet to plug into the dash camera.
The camera doesn’t come with a memory card so I purchased a 32 gig high speed card. This is enough storage space for about 5 hours of video. I set the camera to write 5 minute files. I think the default is 3 minute. Every five minutes, it closes the current file and starts a new file. If the card is full, it deletes the oldest files, unless they’ve been marked as READ ONLY.. ALSO – I turn off the “G” sensor. I think people were having problems with their memory card filling up with false “G” files.
VIDEO FILES AND RECORDING
The camera records anytime its powered up. When it losses power, it writes the video file immediately. Max file time is 5 minutes. When 5 minutes has elapsed, the camera closes that file and starts writing a new file. There is a slight overlap in files to make sure nothing is missed, i.e. the last few seconds on a file that was just written will also appear on the file that’s currently being recorded..
You can save a current recording as “READ ONLY” by pressing the center button (the largest button) “READ ONLY” files will NOT be overwritten.
If you leave the “G”: sensor turned on, whenever the camera sense a impact, it immediately saves a file as a “READ ONLY” file. The sensitivity of the “G” sensor can be adjusted, I turned mine off. This can cause your memory card to fill up with false alarms.
I do NOT rely on the “G” sensor. If I observe something that I want to save, I will note the time, then withing a couple hours, I’ll review the memory card and find the files and download them.
MOUNTING THE CAMERA
Normally, the dash cam mounts directly on the windshield. The camera lens is then adjusted (tilted) to an angle where the road (the horizon) is centered about 1/2 way up the camera image. This gives a good view of things like traffic lights and the road..
HOWEVER – The Southwind’s windshield is almost vertical, it doesn’t slope like a cars windshield. If the camera is mounted on the windshield, lens doesn’t have enough “angle adjustment” and will point down, the horizon will be at the top of the camera image, the camera won’t see things like traffic lights.
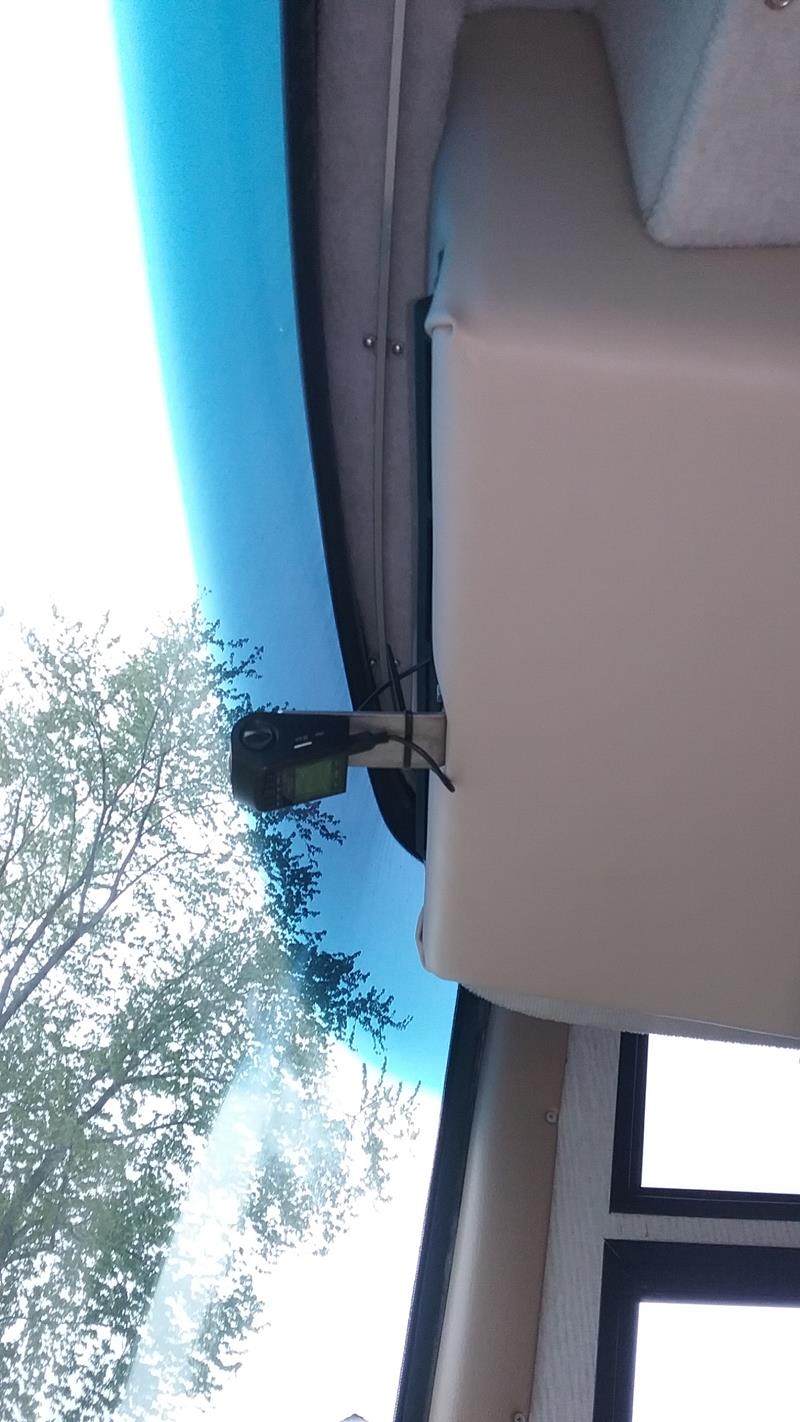
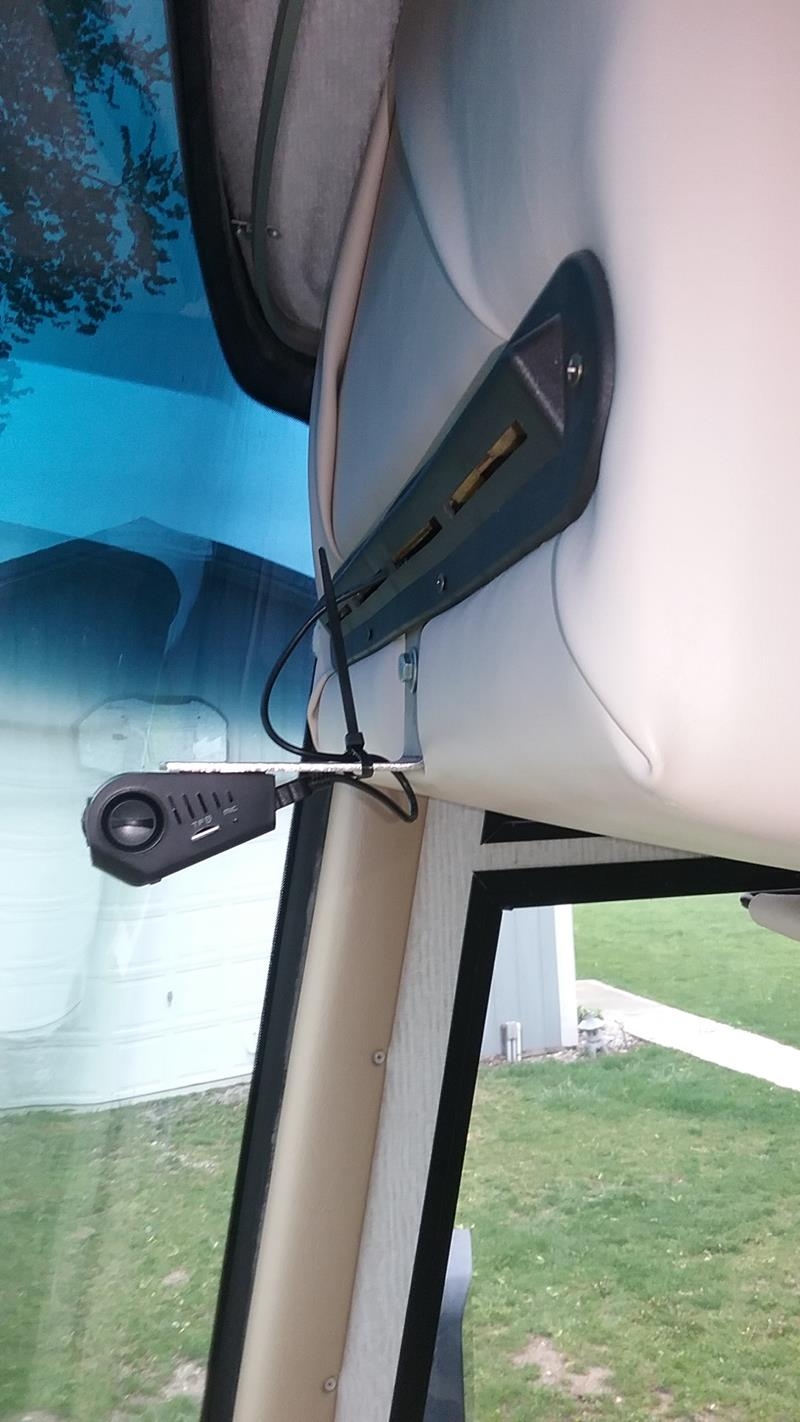
To correct for this, rather than mount the camera directly on the windshield, I made a small 90 degree bracket. I mounted this bracket on the forward side of the TV cabinet so the bottom of the bracket was about even with the bottom of the cabinet.. I drilled one hole in the bracket, then from inside the TV cabinet, I drilled the mounting hole about an inch up from the bottom, centered in the front of the cabinet One bolt holds the 90 degree bracket to the front of the cabinet. The bottom of the bracket is about even with the bottom of the TV cabinet.
The camera comes with a small plastic slide plate that gets mounted to the windshield with double sticky tape. The camera then slides onto this plate. The camera can then be removed and reinstalled from the windshield by sliding it off the plate..
Slide the plastic windshield plate onto the camera. Remove one side of the double stick and stick it to the plate. Power up the camera and position it on the underside of the bracket. The camera should point so the center of the road is centered in the image, AND the front of the camera is NOT against the windshield.
IMPORTANT – The camera cannot be mounted close to the windshield. This would prevent the night curtains from being closed. I left a gap a 3inch gap between the camera and the windshield, this is plenty of room to open and close the night curtains.
Once you’re satisfied with the position, remove the adhesive backing and stick the camera to the bottom of the bracket
NOTE – This a is video captured on a trip trough Virginia. The video has been compressed to a smaller file for showing on the web page.
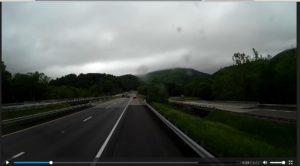
Wow. Just viewed this video. I hope all turned out well.
2nd, I want to thank you for the sharing your knowledge and the effort required to make available to others. My wife and I are in similar circumstances and recently purchased a 2000 Fleetwood Pace Arrow. Your site is quickly become a “go to” resource.
My son purchased the materials to build your digital thermostat!
Hope to have an opportunity thank you more.
Do you have photos of the specific spot where you wired the dashcam power supply for acc power?
Sorry. I seem to remember there is a 12 volt source up where the TV is. Its wired to their safety relay circuit outlet for the TV that prevents you from turning on the TV when the motorhome is running.
I was able to confirm that the fuse box under the dash, directly above the leveler fuse box, fuse #5 is the auto/run/acc fuse. I used a tap fuse here and hard wired the cam. It only took two months to find the diagram online. WOOOO!