
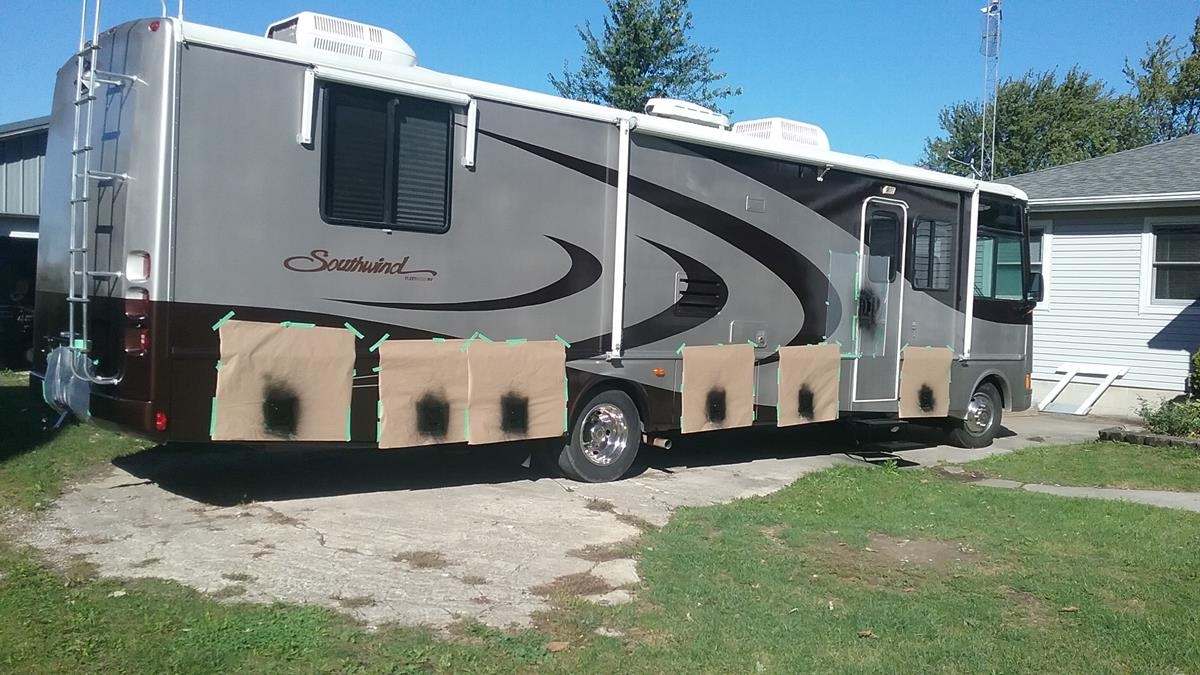
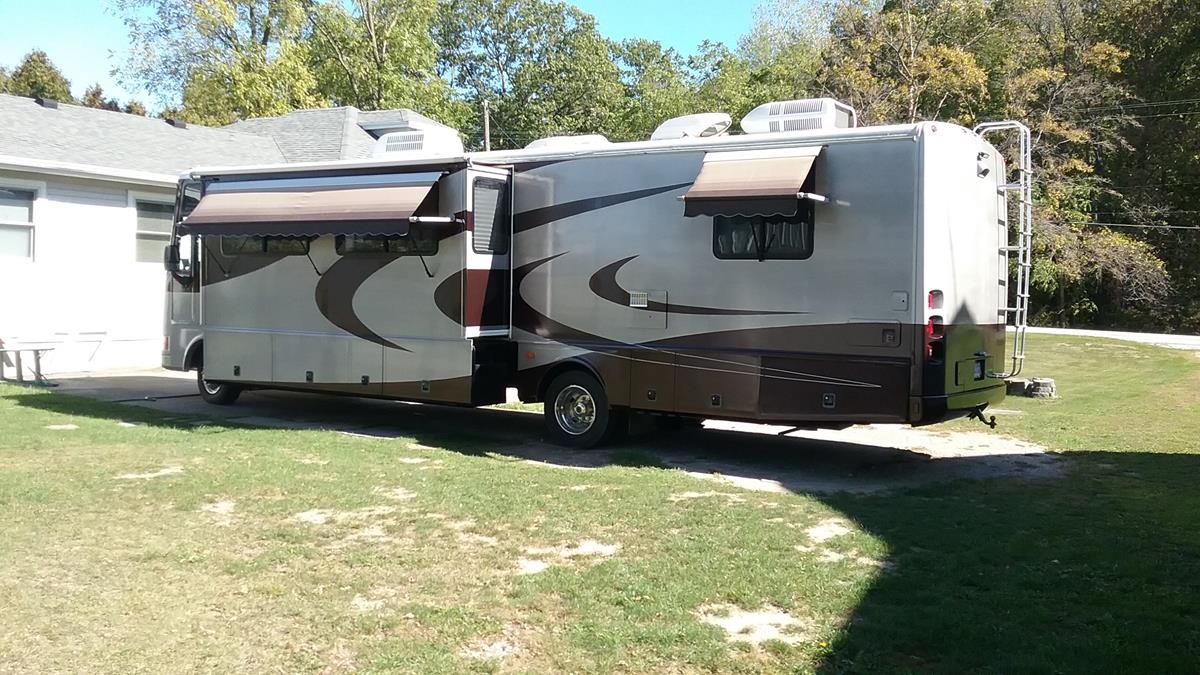
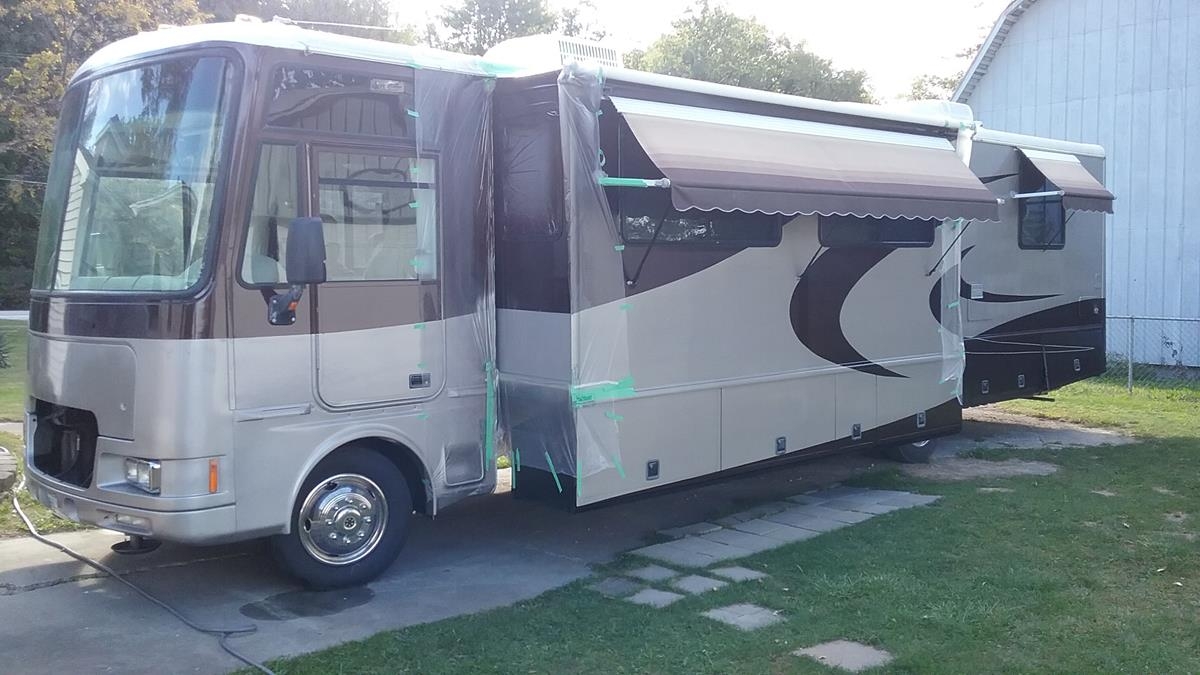
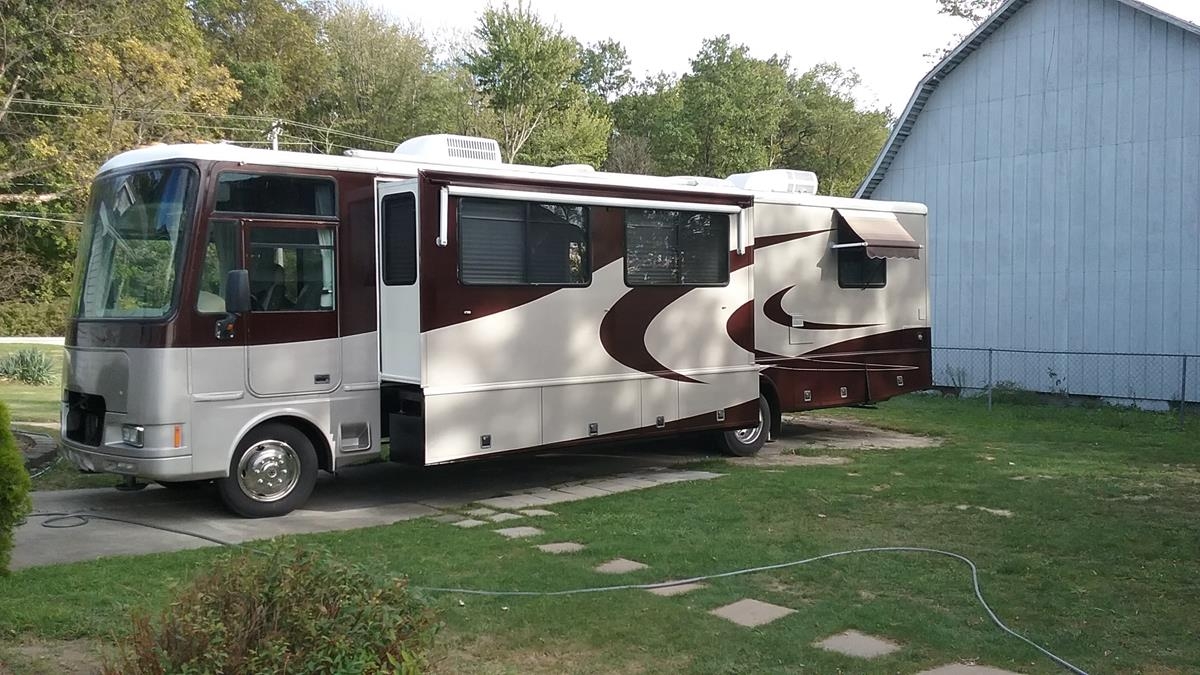
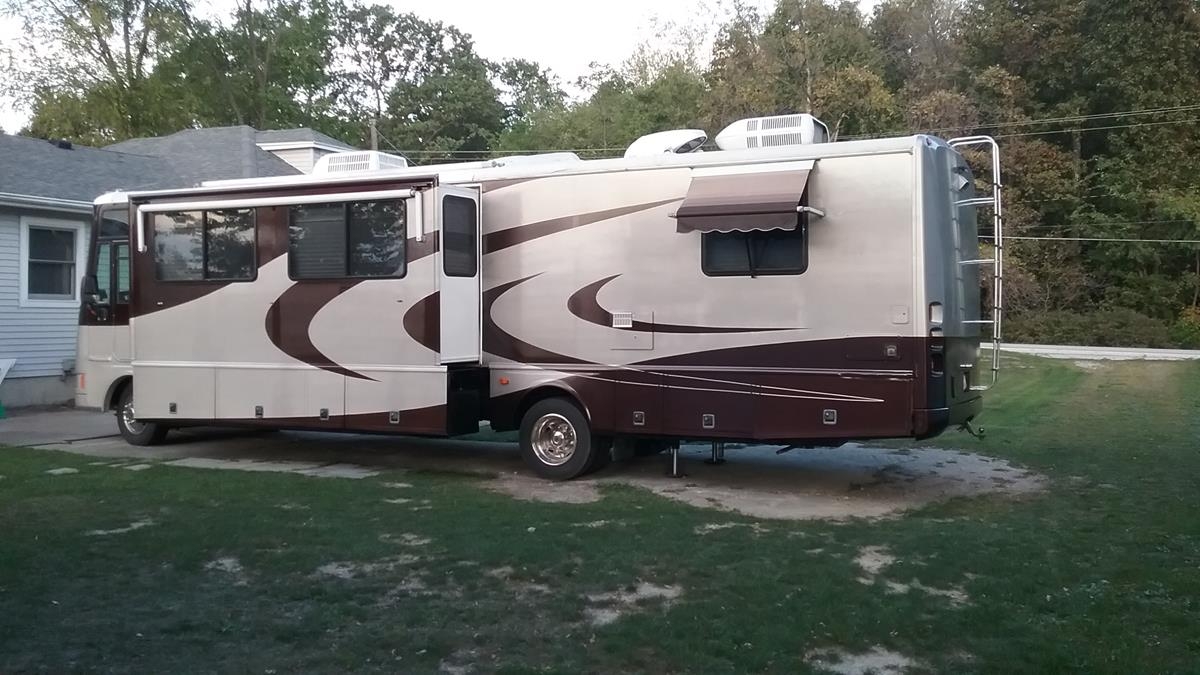
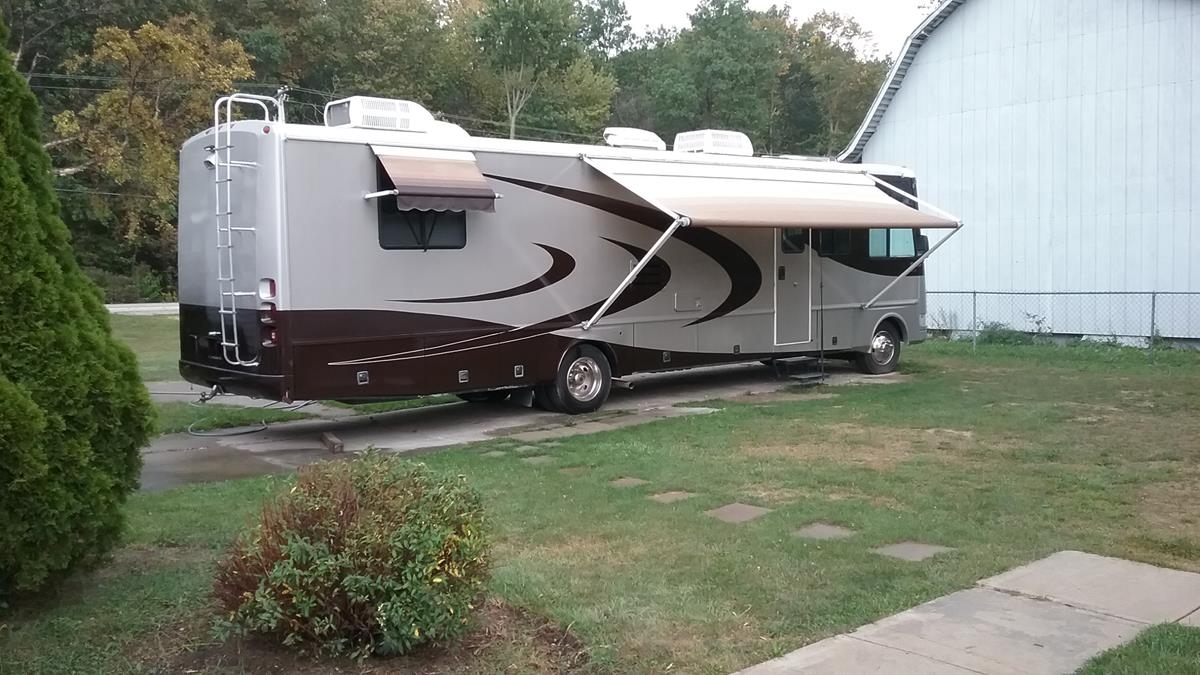
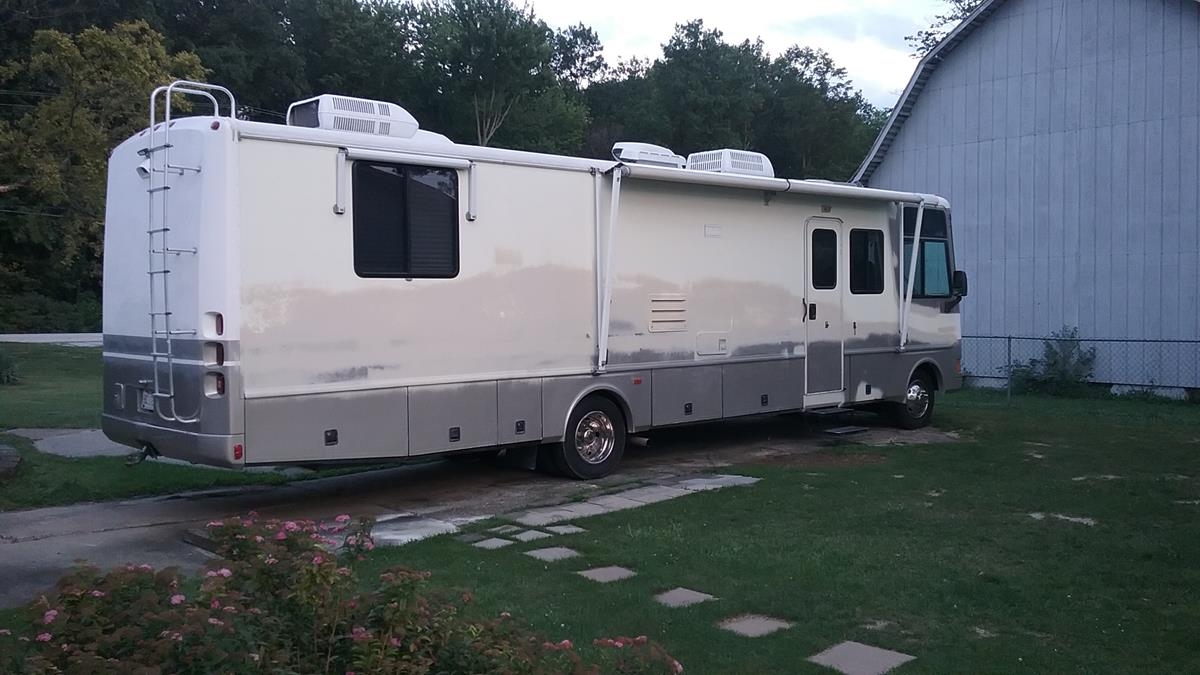
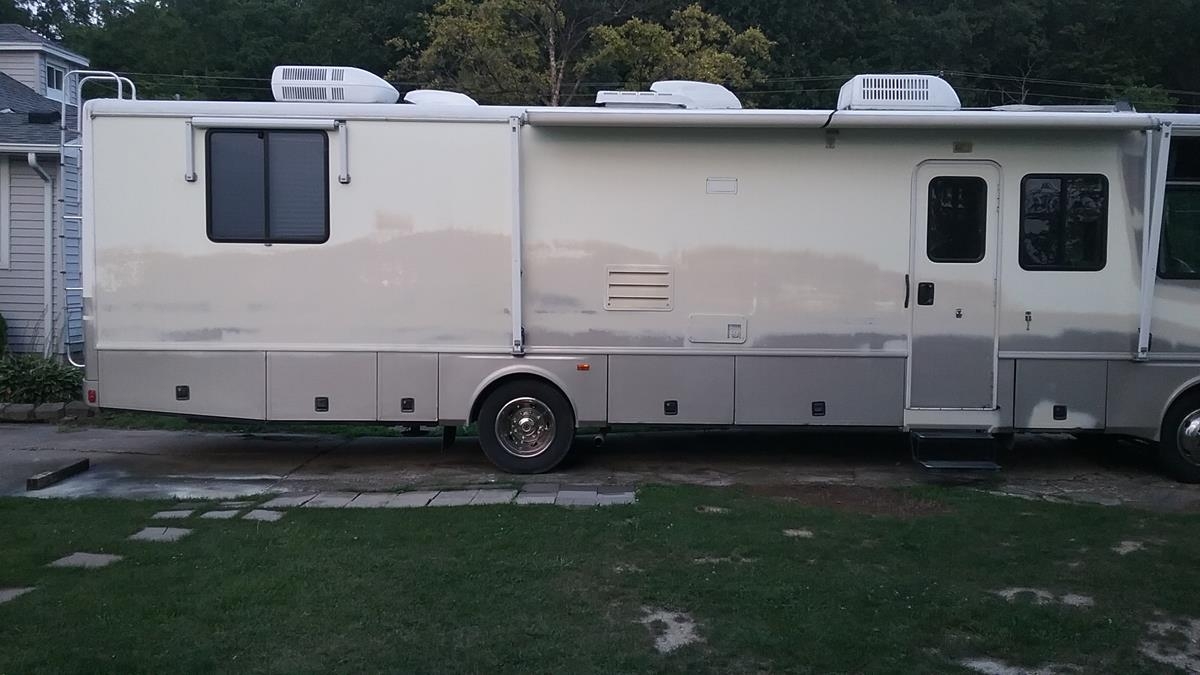
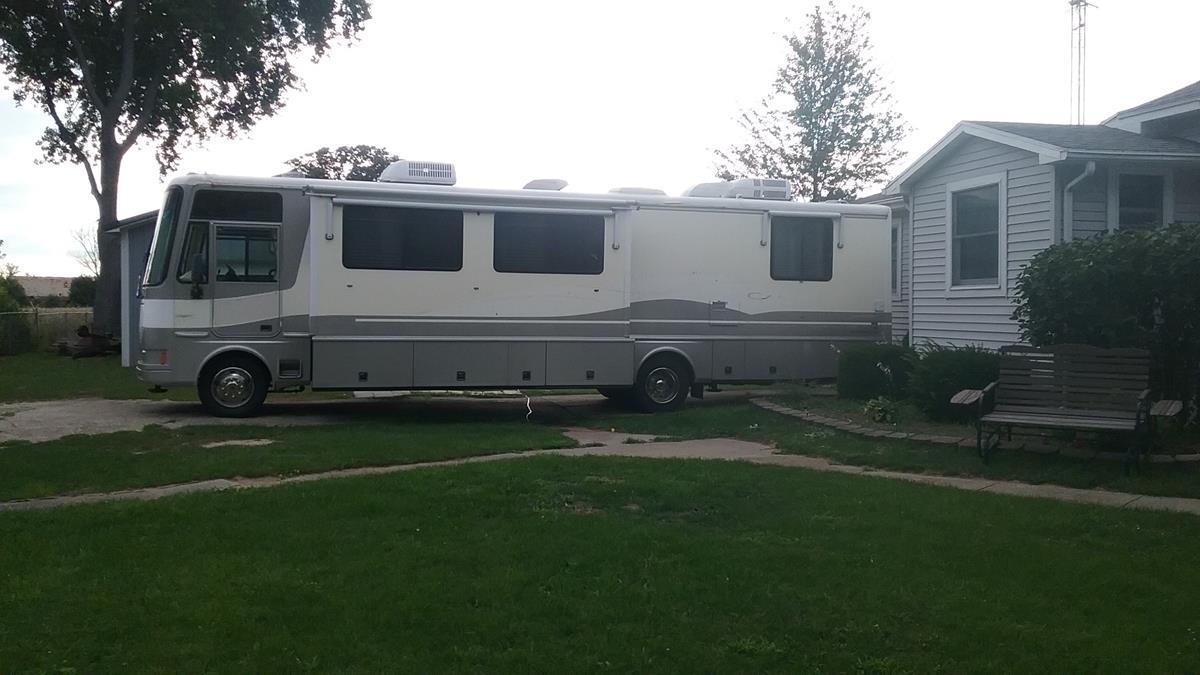
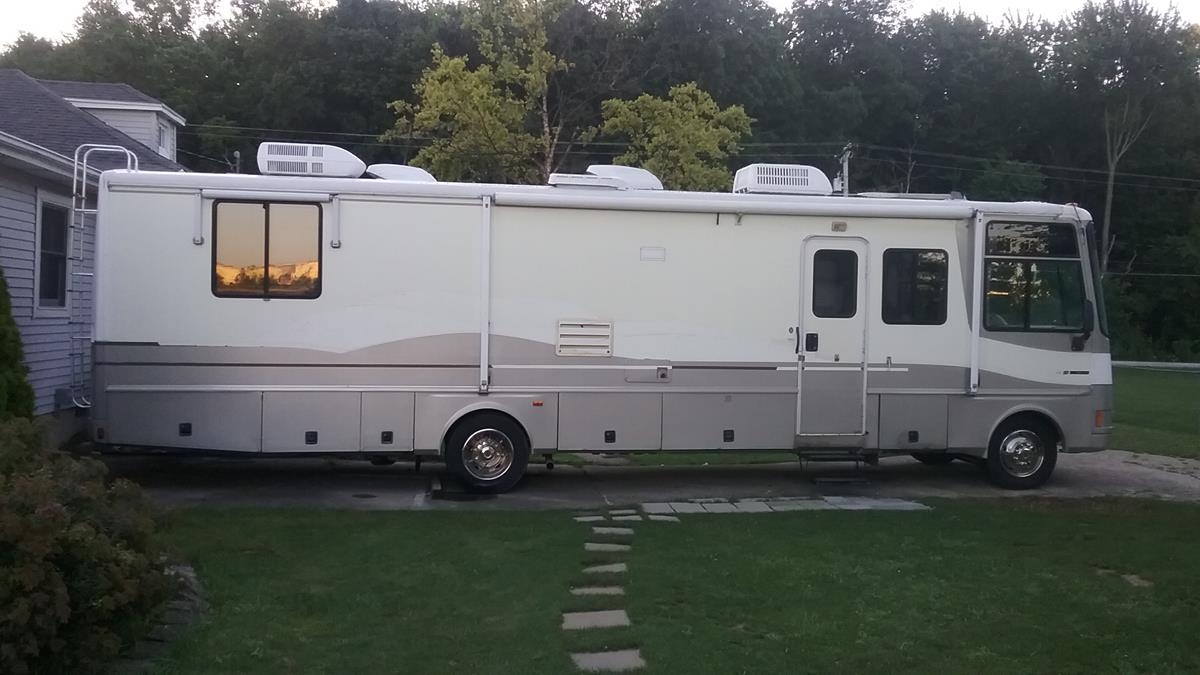
FINISHED. It took 3 months and about $1500, but we now have a very nice and modern paint job.
CLICK HERE for a HOW-TO on painting a RV.
Below is a day by day write-up with photos of our progress.
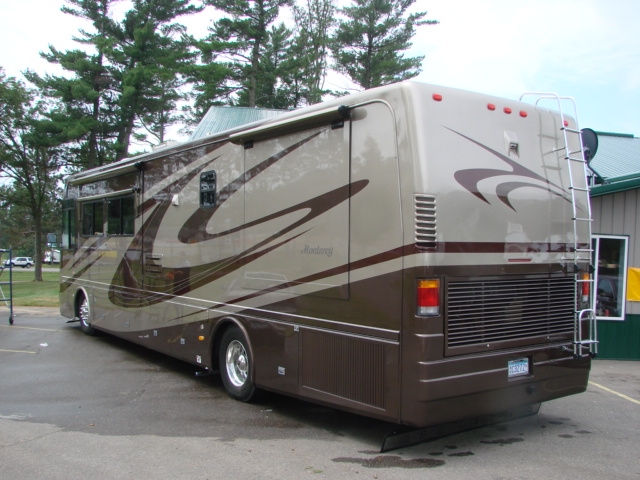
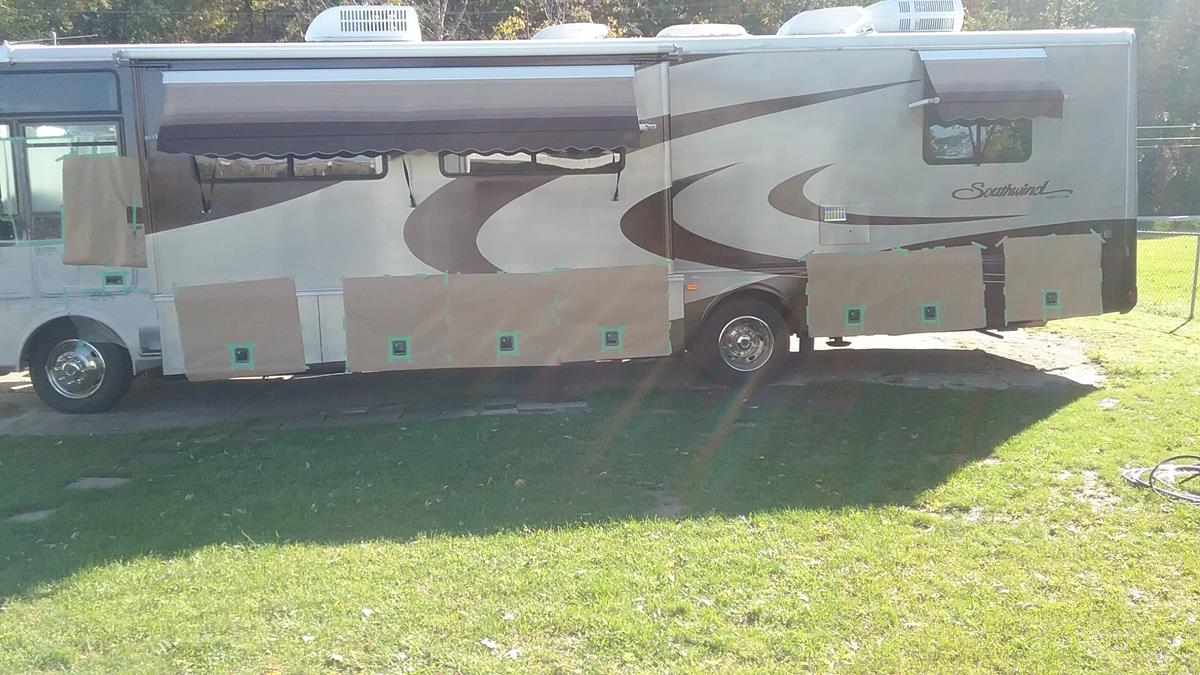
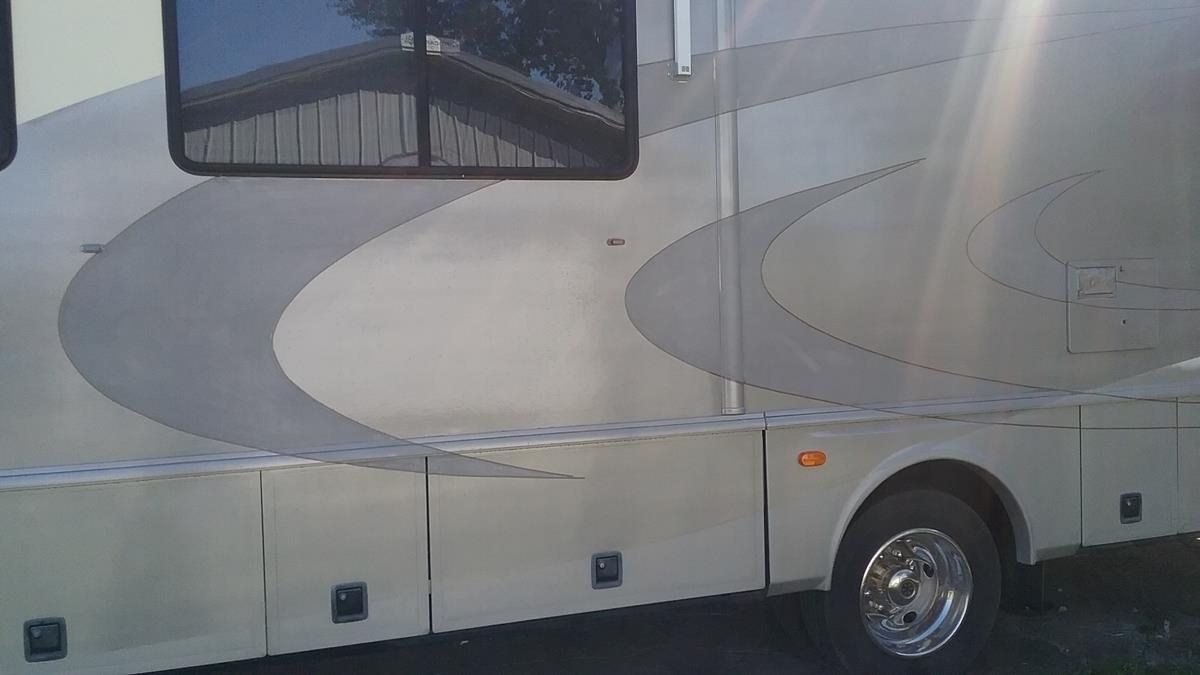
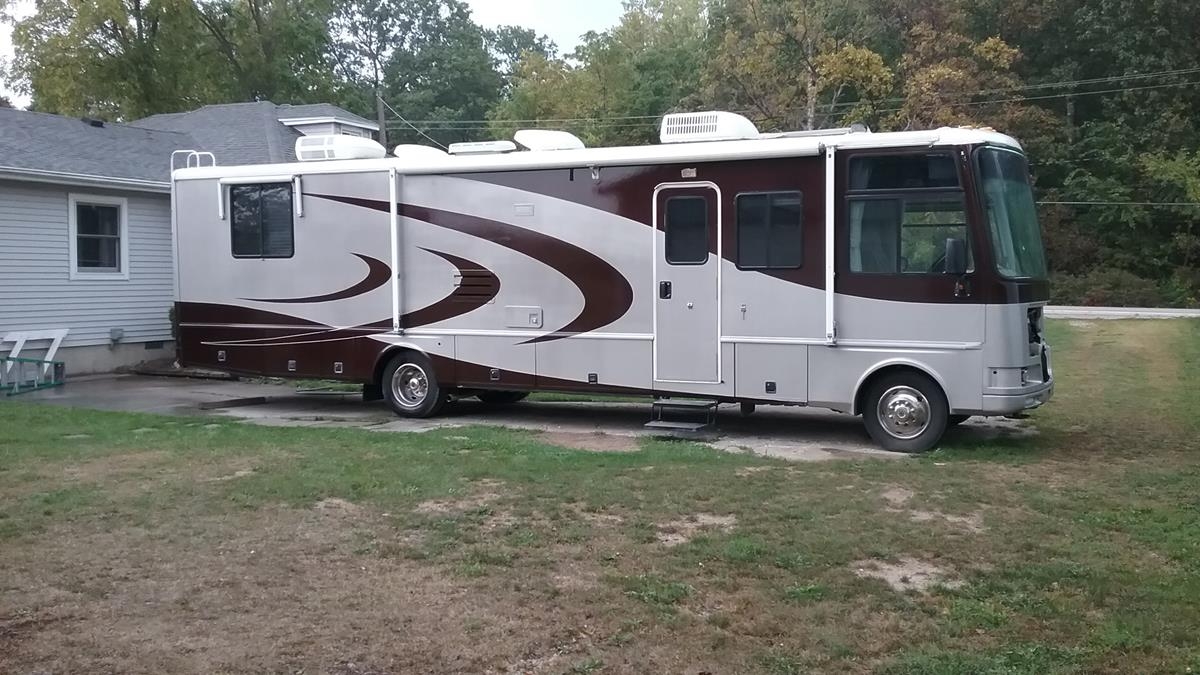
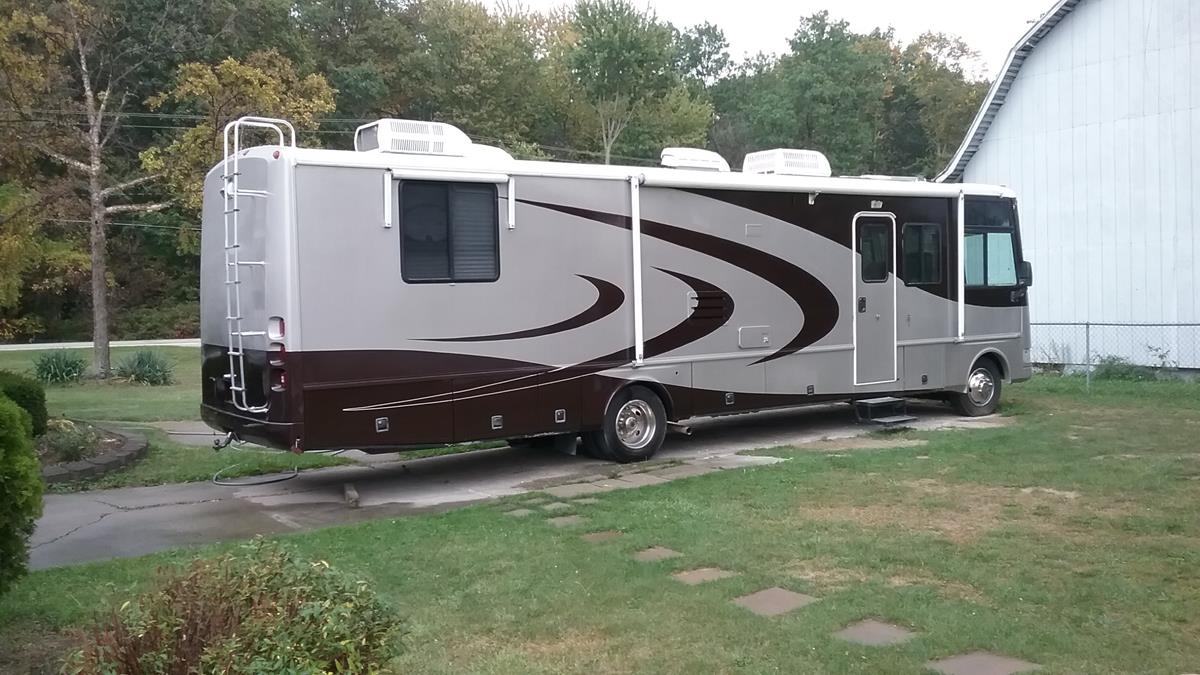
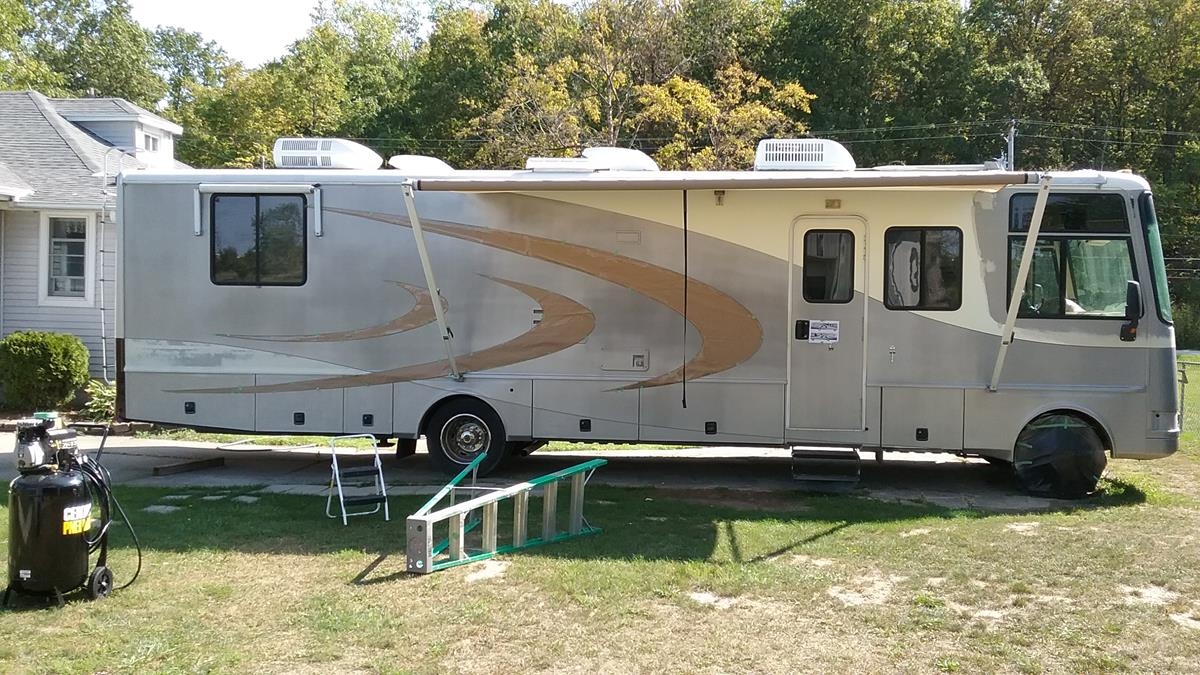
These are the four different schemes we looked at. We looked at these because they would be easy to do and they all looked good. We ultimately decided on the two color goldish / brownish scheme.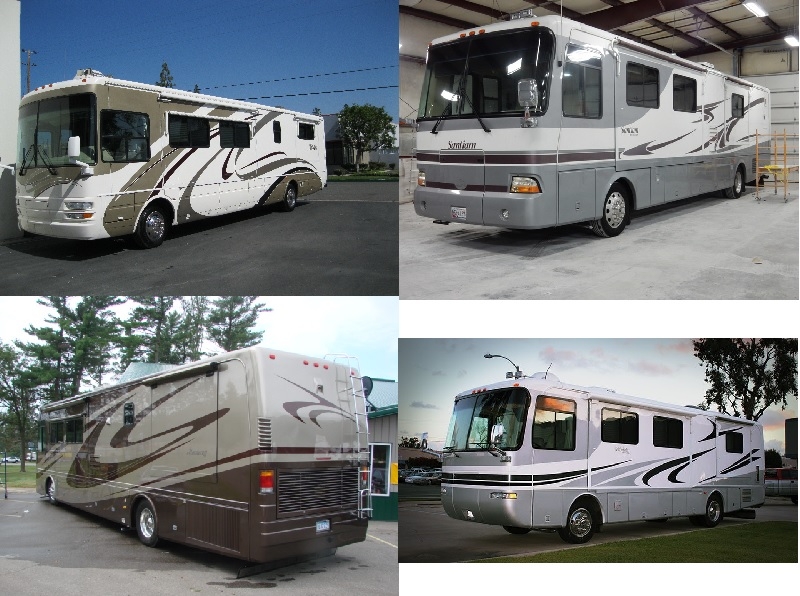 The photo below is a nice simple two color paint scheme that we like. I made a scale drawing of the design to get an idea what it would look like on our Southwind. We also used the drawing a to make the full size templates for the three “swoosh” graphics, and also to help as a guide when taping and masking.
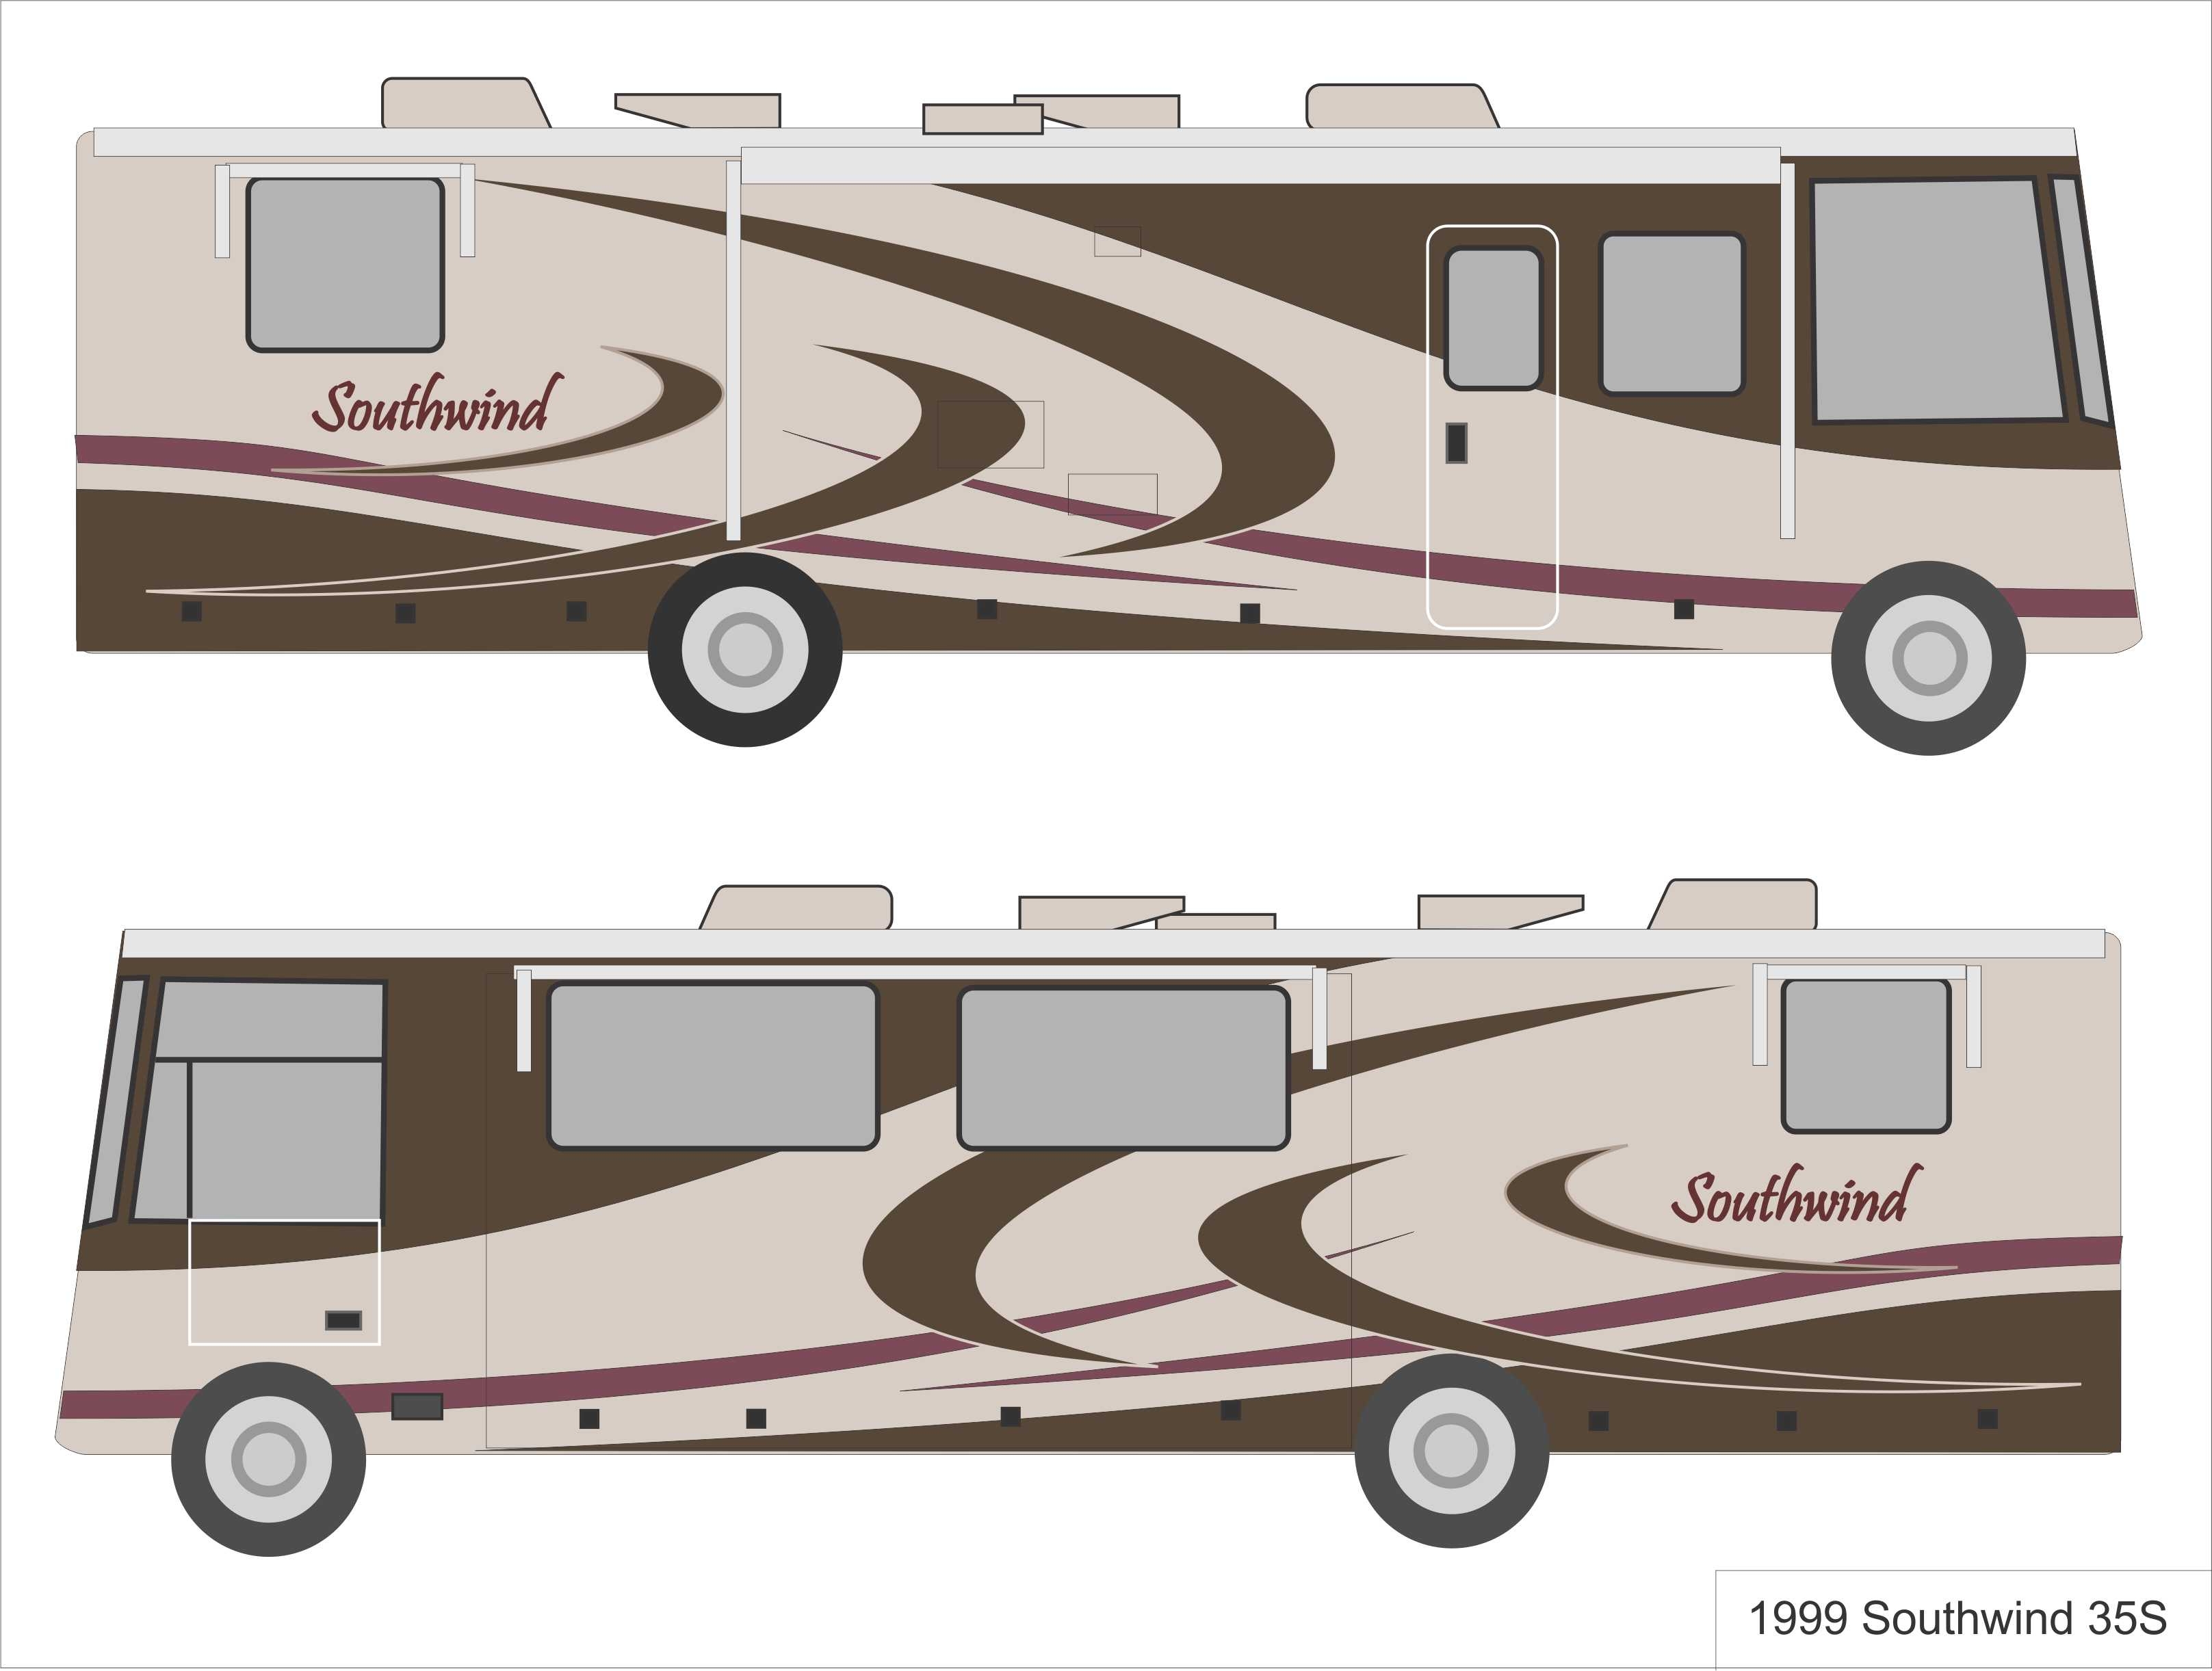

Above are two line drawings of the proposed color scheme. These are reasonably to scale. Basically same colors as the first photo. The color sample chart shows several different mixes.
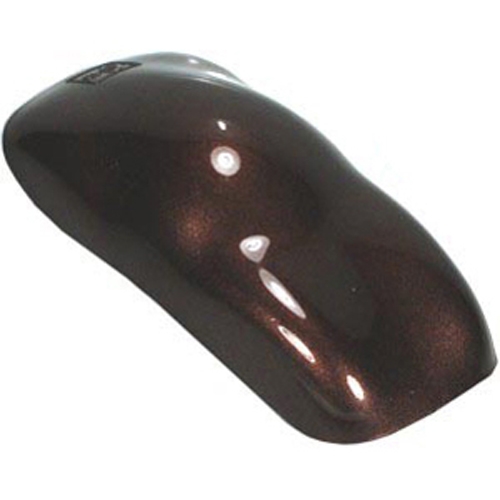
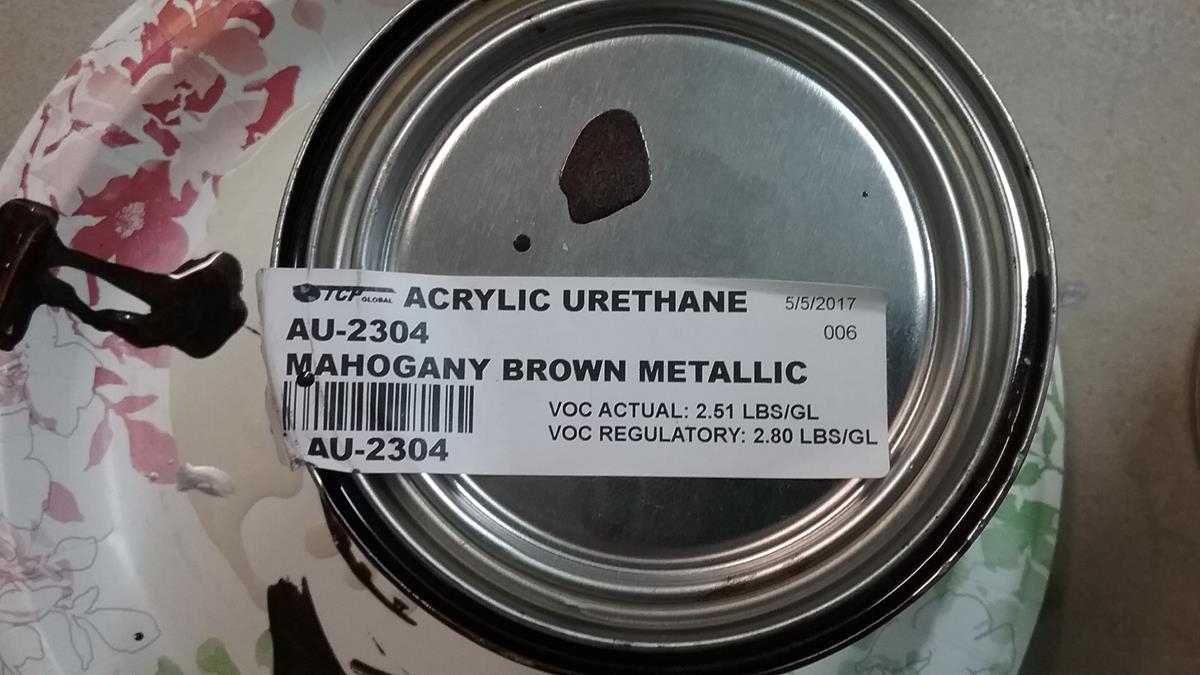 Mahogany Brown Metallic (AU-2304) (1 gallon)
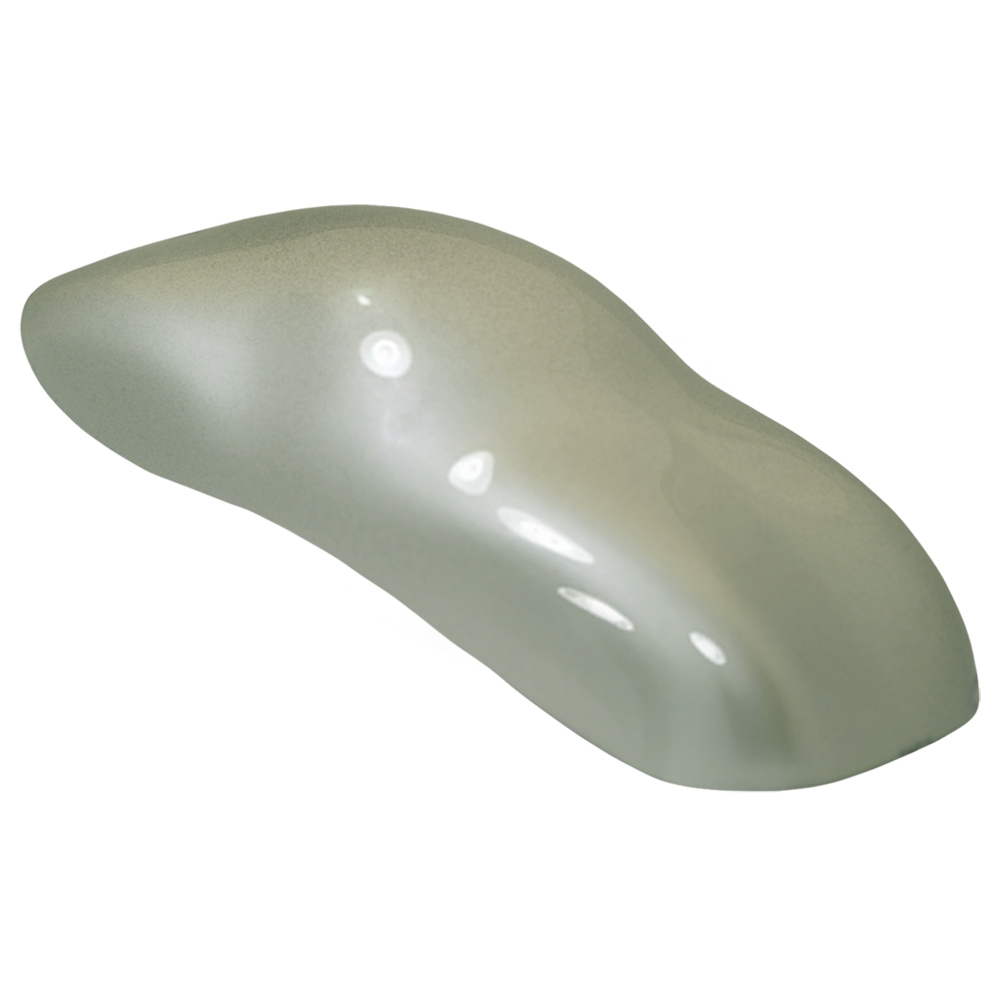
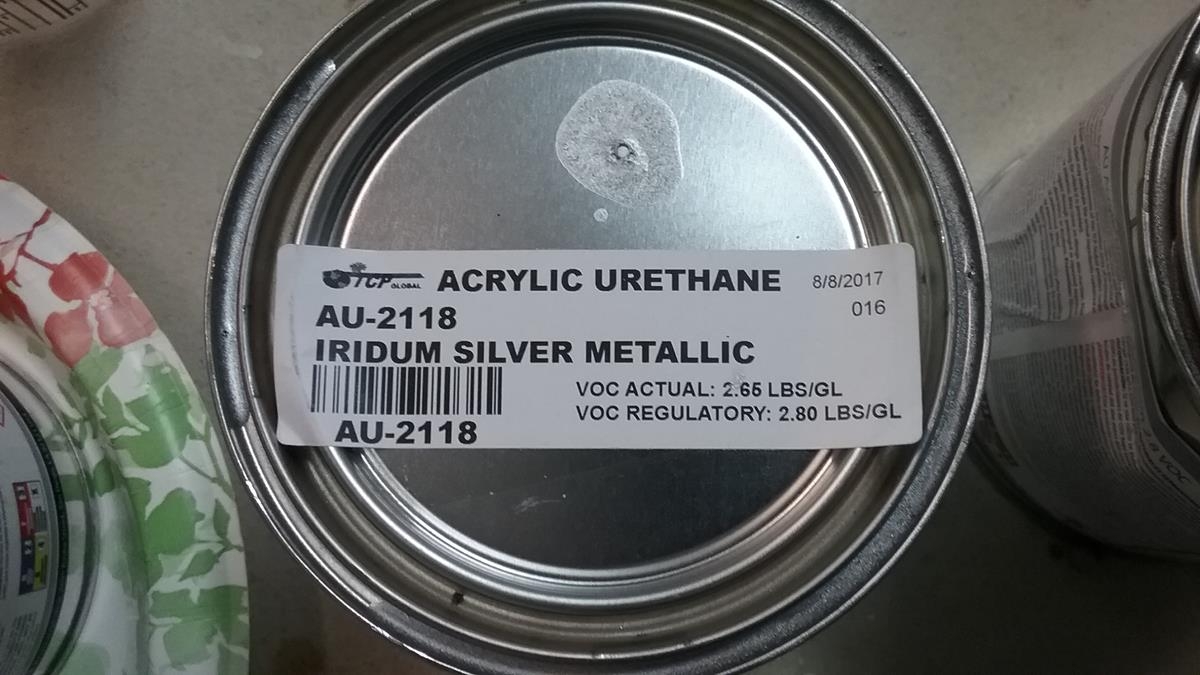 Iridum Silver Metallic (AU-2118) (2 gallons)
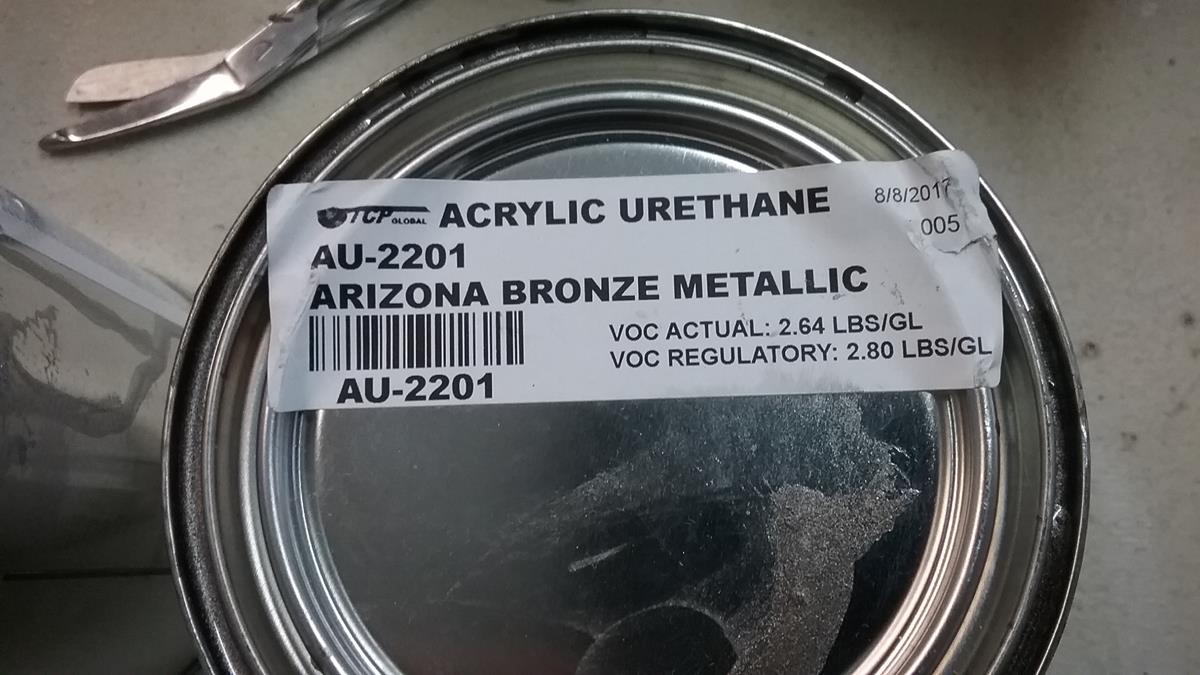 Arizona Bronze Metallic (AU-2201) (1 gallon)
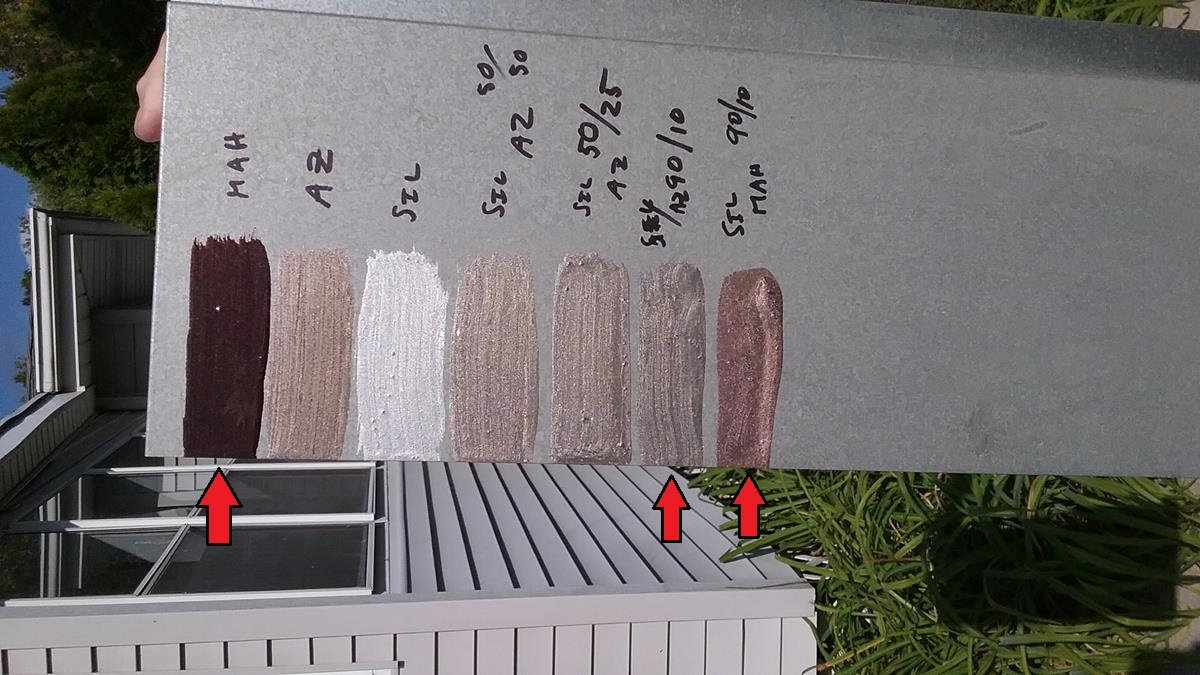
From left to right, the first three brush strokes show the three basic colors that come from TCP Global. The next four strokes shows mixes of the main colors. The three AZ mixes (brush 4, 5, 6) do get progressively lighter, but it doesn’t seem this way in the photo. I’ll use the colors with the red arrows.
- MAIN DARK BROWN – use straight Mahogany Brown Metallic (AU-2304)
- LIGHT TAN / GOLD – Mix 4:1 — 4 parts Iridum Silver Metallic / 1 part Arizona Bronze Metallic
- PURPLISH LINE – Mix 8:1 — 8 parts Iridum Silver Metallic / 1 part Mahogany Brown Metallic
\
Oct 7, 2017
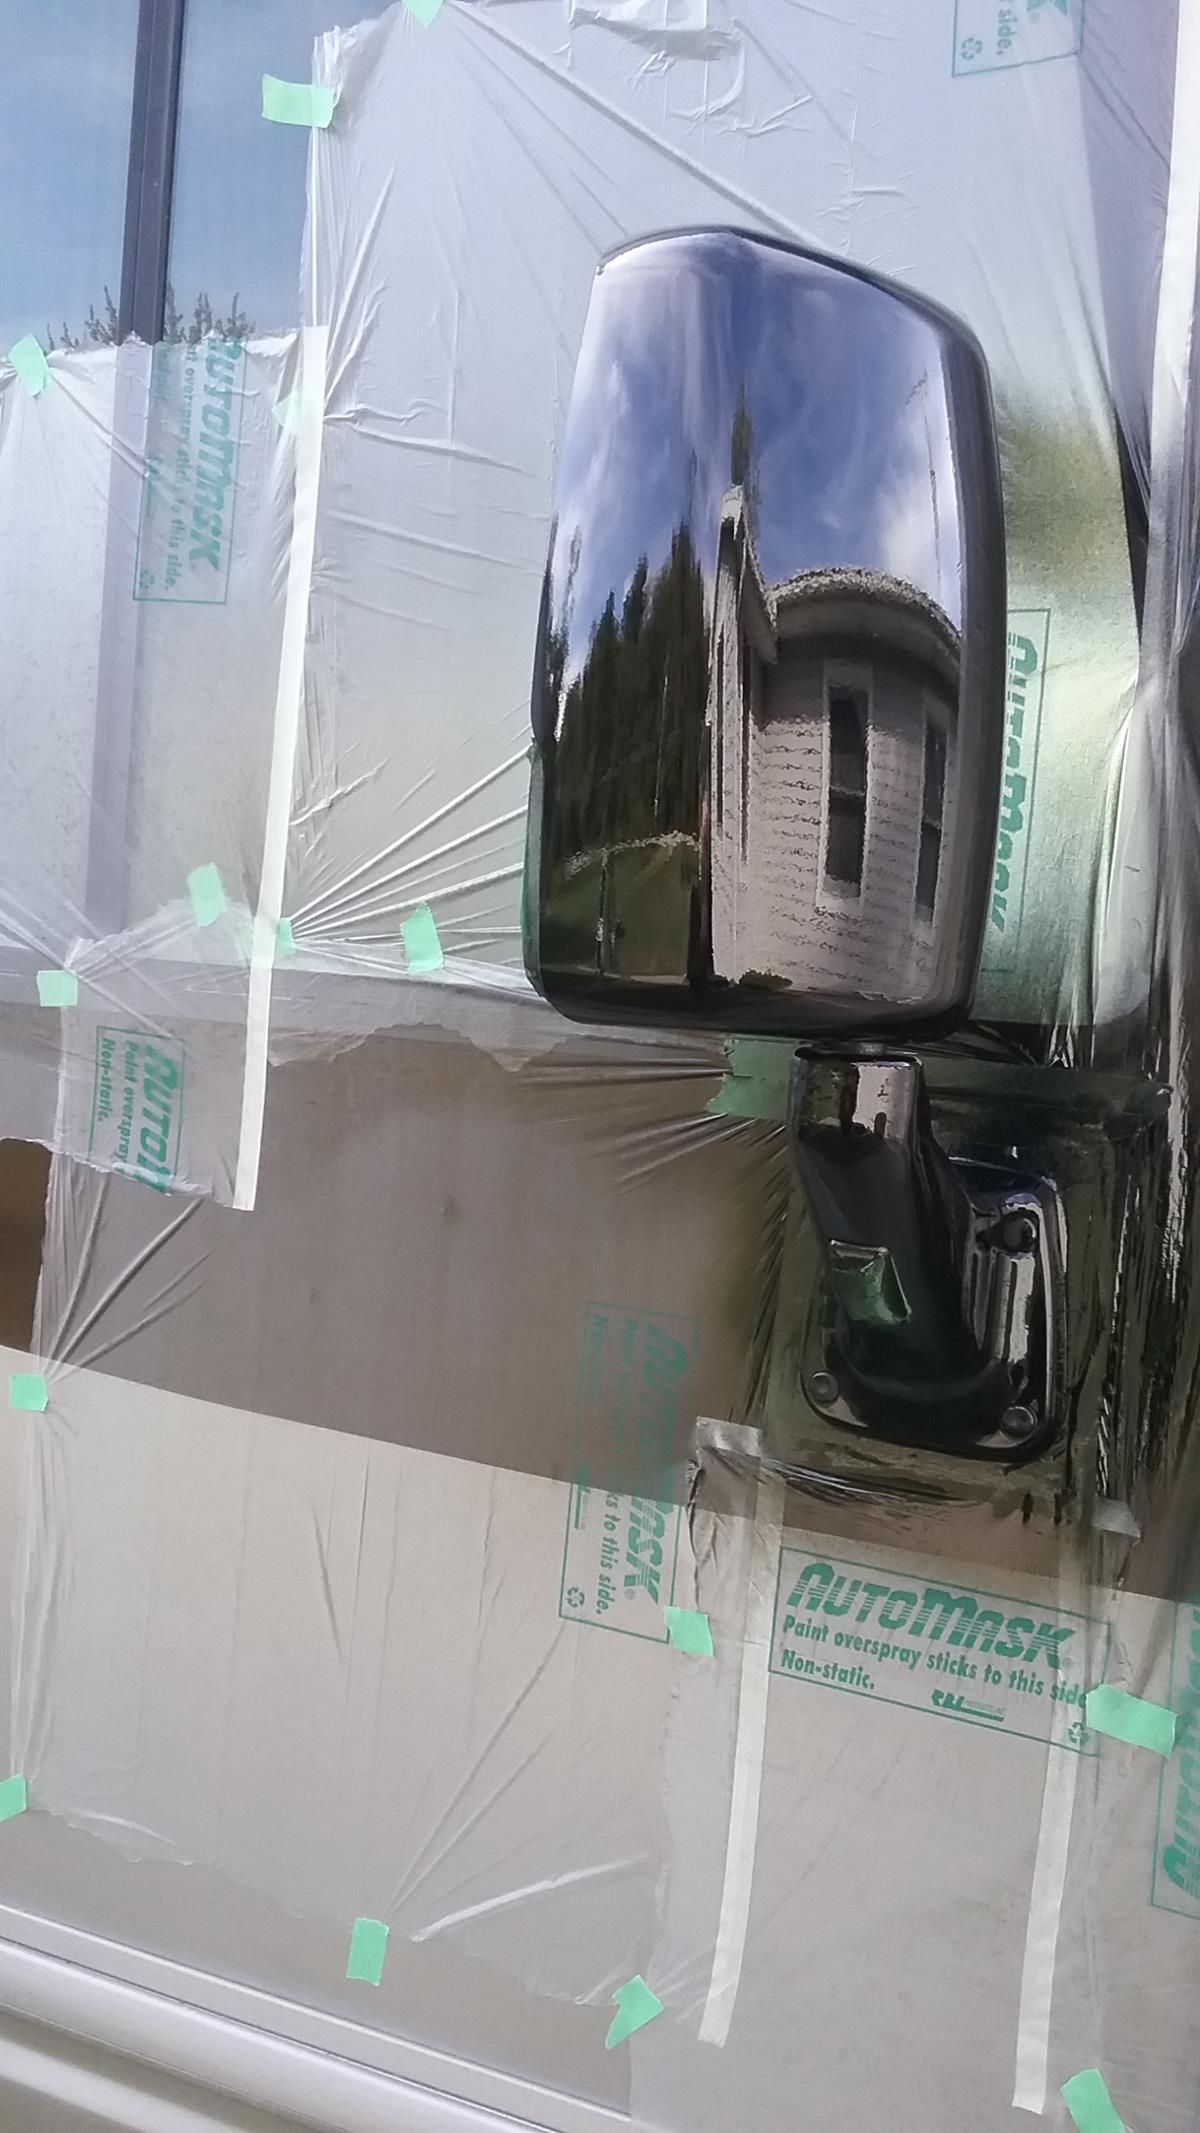
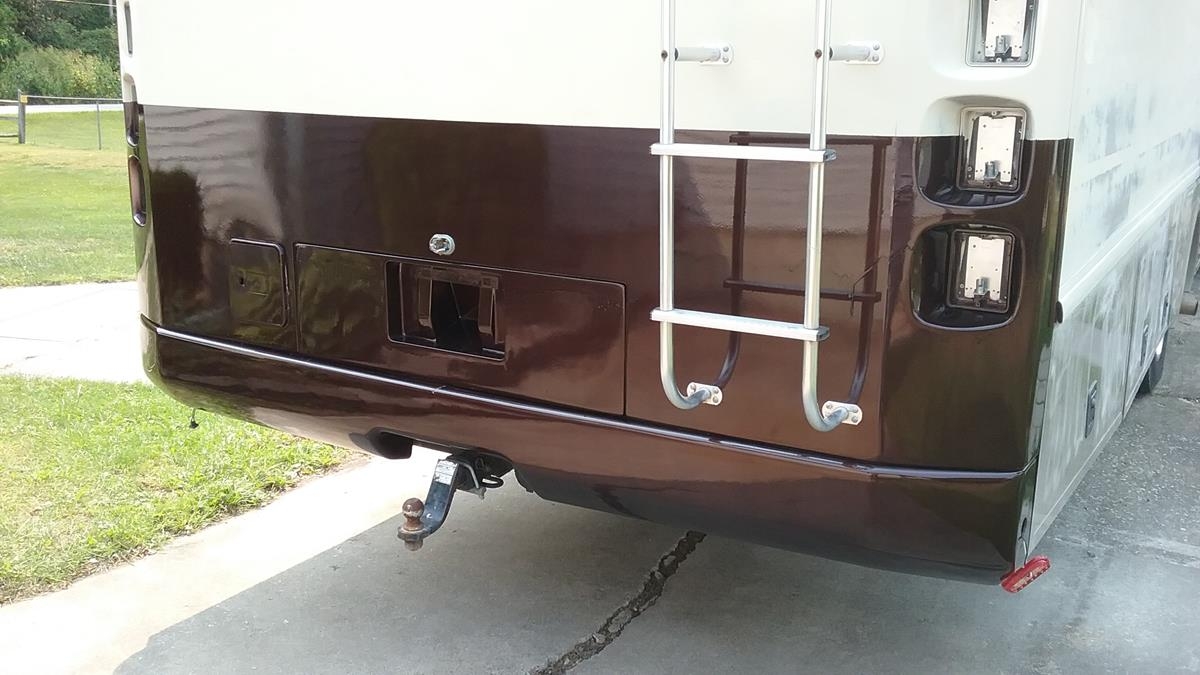
Painted black on mirrors, door and compartment latches, trailer hitch, etc.

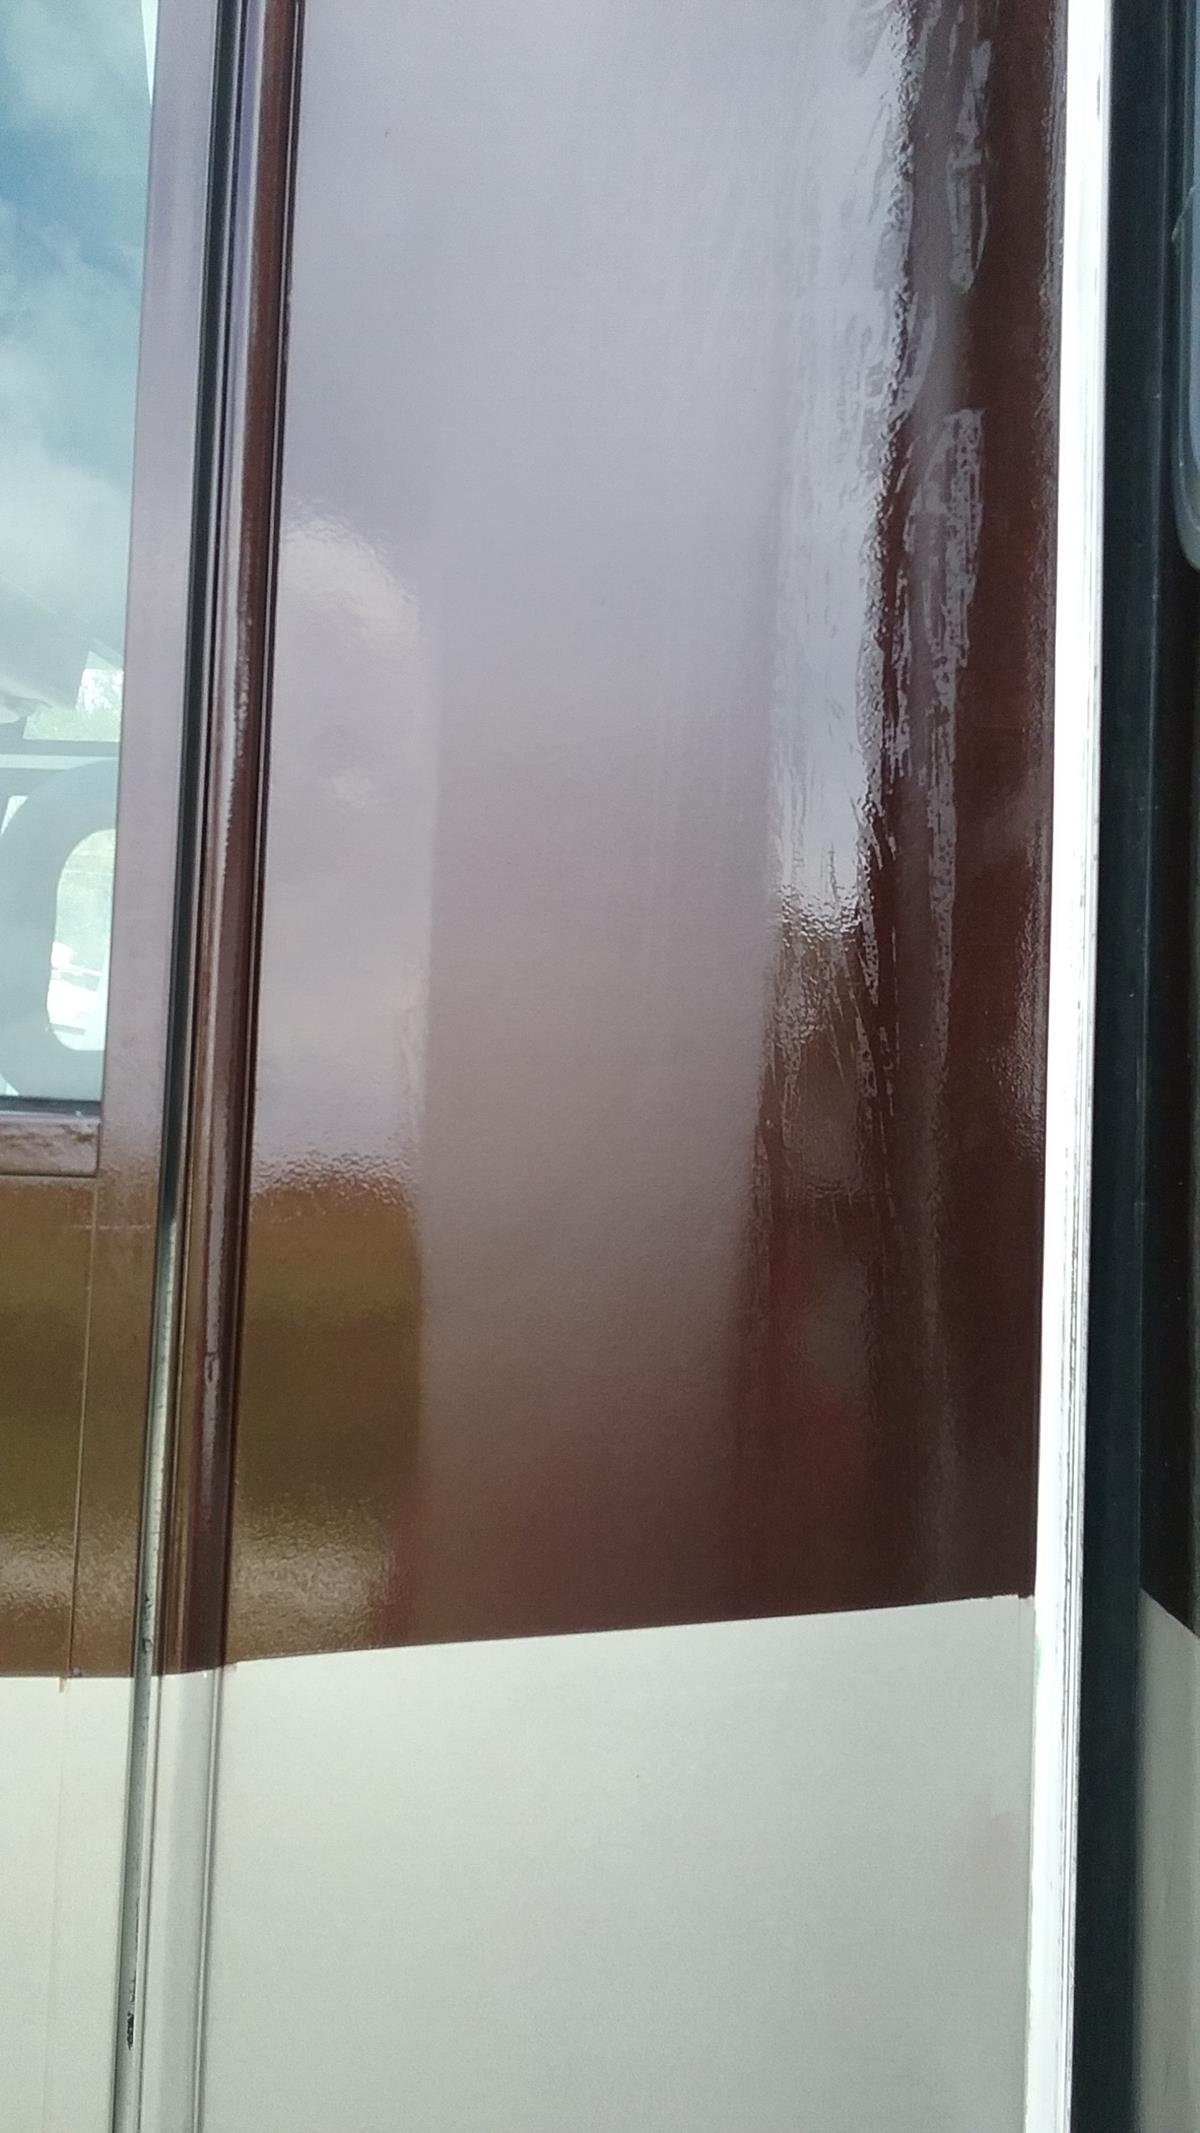
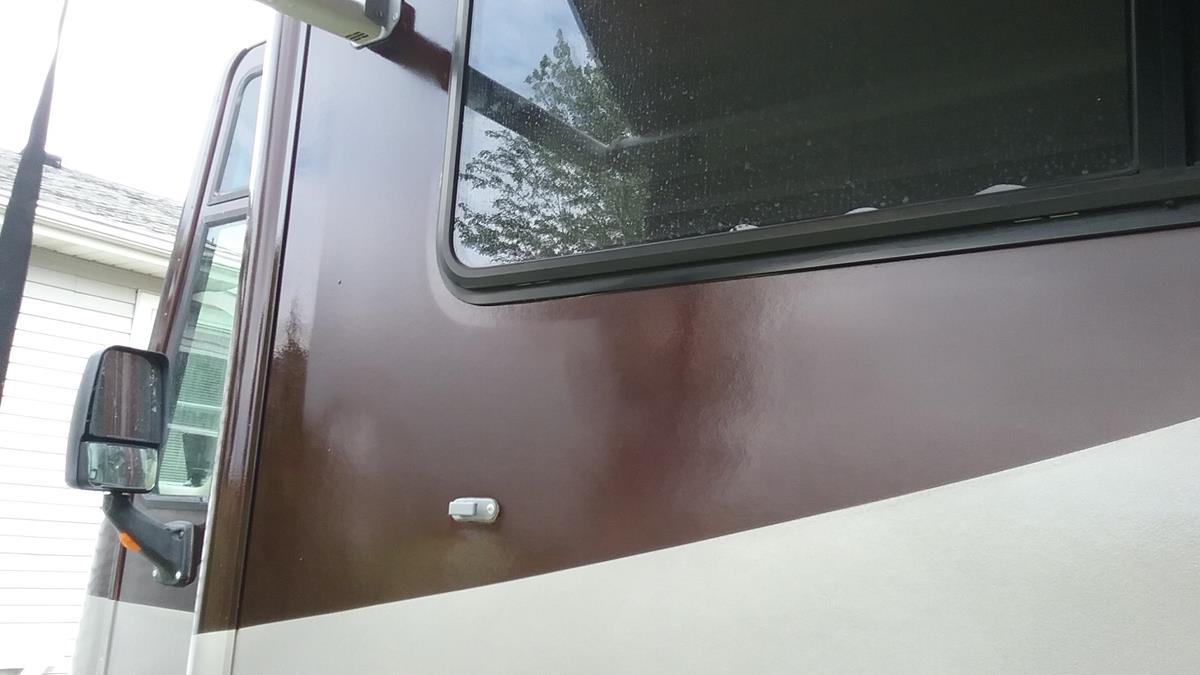
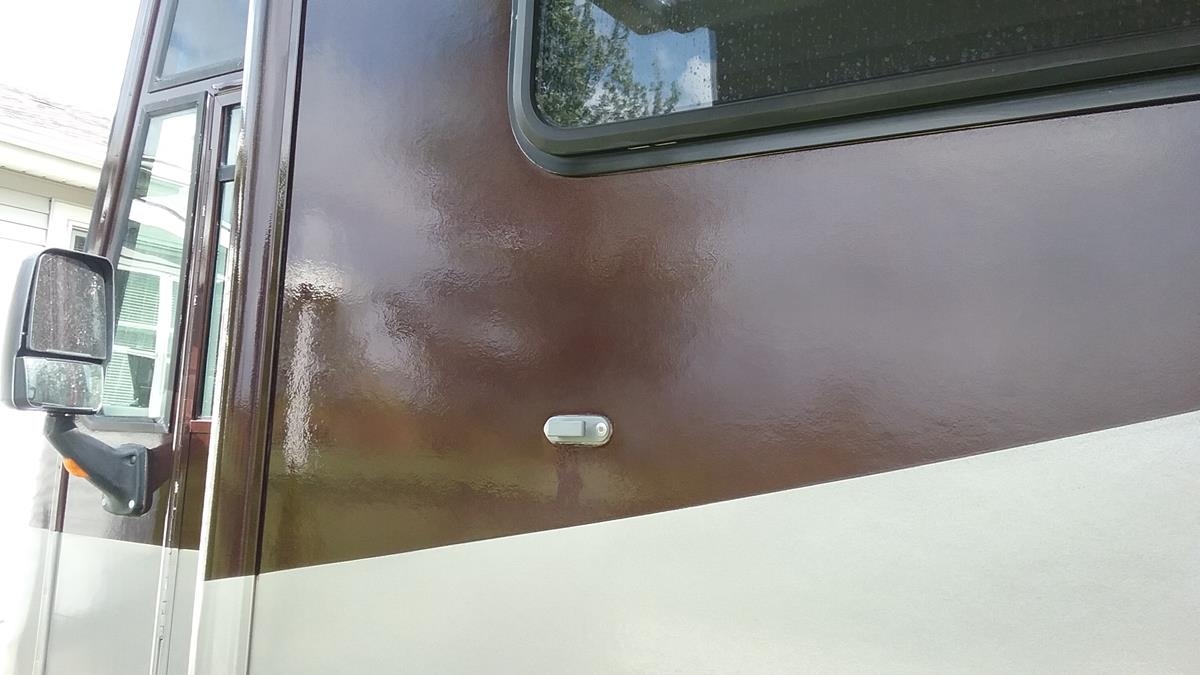
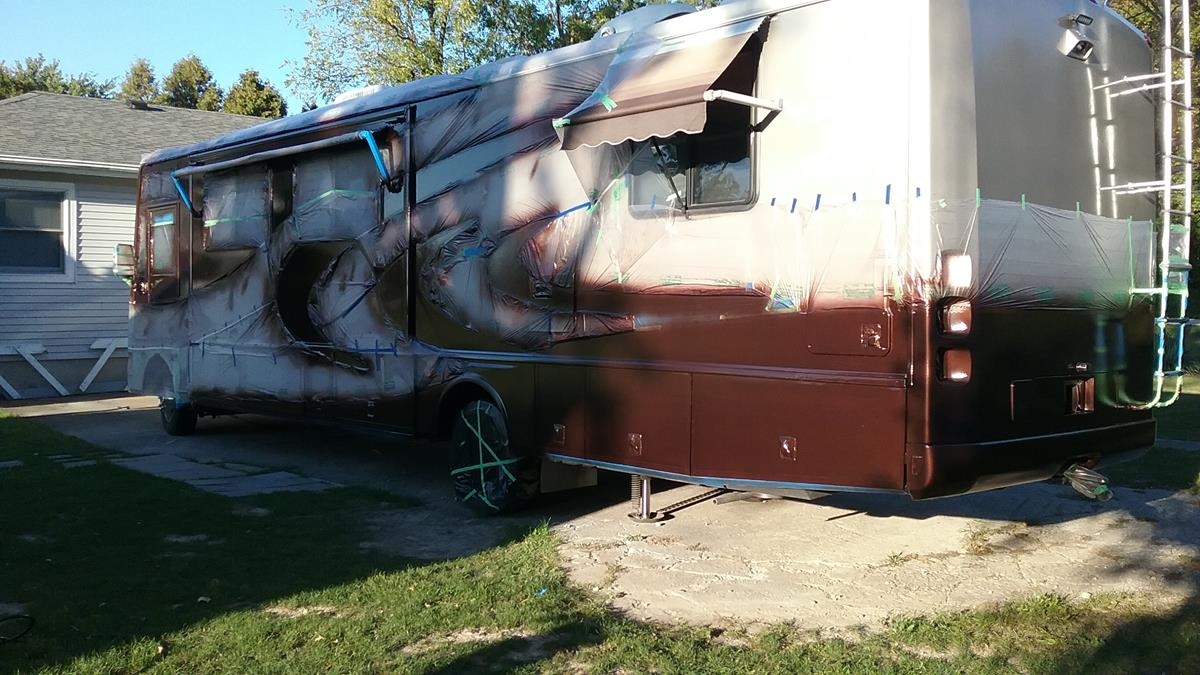
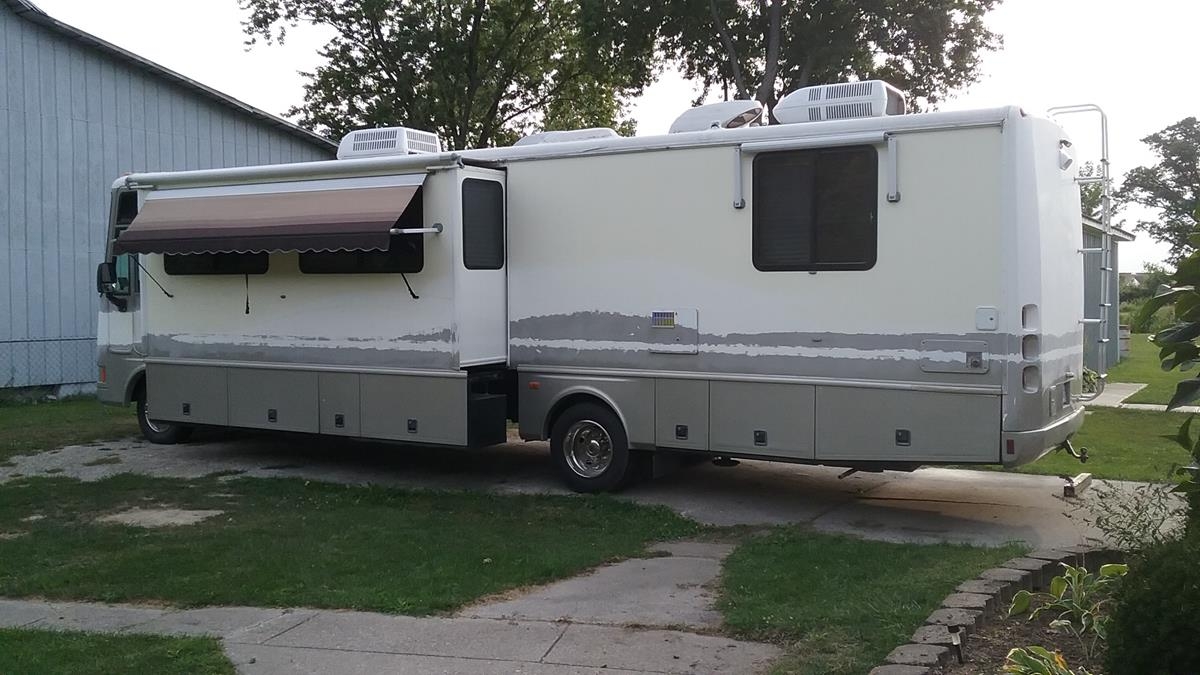
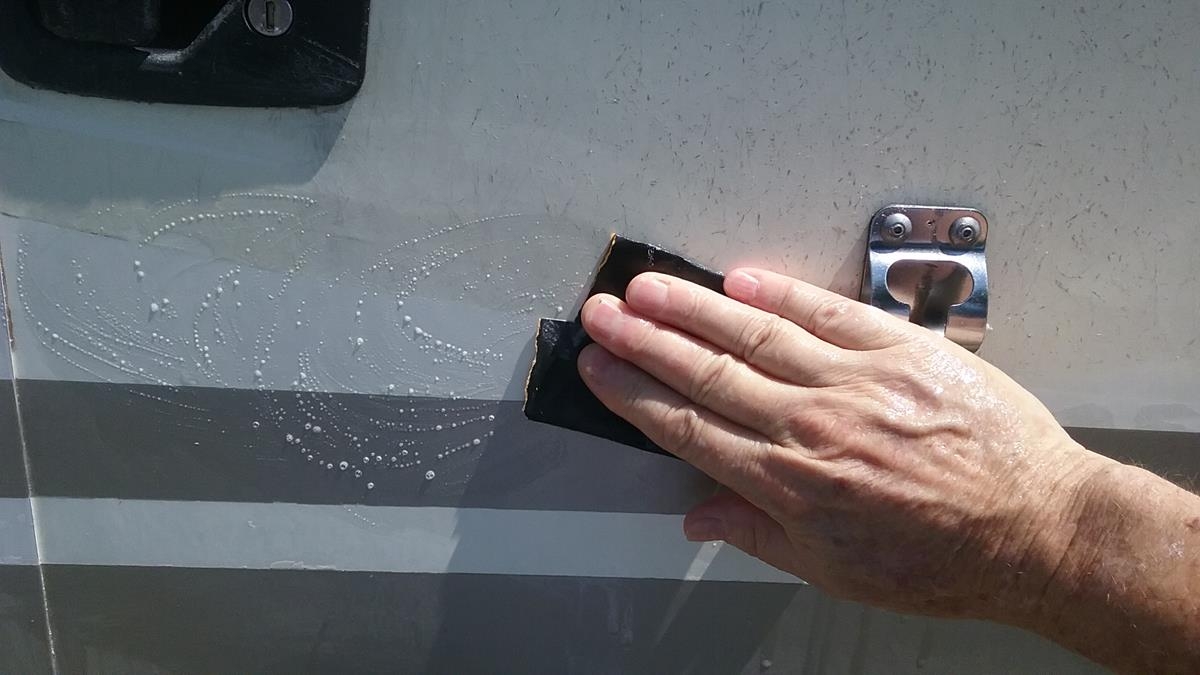
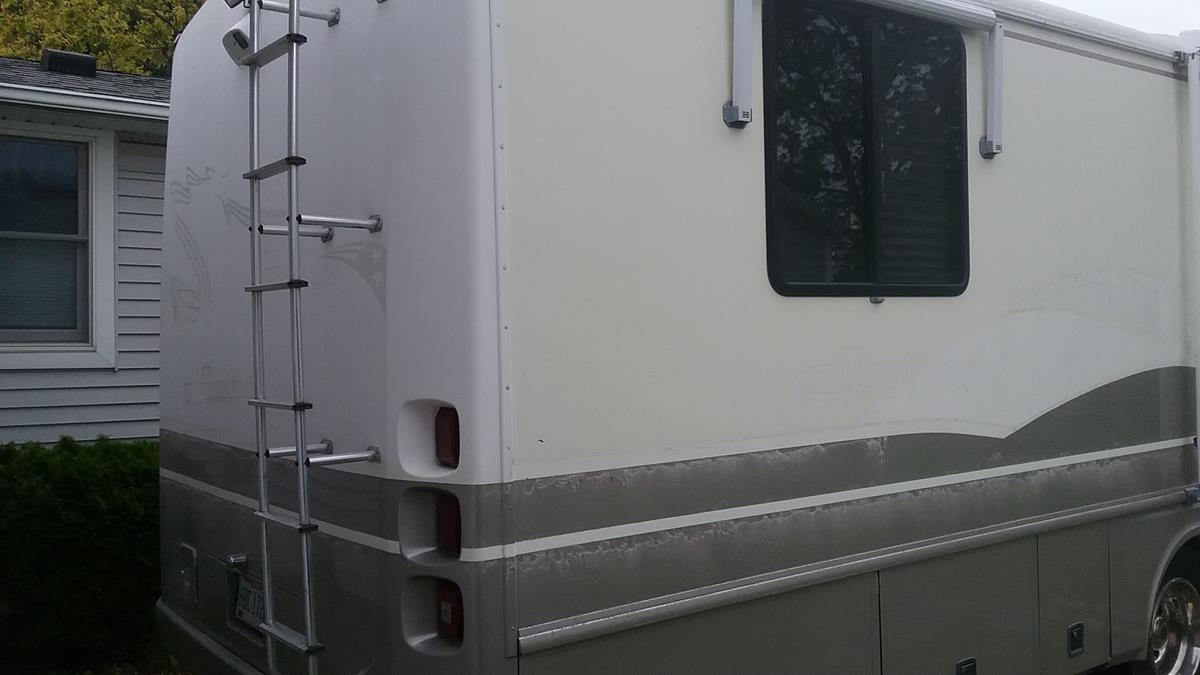
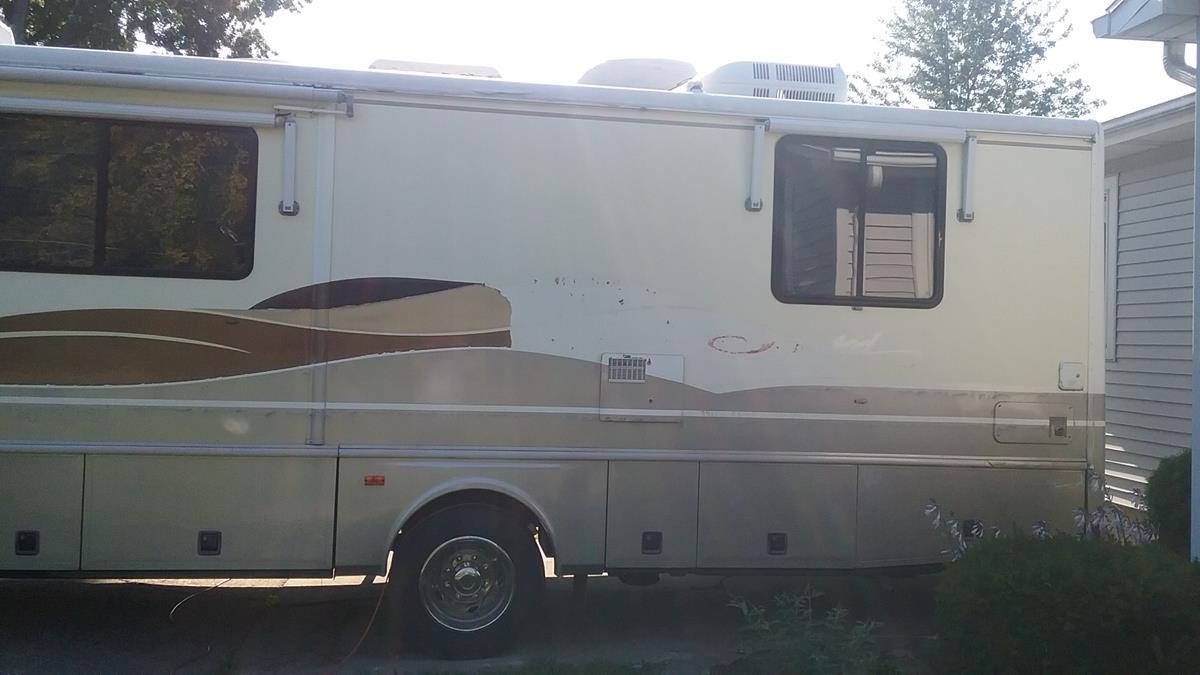
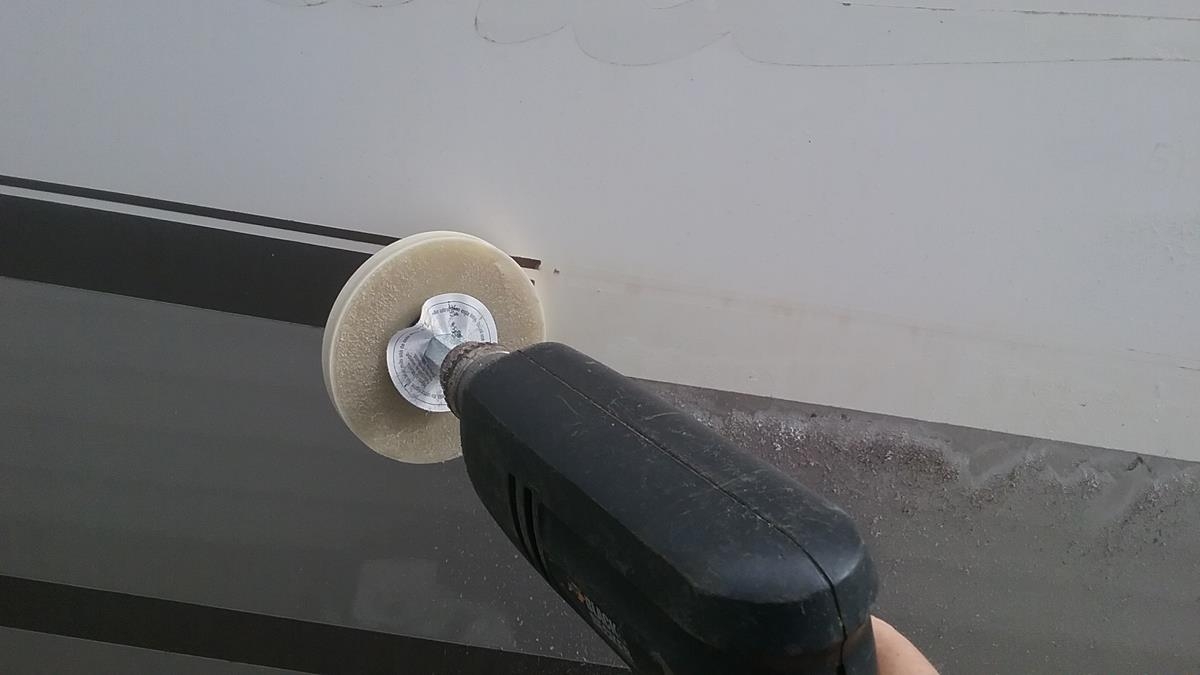
Buffed out all the condensation damage – its no longer obvious, so its acceptable. In the photo below, this is the vertical just behind the drivers door and in front of the slide. Compared to the photo from Oct 4, you can see the damage buffed out fairly nicely.
The only thing left to do is to paint some black trim, door and compartment handles, hitch, drivers mirror.
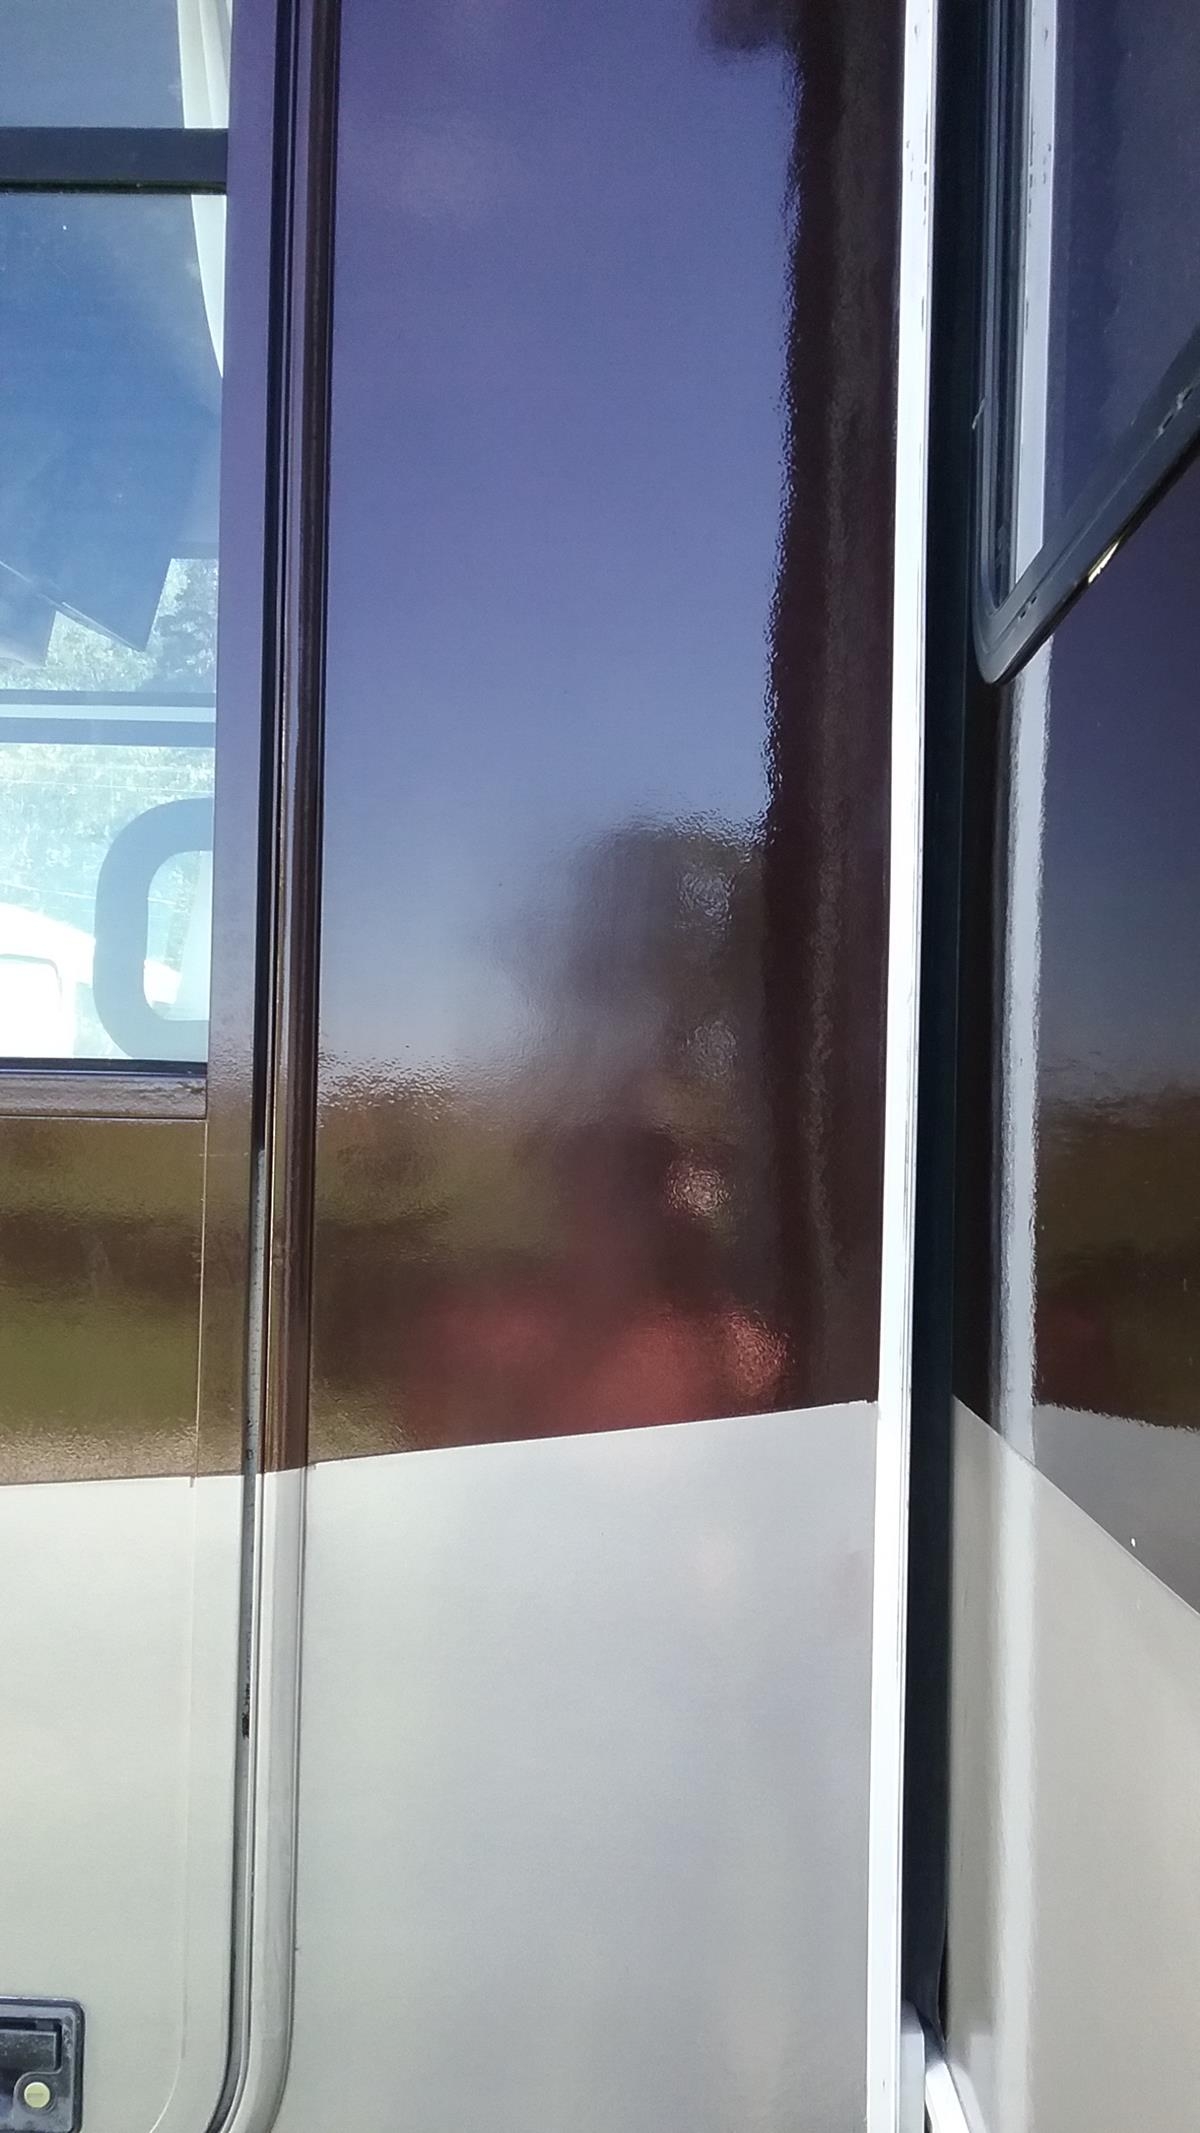
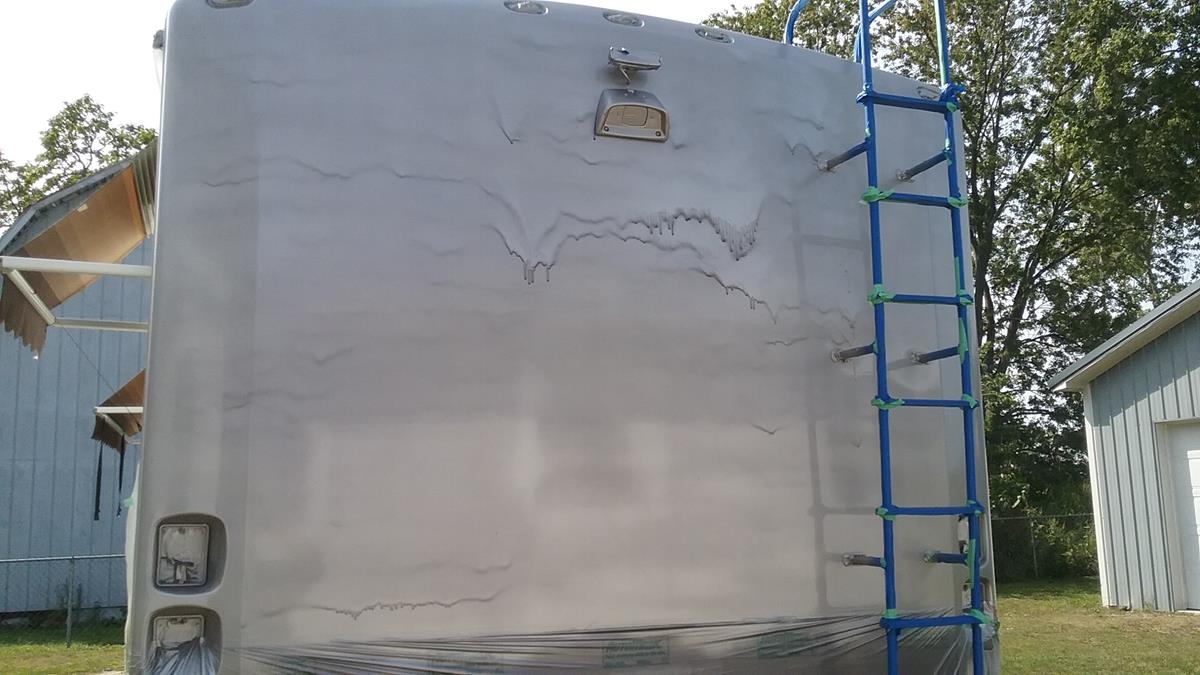
Condensation damage. Painting outside warning.
I was very careful to make sure I had good air temperature before I painted the dark color on the drivers side. I never considered the overnight temperature, and more importantly, how condensation would effect the finish. I used a medium hardener and it was about 65 degrees outside when I painted. It was about an hour before sundown.. The overnight temperature dropped to 40.
 That night it was clear and cool, and the following morning I seen condensation on some of the surfaces and didn’t think anything of it.. Later in the day I looked at the finish and wondered why the condensation was still there. When I rubbed my finders on the surface, DARN – It wasn’t condensation, the paint had actually taken on the texture of the condensation.
I was sick when I thought about having to redo everything again. I understand how it happened. I had just painted it before sundown. As the overnight temperatures dropped, the paint didn’t set or cure, and when the condensation appeared on the surface, the surface of the paint took on the texture of the condensation. The finish was kind of a dull looking satin finish where the condensation had set.
As I continued to think about it, I was fairly confident it should rub out as the texture is microscopic, but I had to leave it sit for several days to get hard enough to rub it out.
I did a couple tests on areas that had the condensation damage. The damage buffed out nicely and is almost totally invisible.
I did a couple small test areas , In one of them I used 1000 grit paper to sand a little, I stopped immediately when I seen the metallic blush showing through. This did not buff out. Fortunately I chose the test area was small and in a hard to see place. Simply straight buffing with fine polish / rubbing compound does the trick.
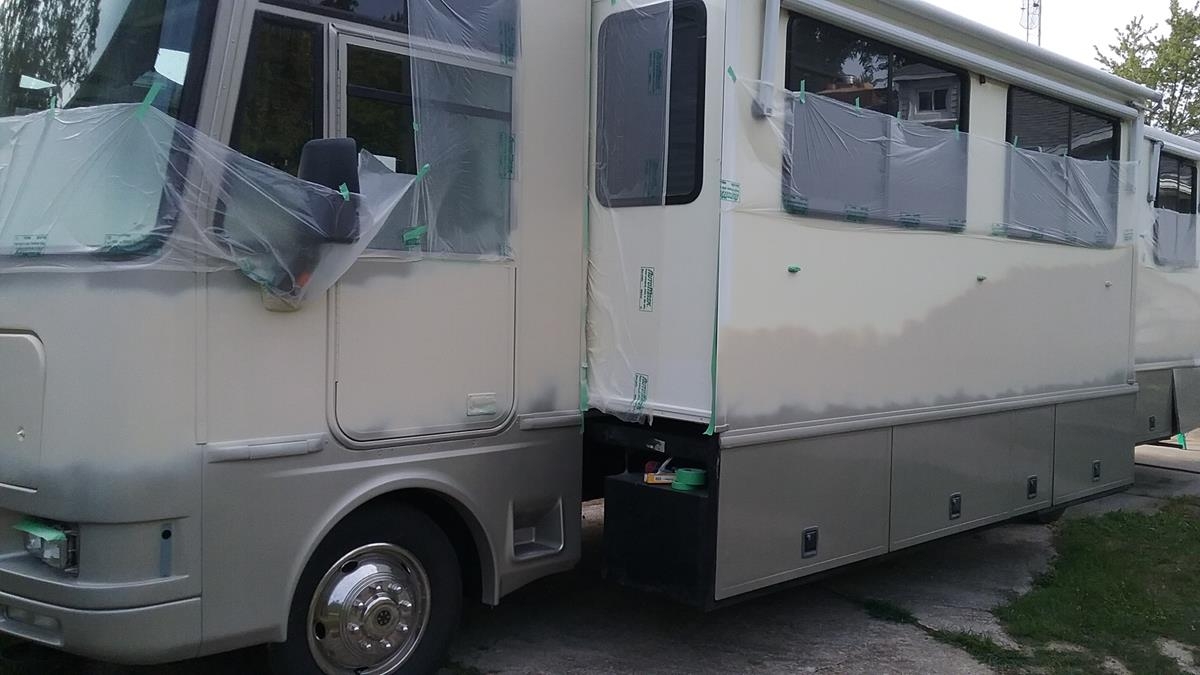
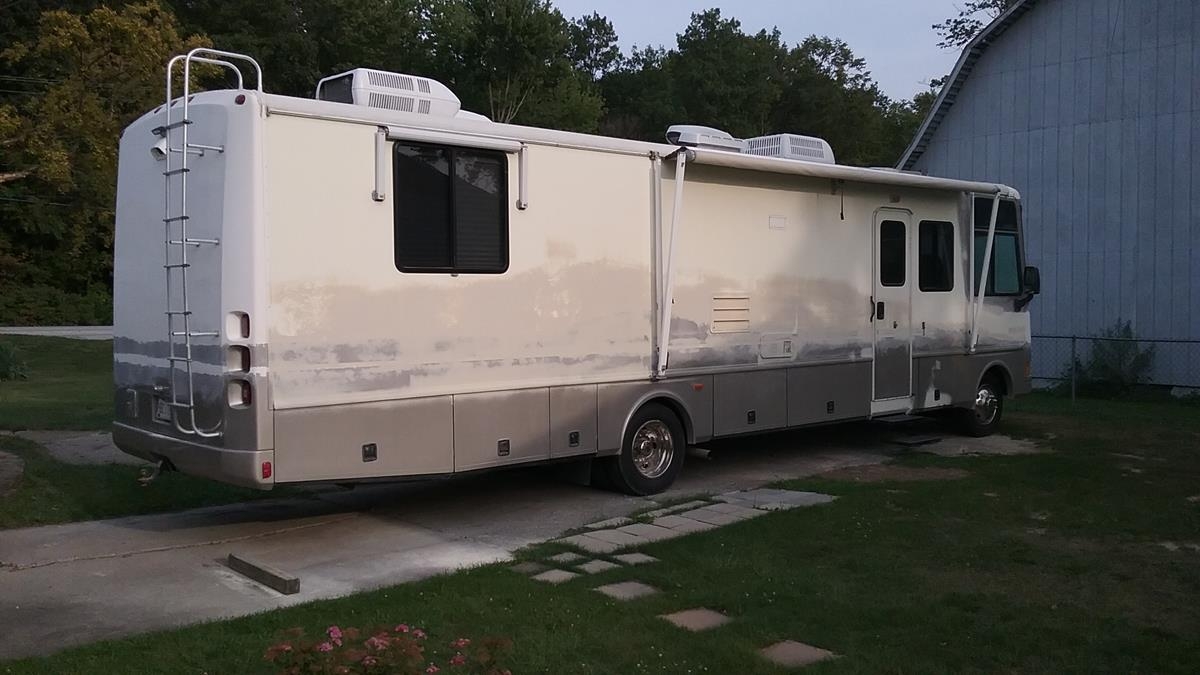
Slideout walls painted. Only thing left is some black trim and then it will be finished..

I looked at a lot of photos of the slides, they look a lot better when they are painted, So I did a quick masking and painted the dark color. I’ll get the light color tomorrow.
I got the color painted. It looks good. I’m glad I decided to do this.
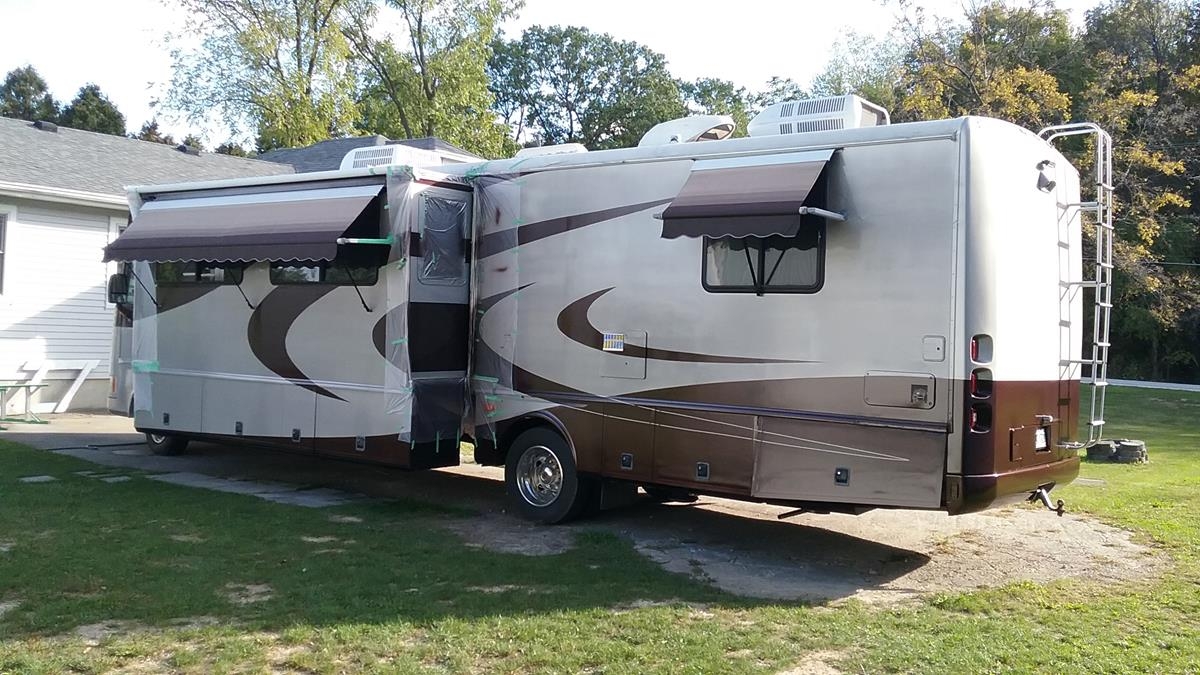
Unmasked the driver side. Looks very good. One important note. I have blemishes from condensation. It got cold last night and I think where there was condensation, I have a blemish. They aren’t serious, I’ll need to see if I can buff them out.
After I pulled the mask, I put the slide out. I’ll need to let the paint cure a few days before I can fully retract it as the slide seal touches the paint. I also to to re-install the slide topper, (its tied up on the roof to get it out of the way while painting.)
DECISION – Should I paint the slide walls to match up with the exterior walls. ..
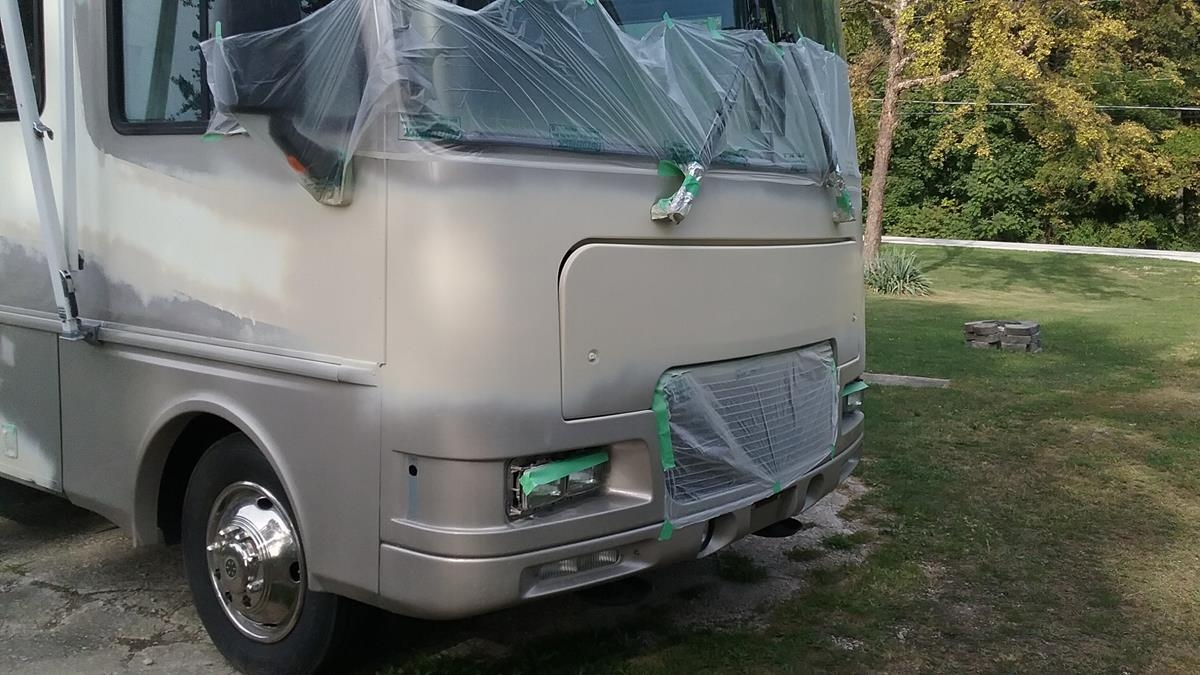
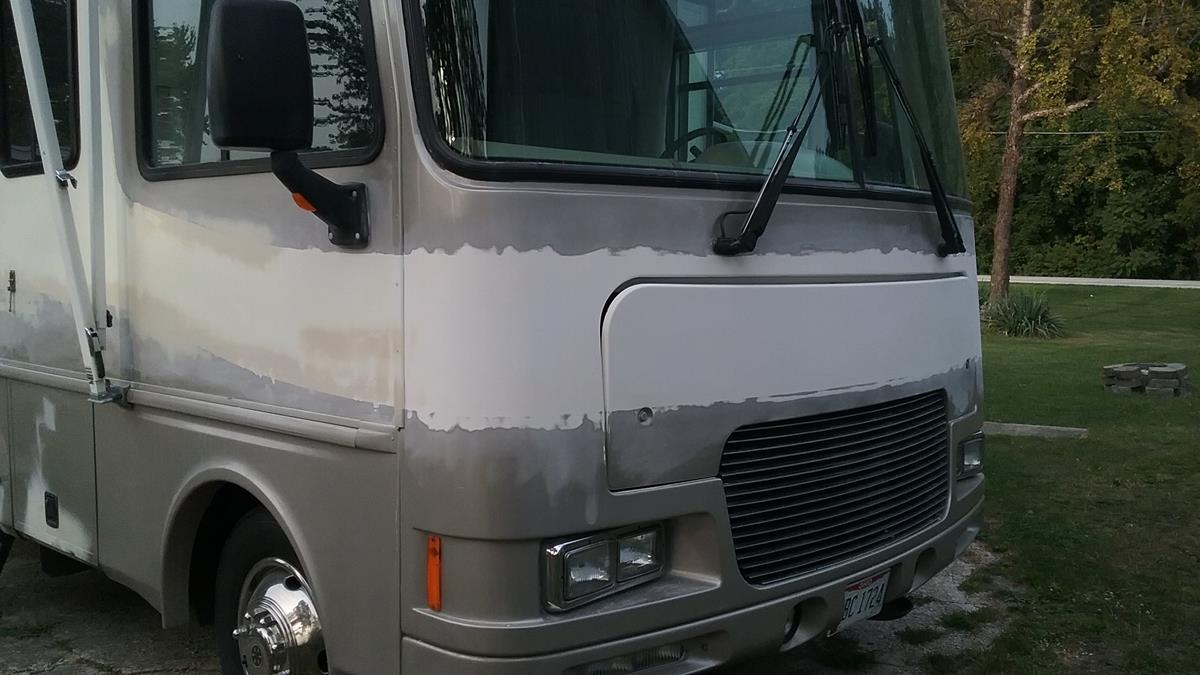
PAINT BLACK TRIM – I painted all the rocker panels, windshield wipers, grill, the steps, and one of the mirrors. I still need to paint the compartment handles, a mirror, the door handles, and the drivers mirror.
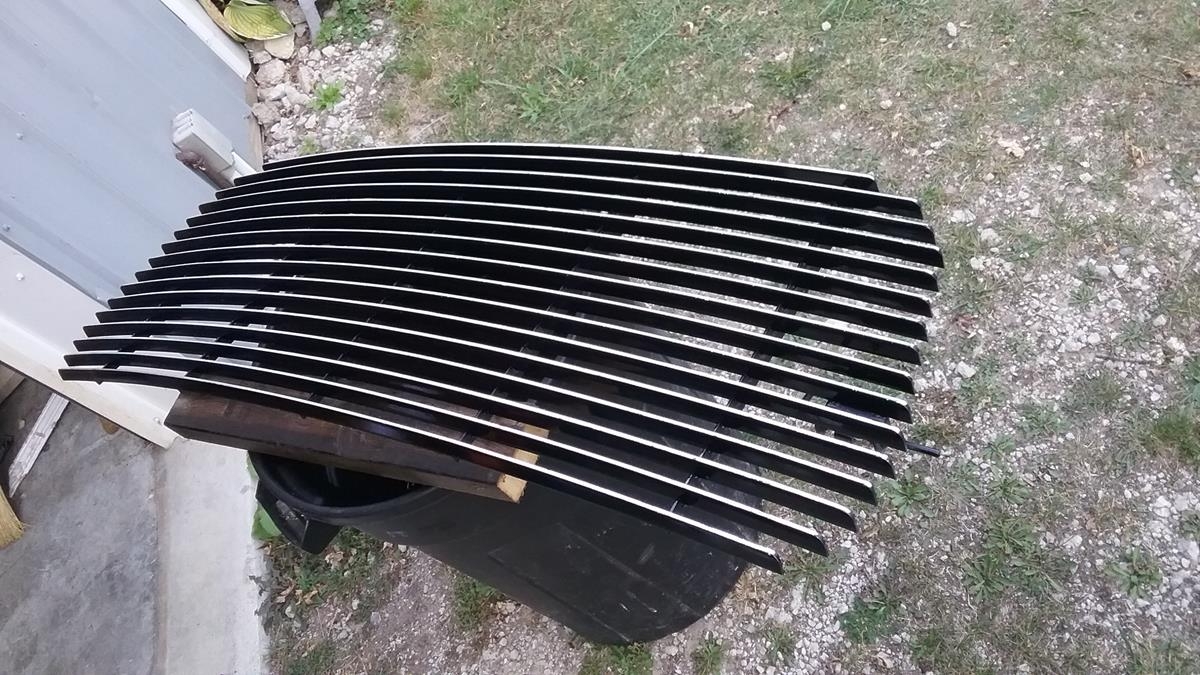
Immediately after painting the grill, I wiped the front of the grill with paper towels to bring out the aluminum color of the leading edge. Dampen the paper towels in lacquer thinner.

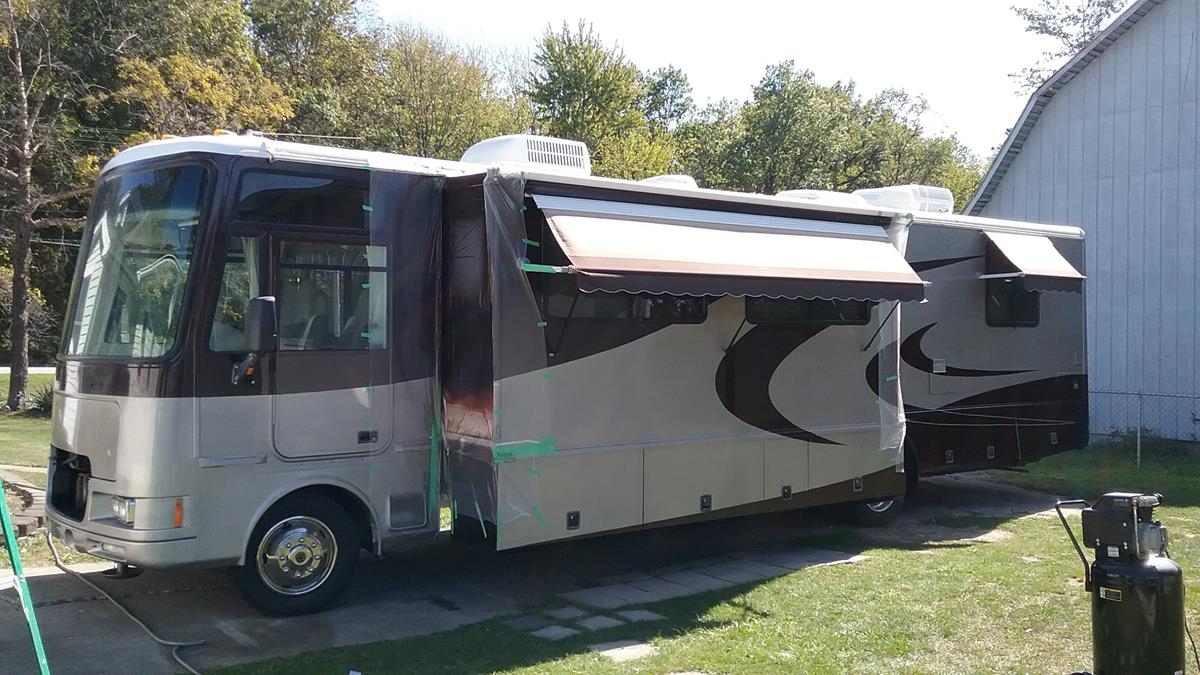
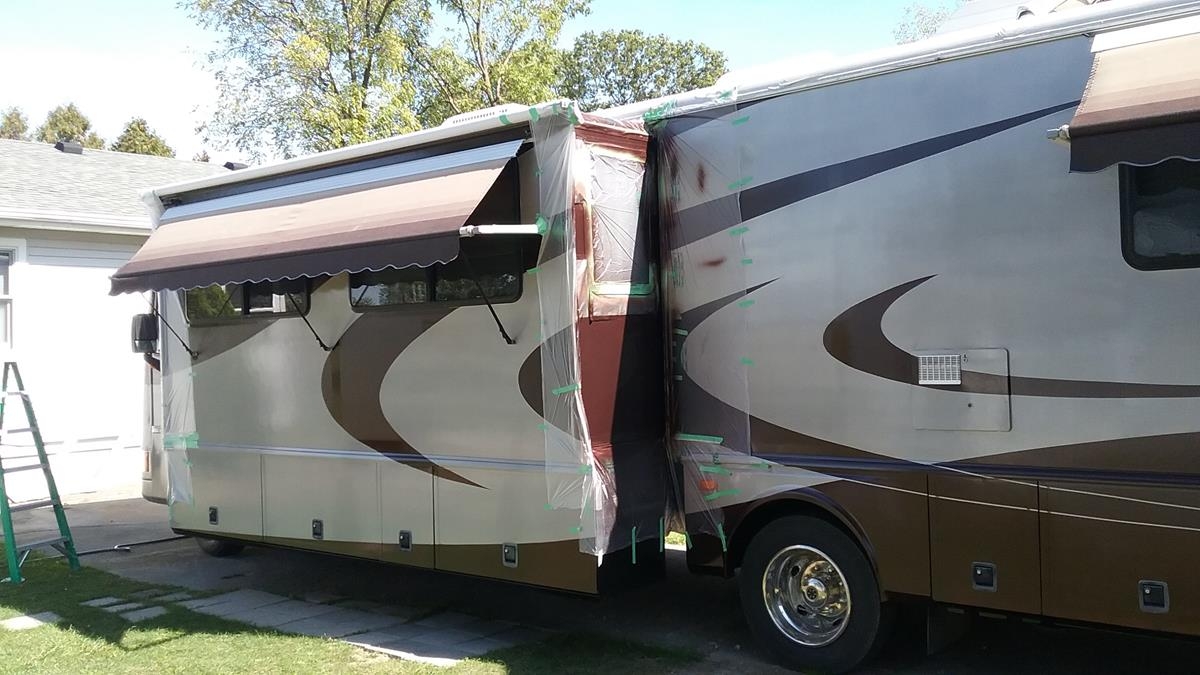
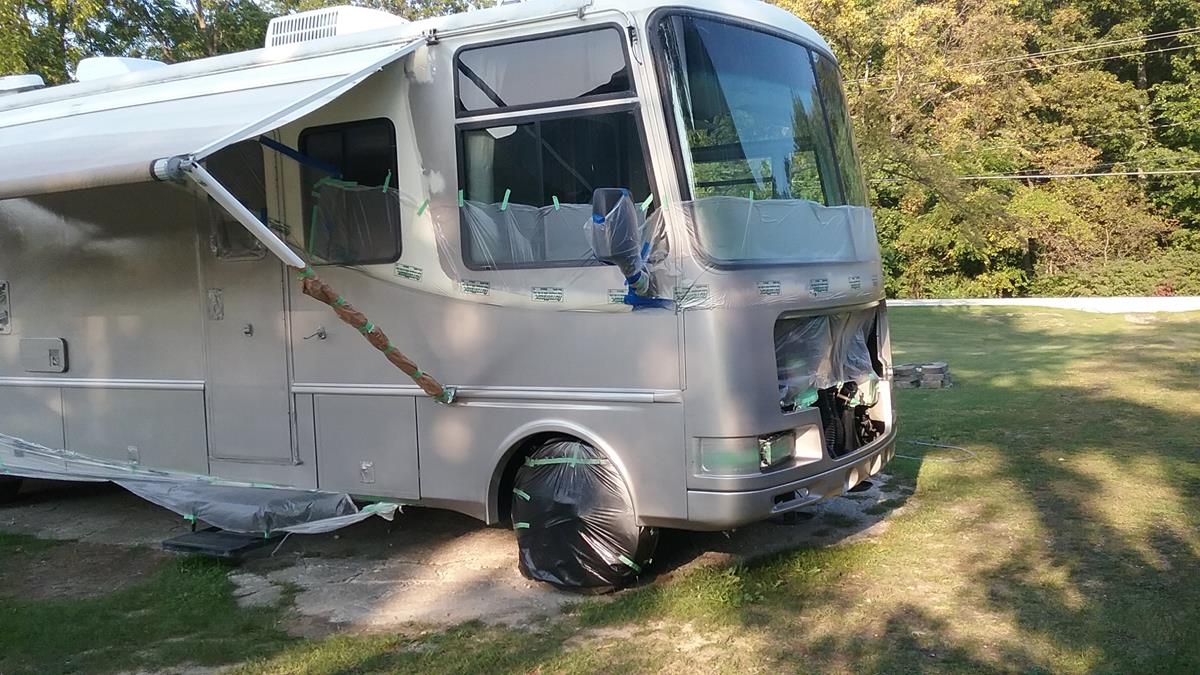
Masking drivers side, slide, topper, etc .. May not be able to paint today as its a little cool, 62 – 65 deg..
UPDATE – The paint folks said 65 degrees is OK to paint if I’m using medium hardner (I can go lower if I had fast hardner.
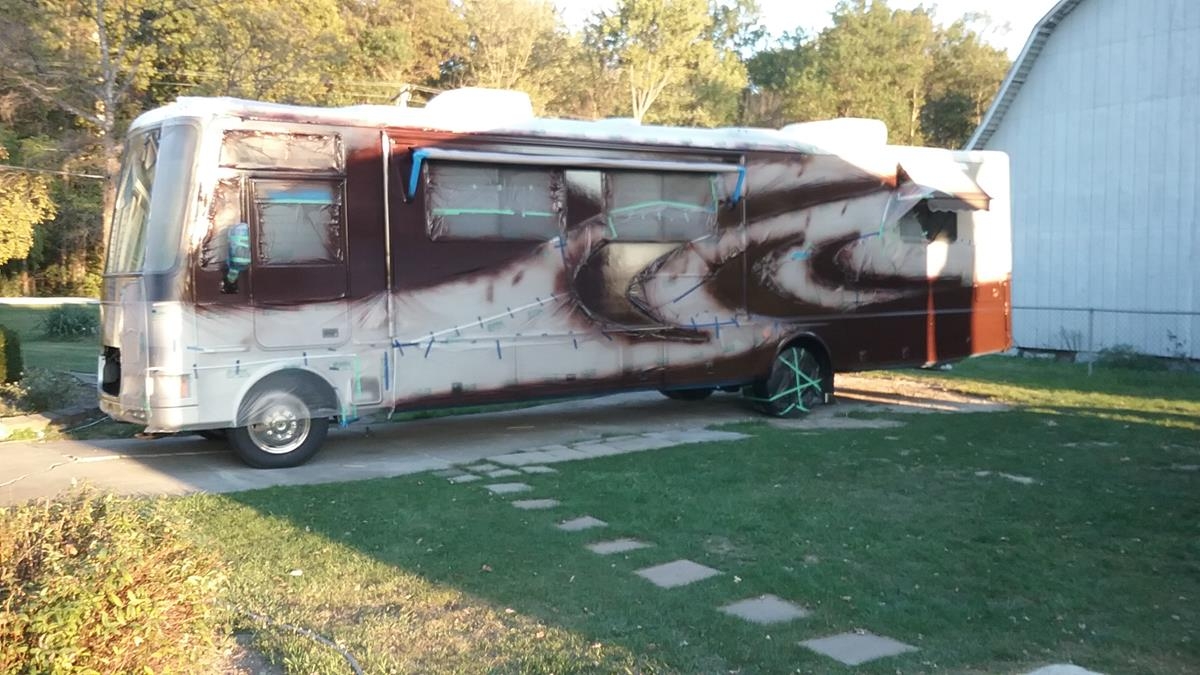
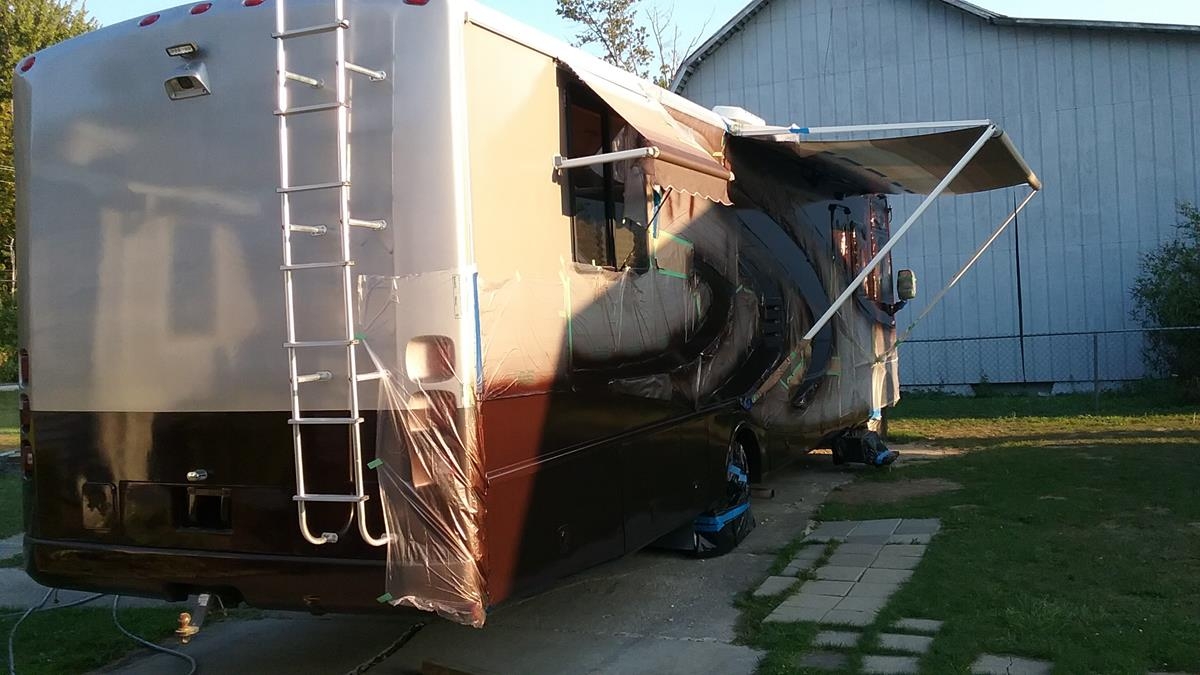
I was able to get the dark color on the drivers side and re-do the lower rear cap. It looks MUCH better.
I had one run that will be hidden behind the slide topper. I had the gun nozzle horizontal when painting the long vertical piece but forgot to change it back to vertical when I was getting ready to shoot the top of the slide.
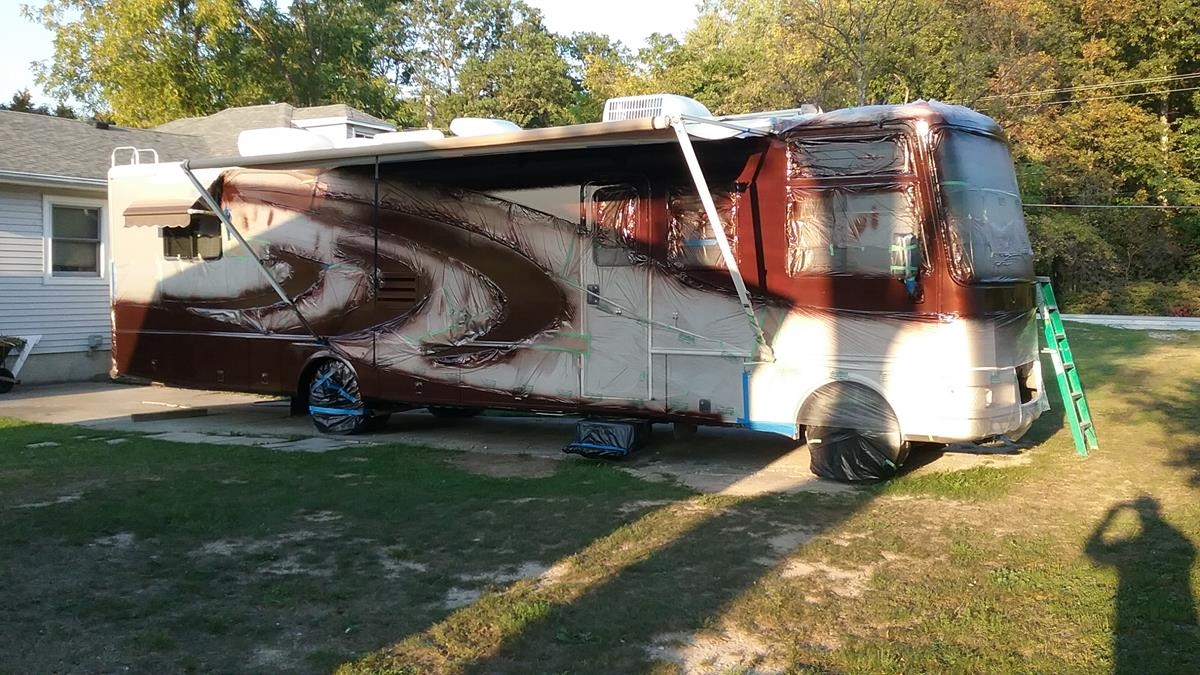
The paint was tacked up and dry last night at sun down. I’ll pull the masking off later today. The color looks very nice.

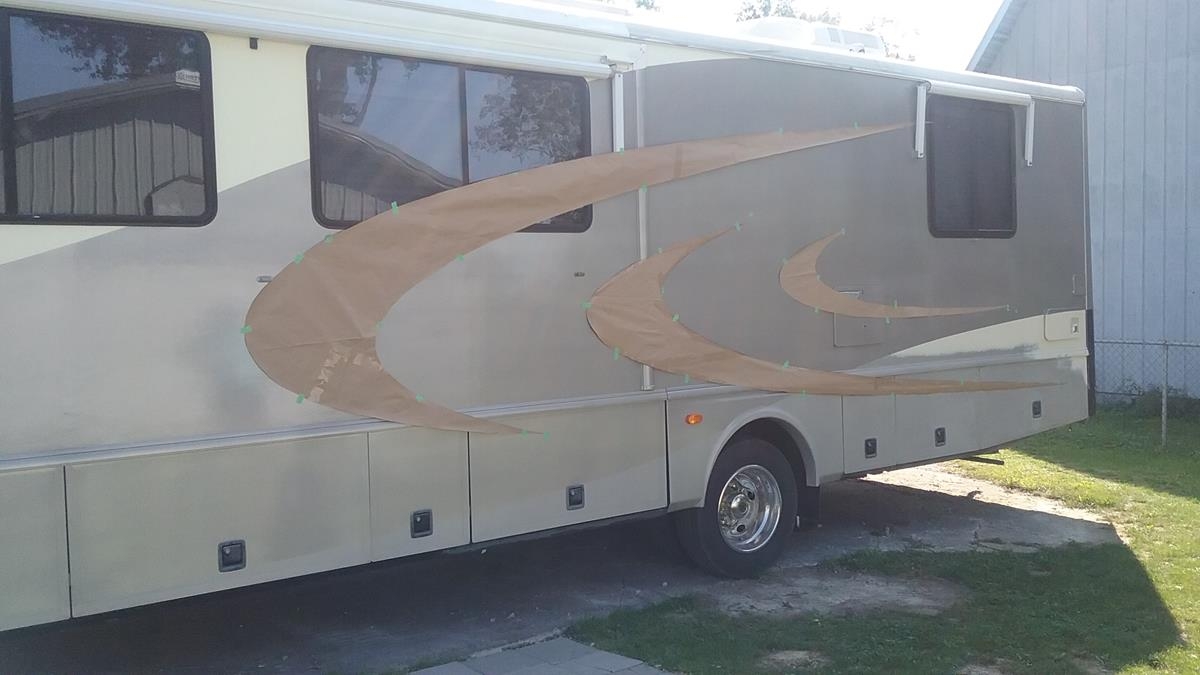
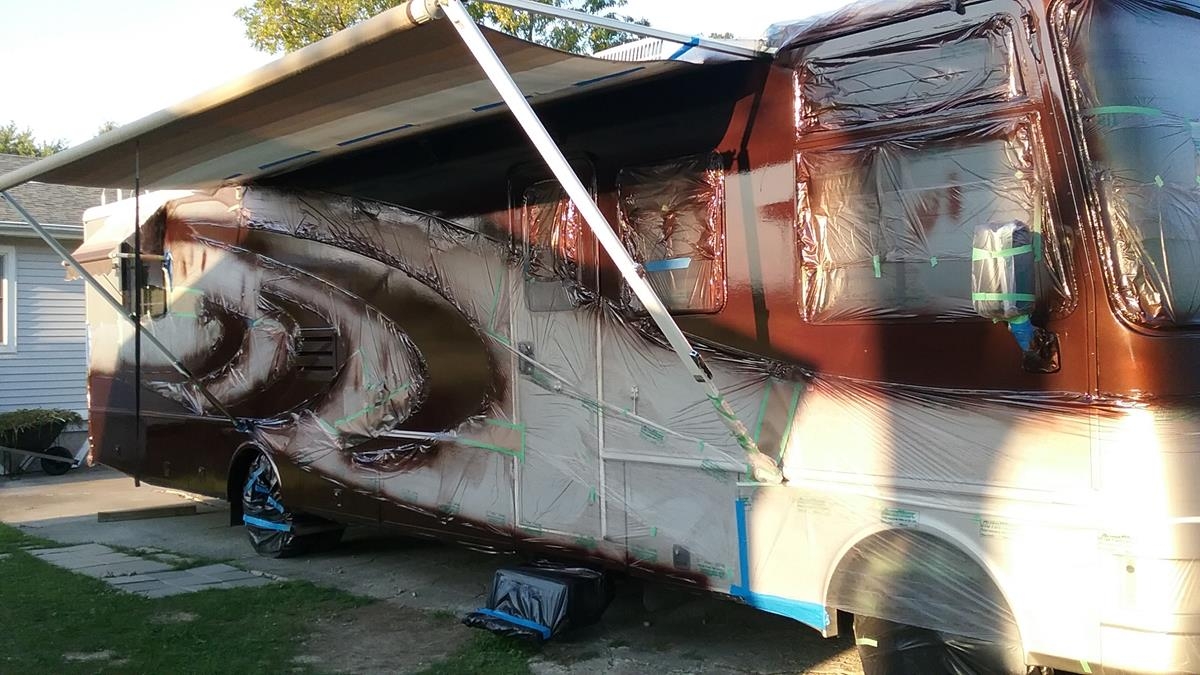
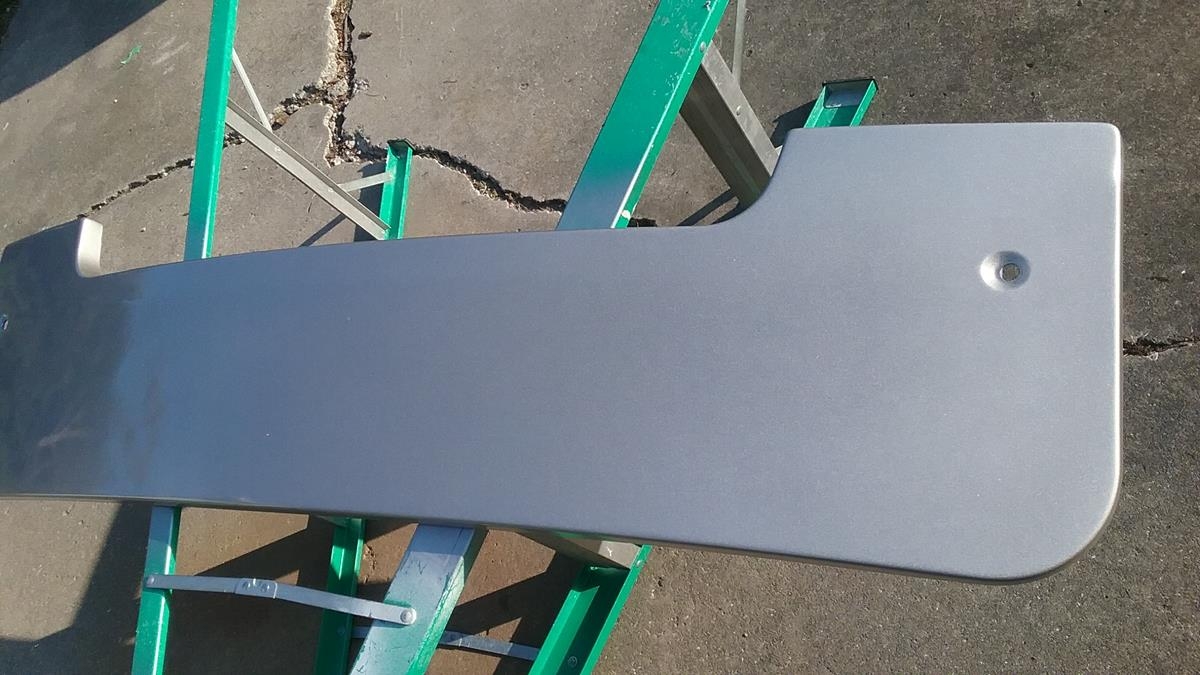
Sanded / scuffed area inside swoosh to get it ready for dark color.
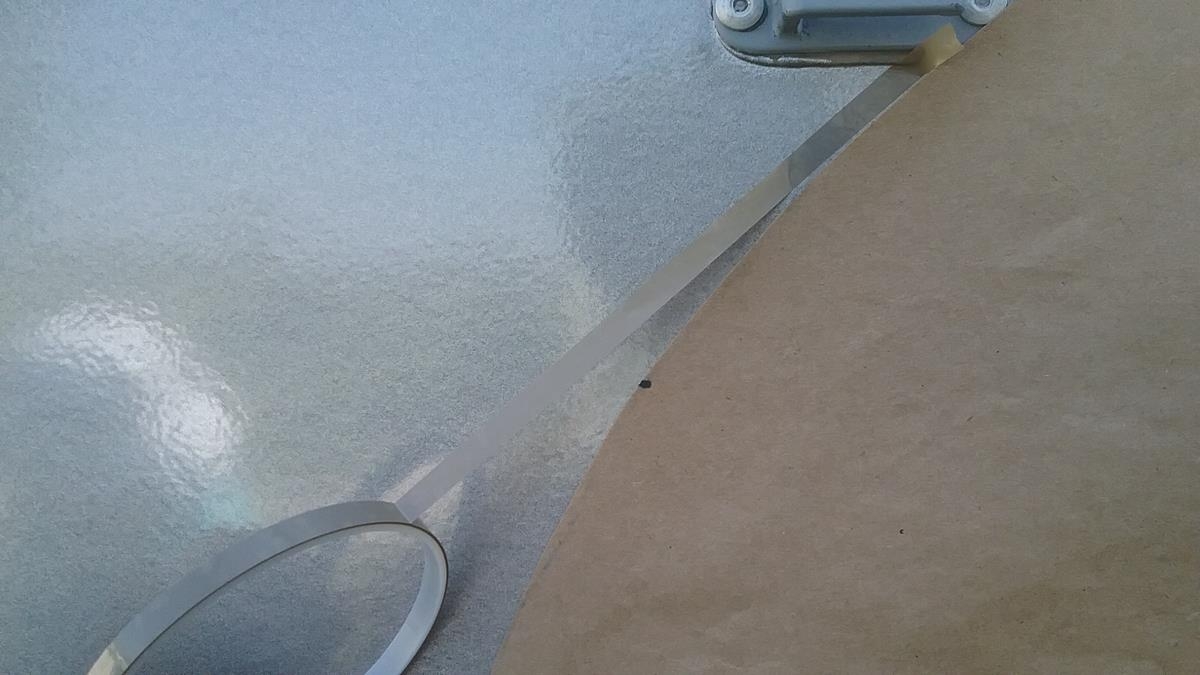
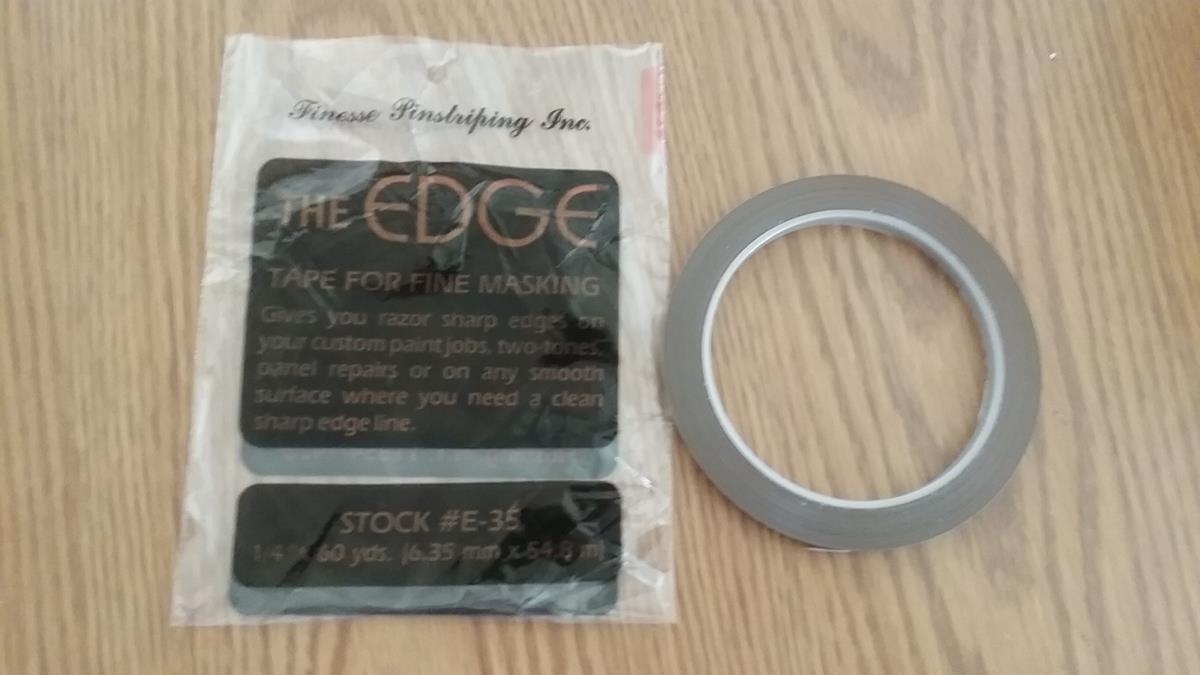
Positioned the paper templates on the side. Then carefully used thin line vinyl masking tape to trace the templates. The area needs to be sanded / scuffed so the paint will stick, then everything id masked off and the dark color is painted on.
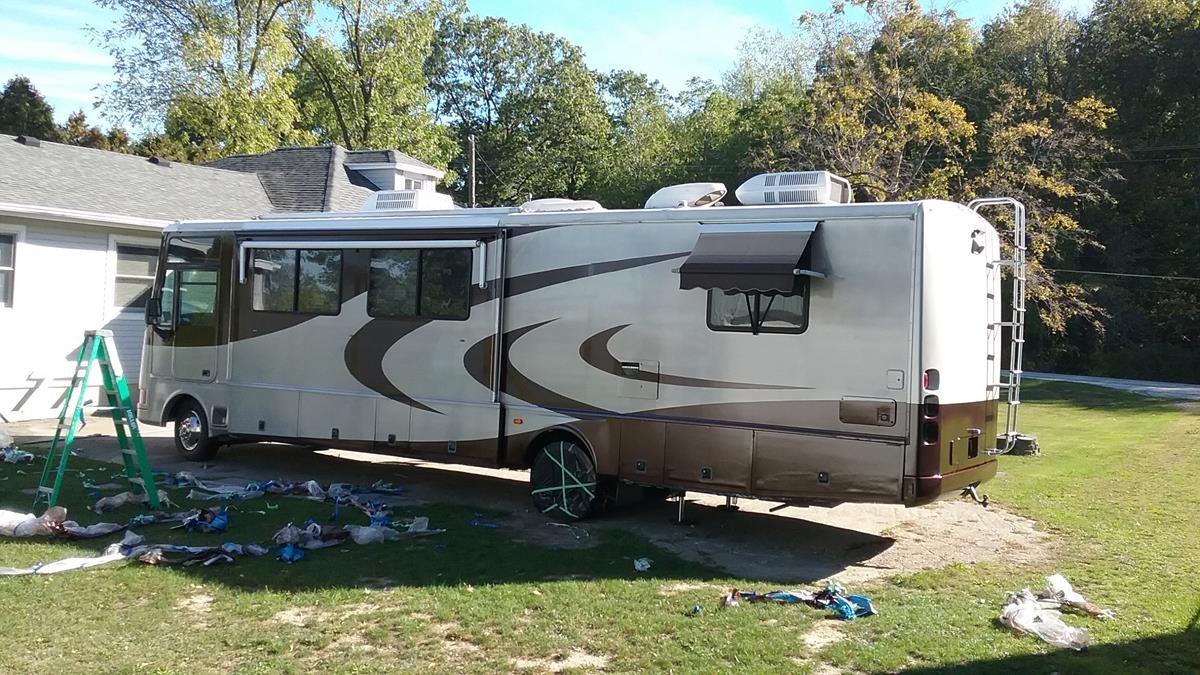
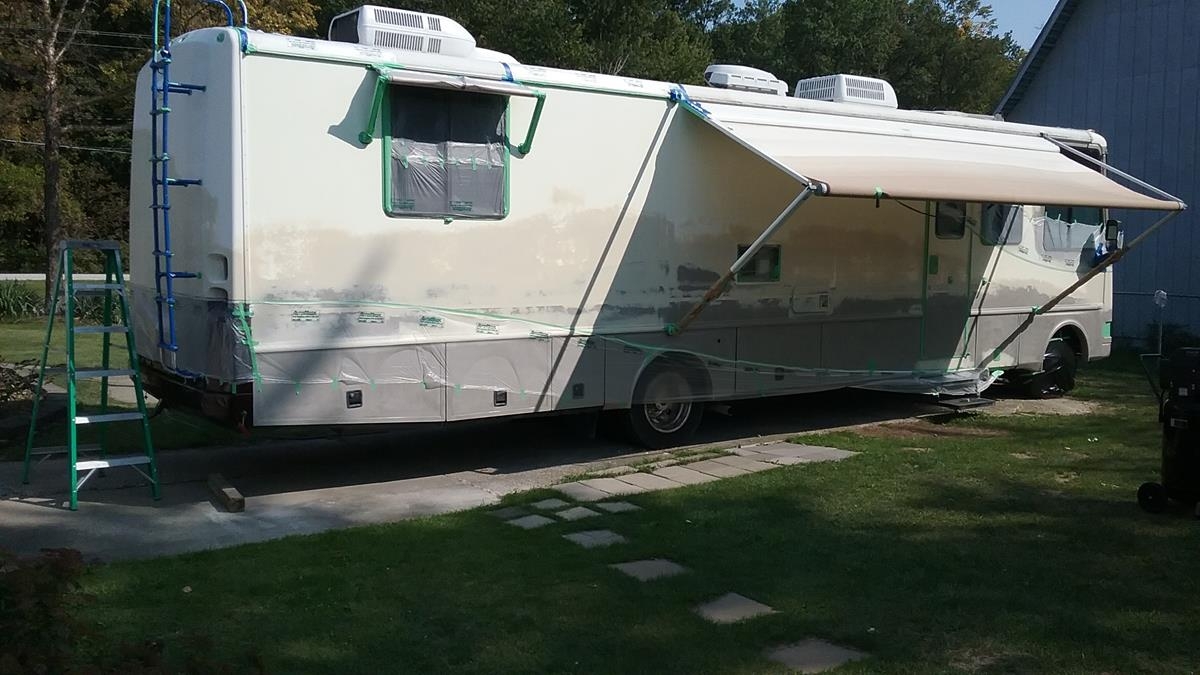
I masked off and painted the light color on drivers side. I was able to start painting about 11am and it took about 45 minutes. I was finished and the paint was tacking before the sun came over and hit the side and produced hot spots. This is the best I’ve done so far. one minor run and, nice even covering and one minor blush. I’ll be very good at this by the time I’m finished… 🙂
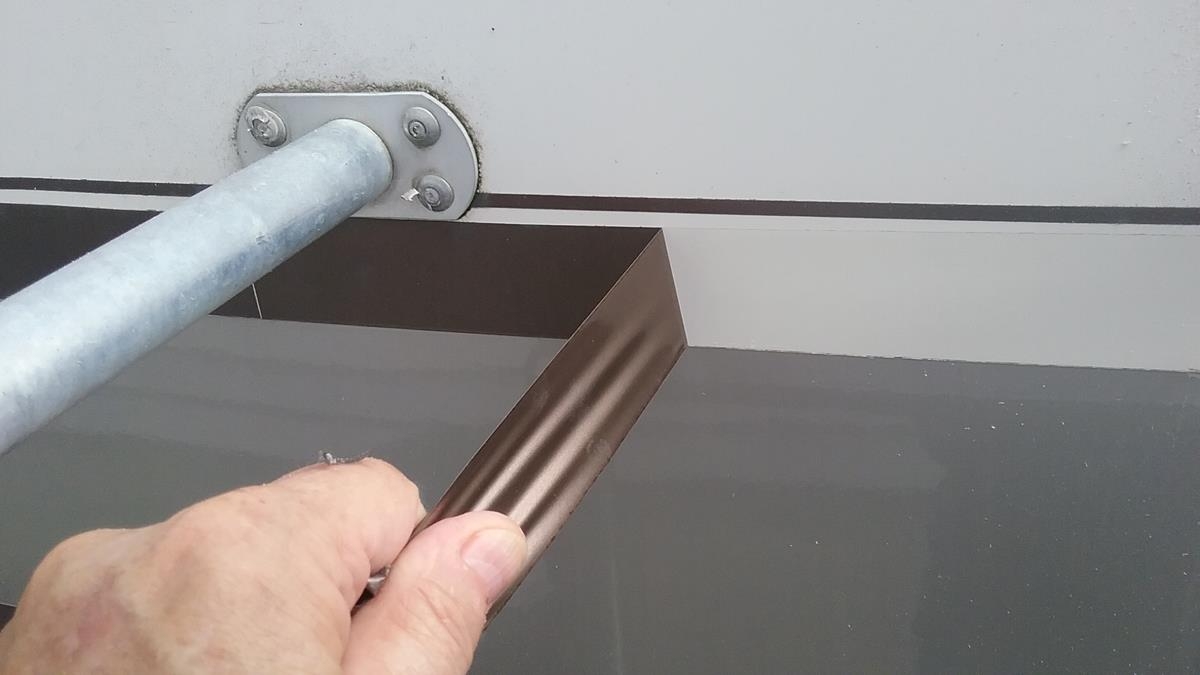
Painting around the slide out was tricky. I moved the slide out about 6 inches to tape around the seal and the 1/2 wide white frame the seal hits on, I then moved the slide back in so it only stuck out about two inches, then used wide tape between the slide and the wall to make sure paint wouldn’t get up behind the slide.
I’m still not sure if I’ll paint the front and rear slide-out walls to match the exterior wall colors. I’m also considering re-doing the dark color on the rear lower cap. It had a couple real bad runs that need re-work.
Mounted the LED amber lights on both sides.
Sanding drivers side. Also Sanded and painted top of front cap.

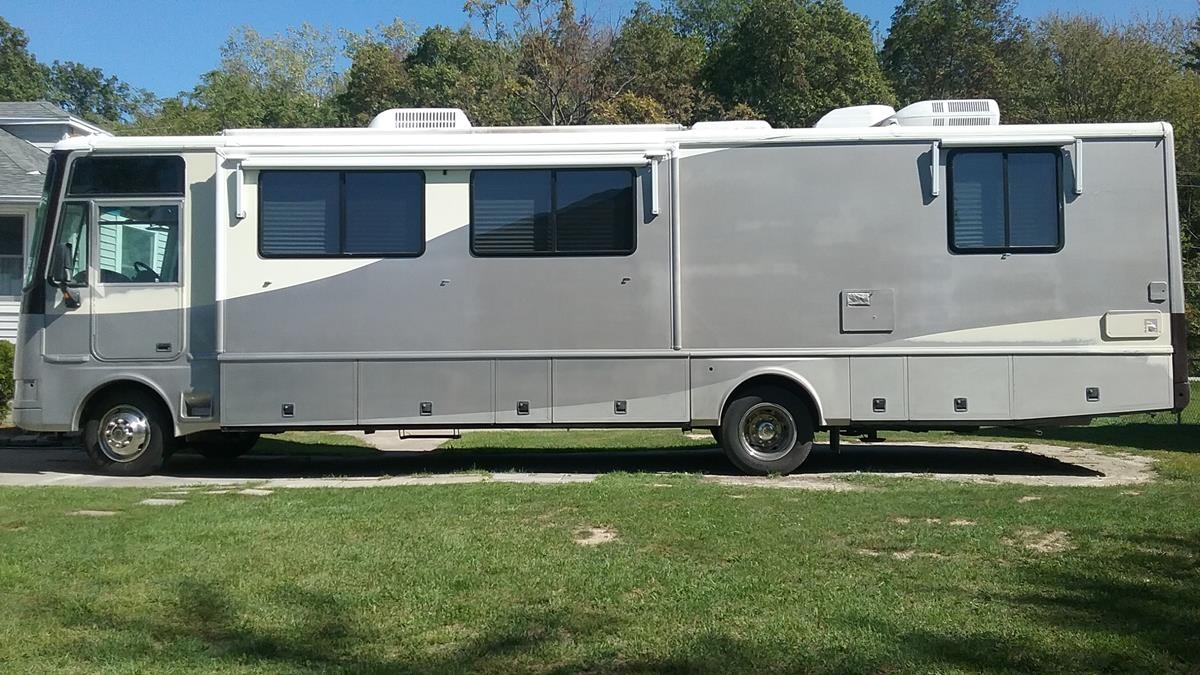
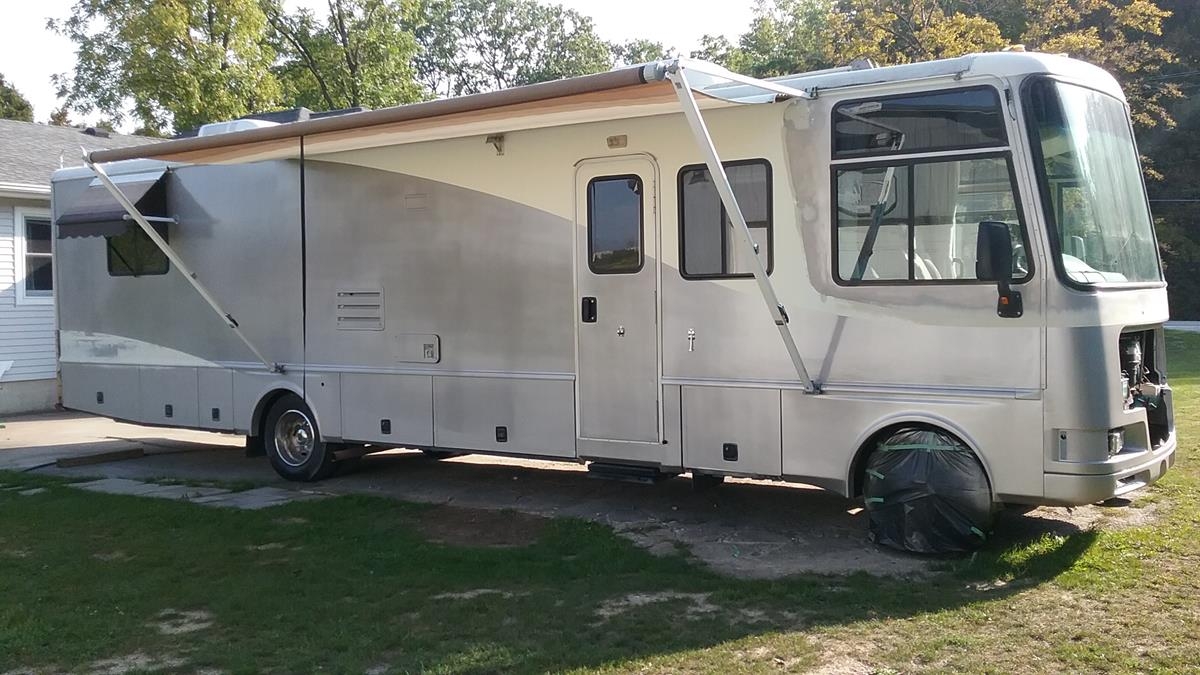
Unmasked. Looks very good. The light color looks grayish/silver when its overcast, but has a slight tan/goldish when its sun lite. I still need to do the black on compartment and door handles, steps, trailer hitch, rocker panels, mirrors, front grill, and windshield wipers.
Swoosh templates. Rather than freehand, I decided to make a couple templates to use as guides when masking. I took the paint drawing guide I made and deleted everything except the swooshes.
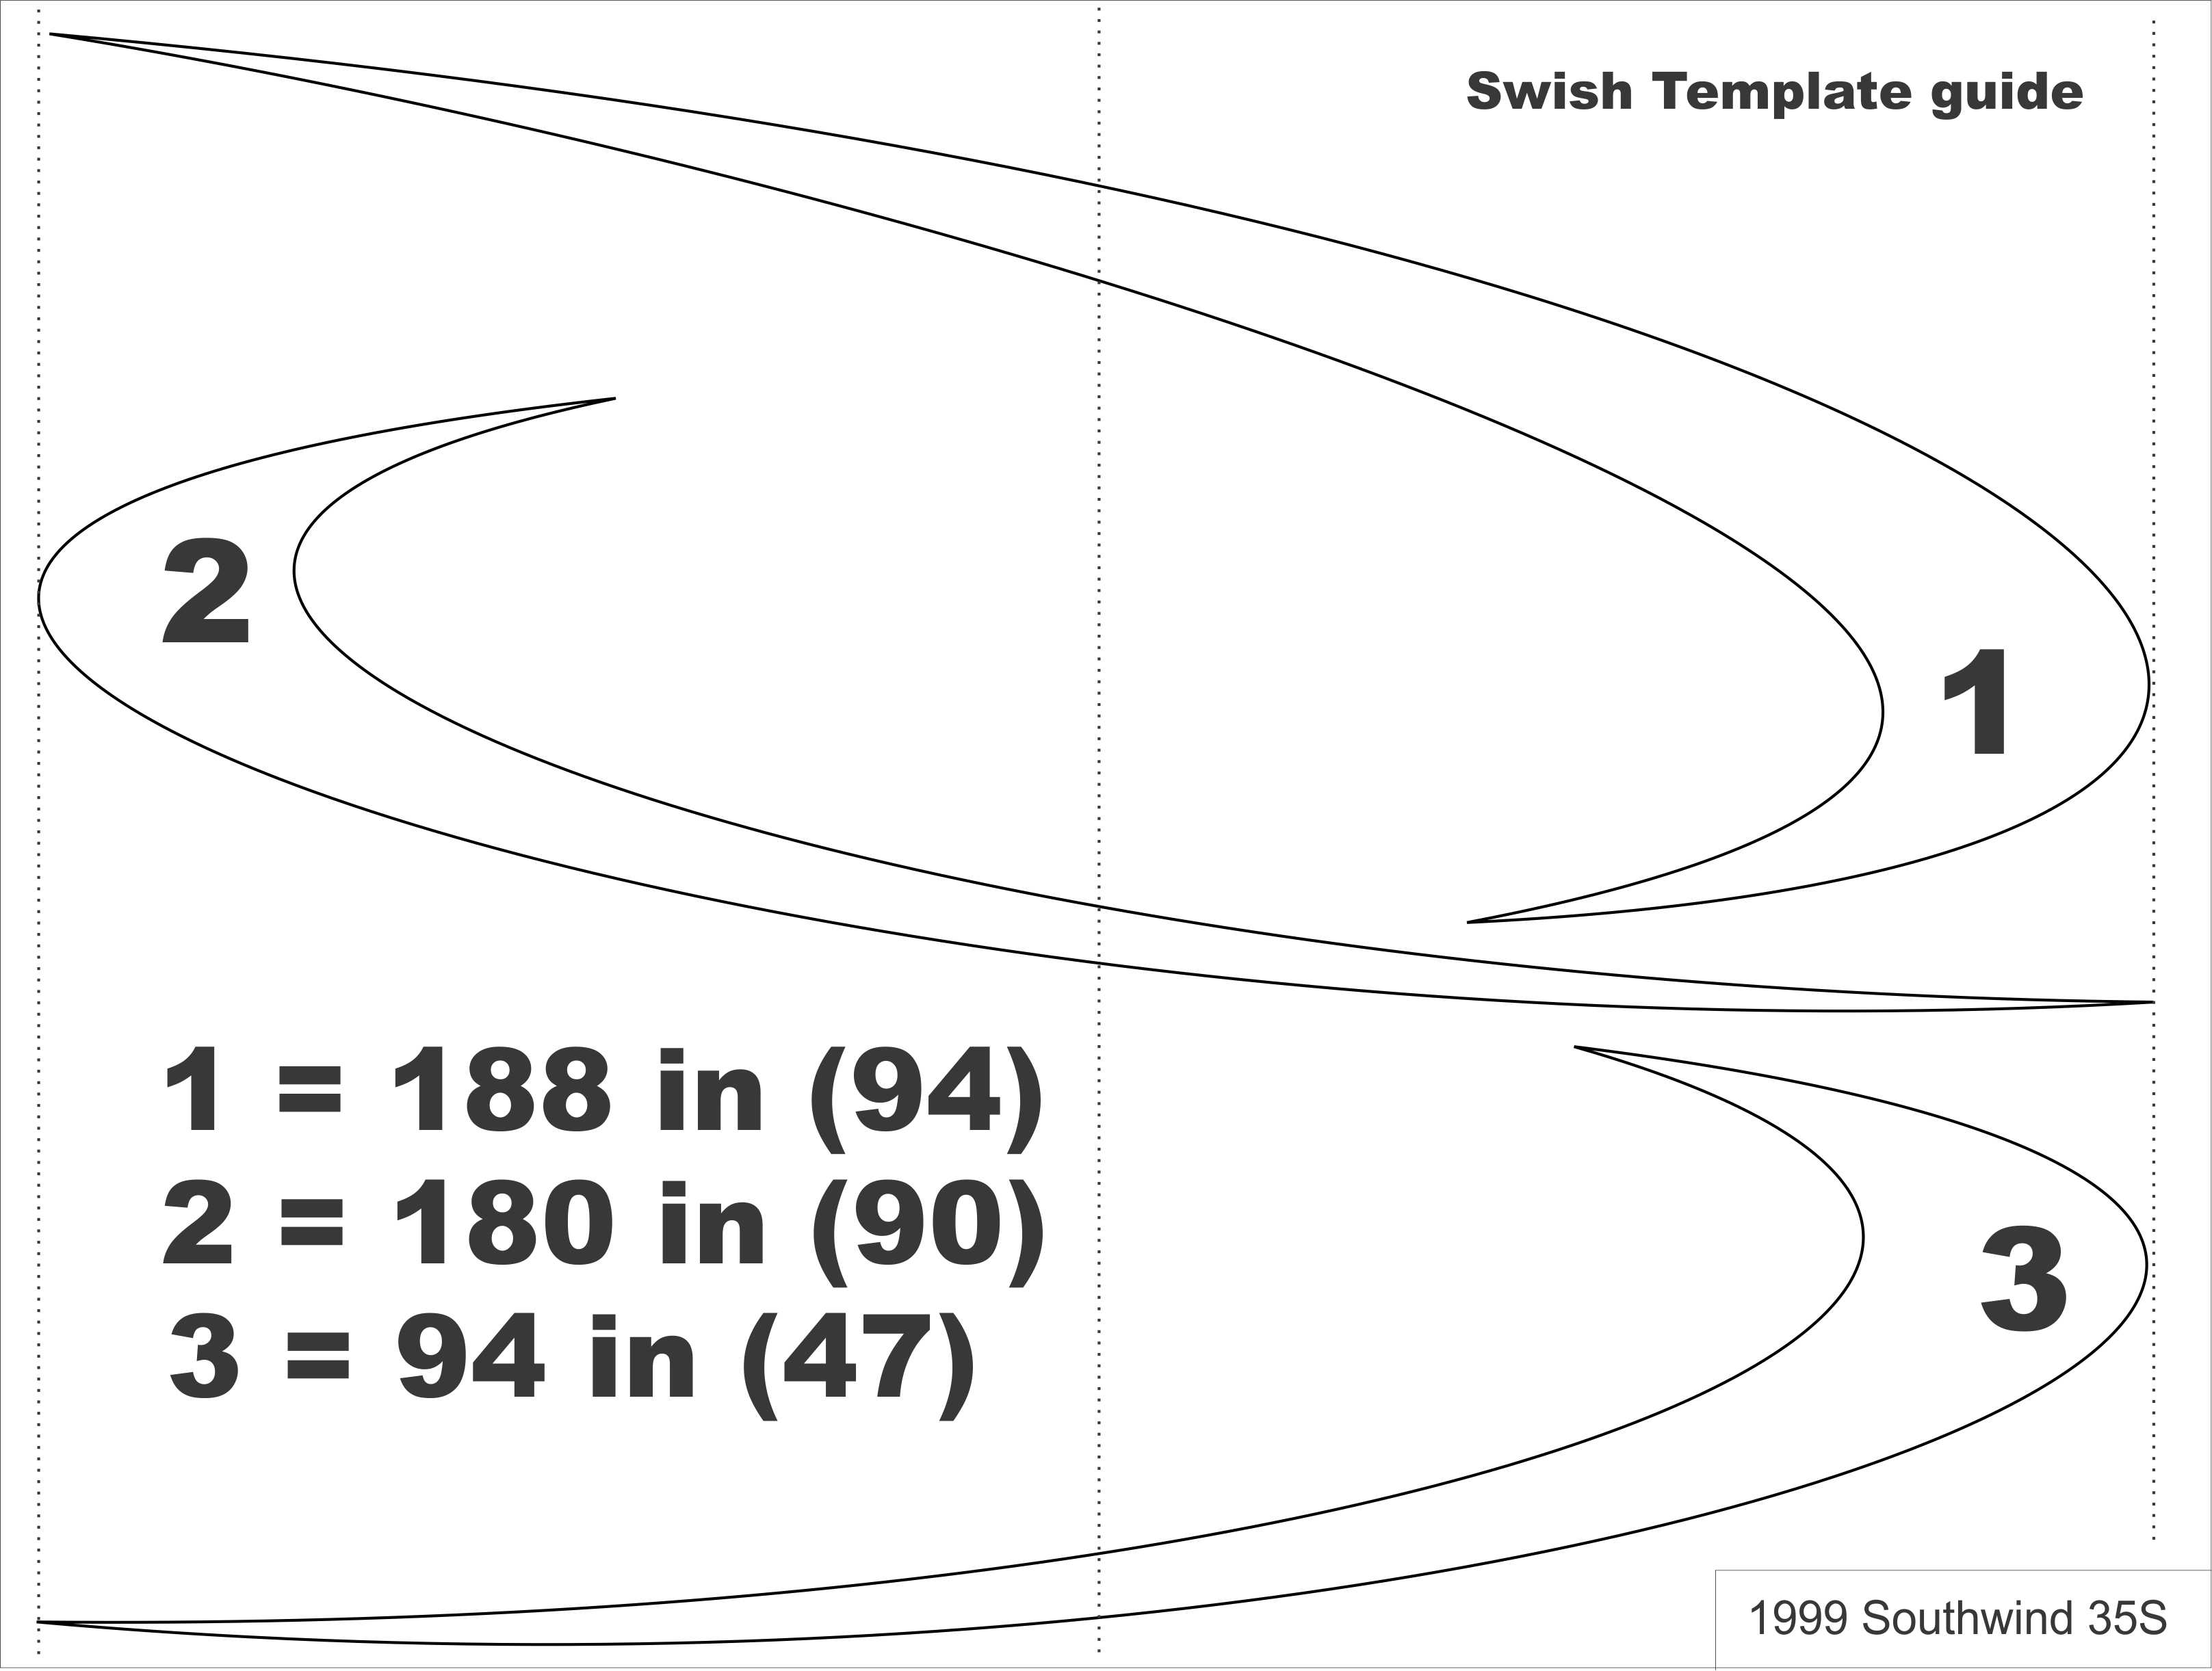
I then used a computer projector and shined that drawing on a wall and traced the outlines onto brown paper. I cut out the three templates and thats what I used as guides to masking.
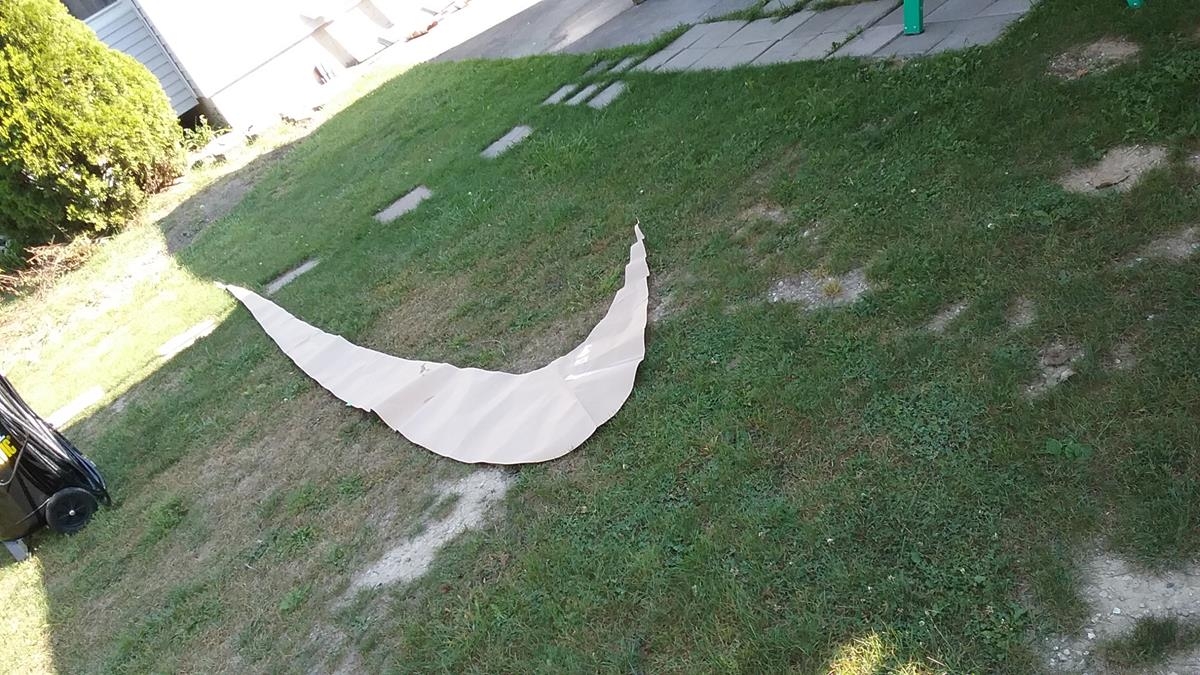
Once I had the templates taped on the side, I used thin line tape to mark where the paint would be. I then sanded the area inside the tape lines for good paint adhesion.
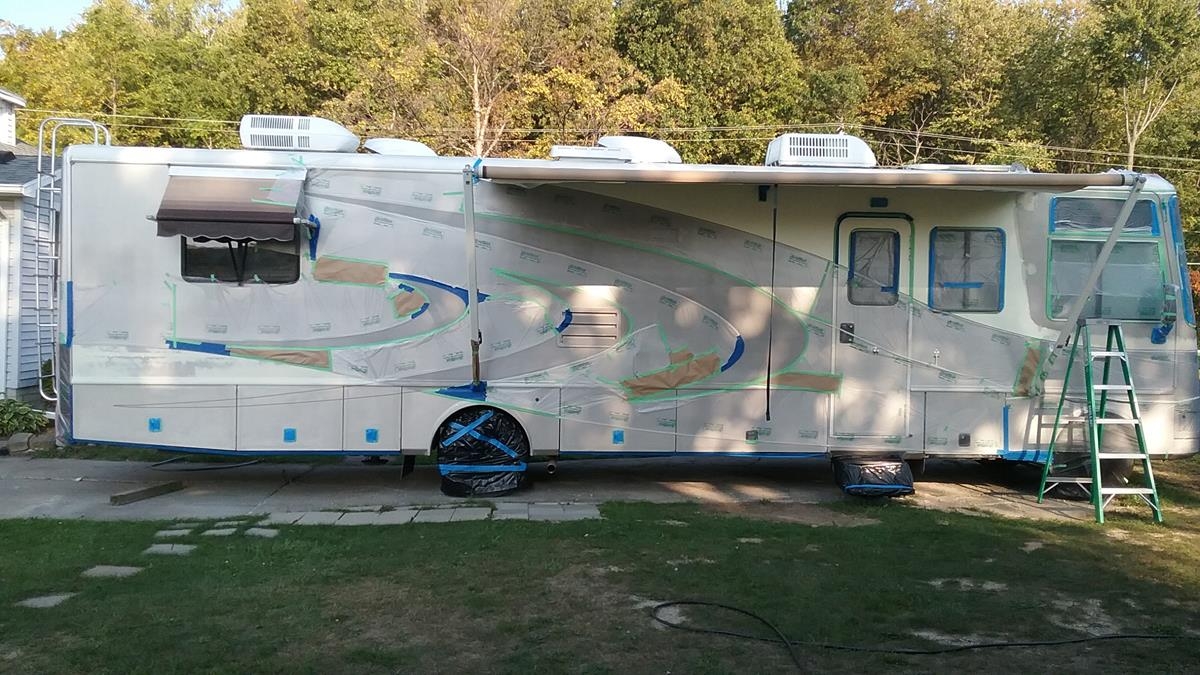
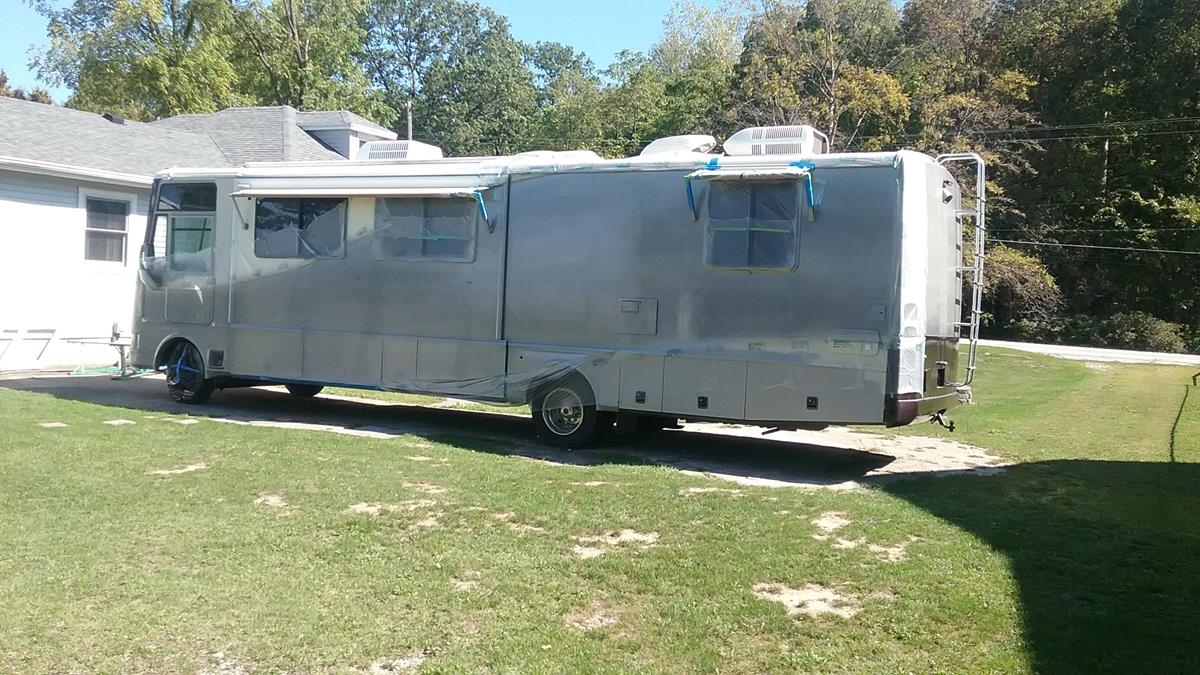
I finished masking off the rest of the motorhome to protect for overspray. Masking took about 5 hours.
One final inspection of the masking and then the paint. Pressure was about 30 psi, a fan spread about 9 inches, and the gun was about 12 inches from the work. First coat was just on the wet side with about 50% overlap. The lessons learned so far, if I under-spray something, DO NOT try and add more paint, it will run and blotch. I catch all these on the second coat. I gave it about 20 minutes before the second coat, I used the same technique for the second coat.
This turned out almost perfect, no blotches, no runs.
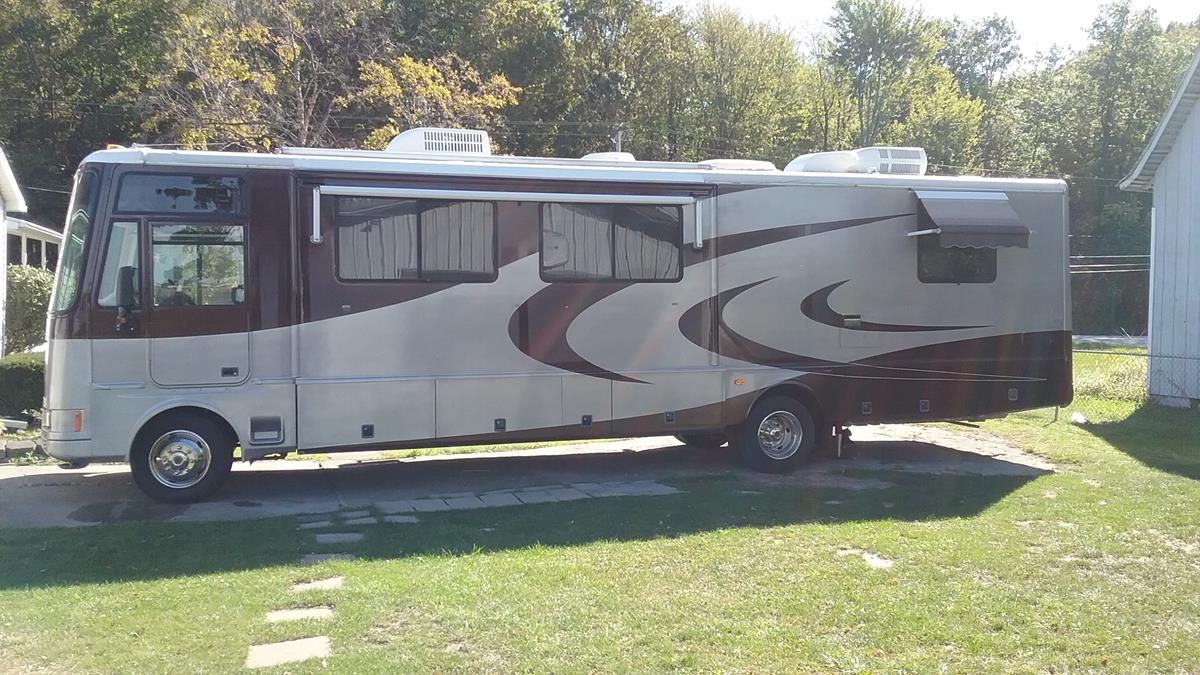
Sprayed light color on passenger side. Some minor orange peel and blushing, but this should polish out.. Getting ready to paint dark colors and swoosh on passenger side.
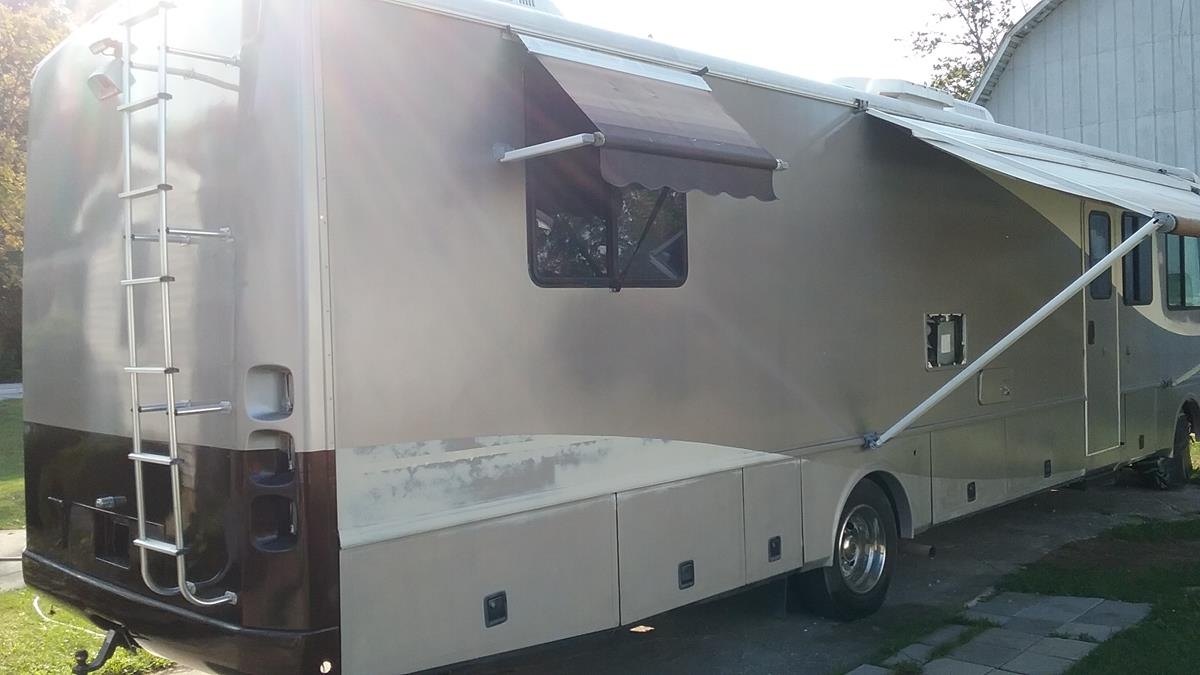
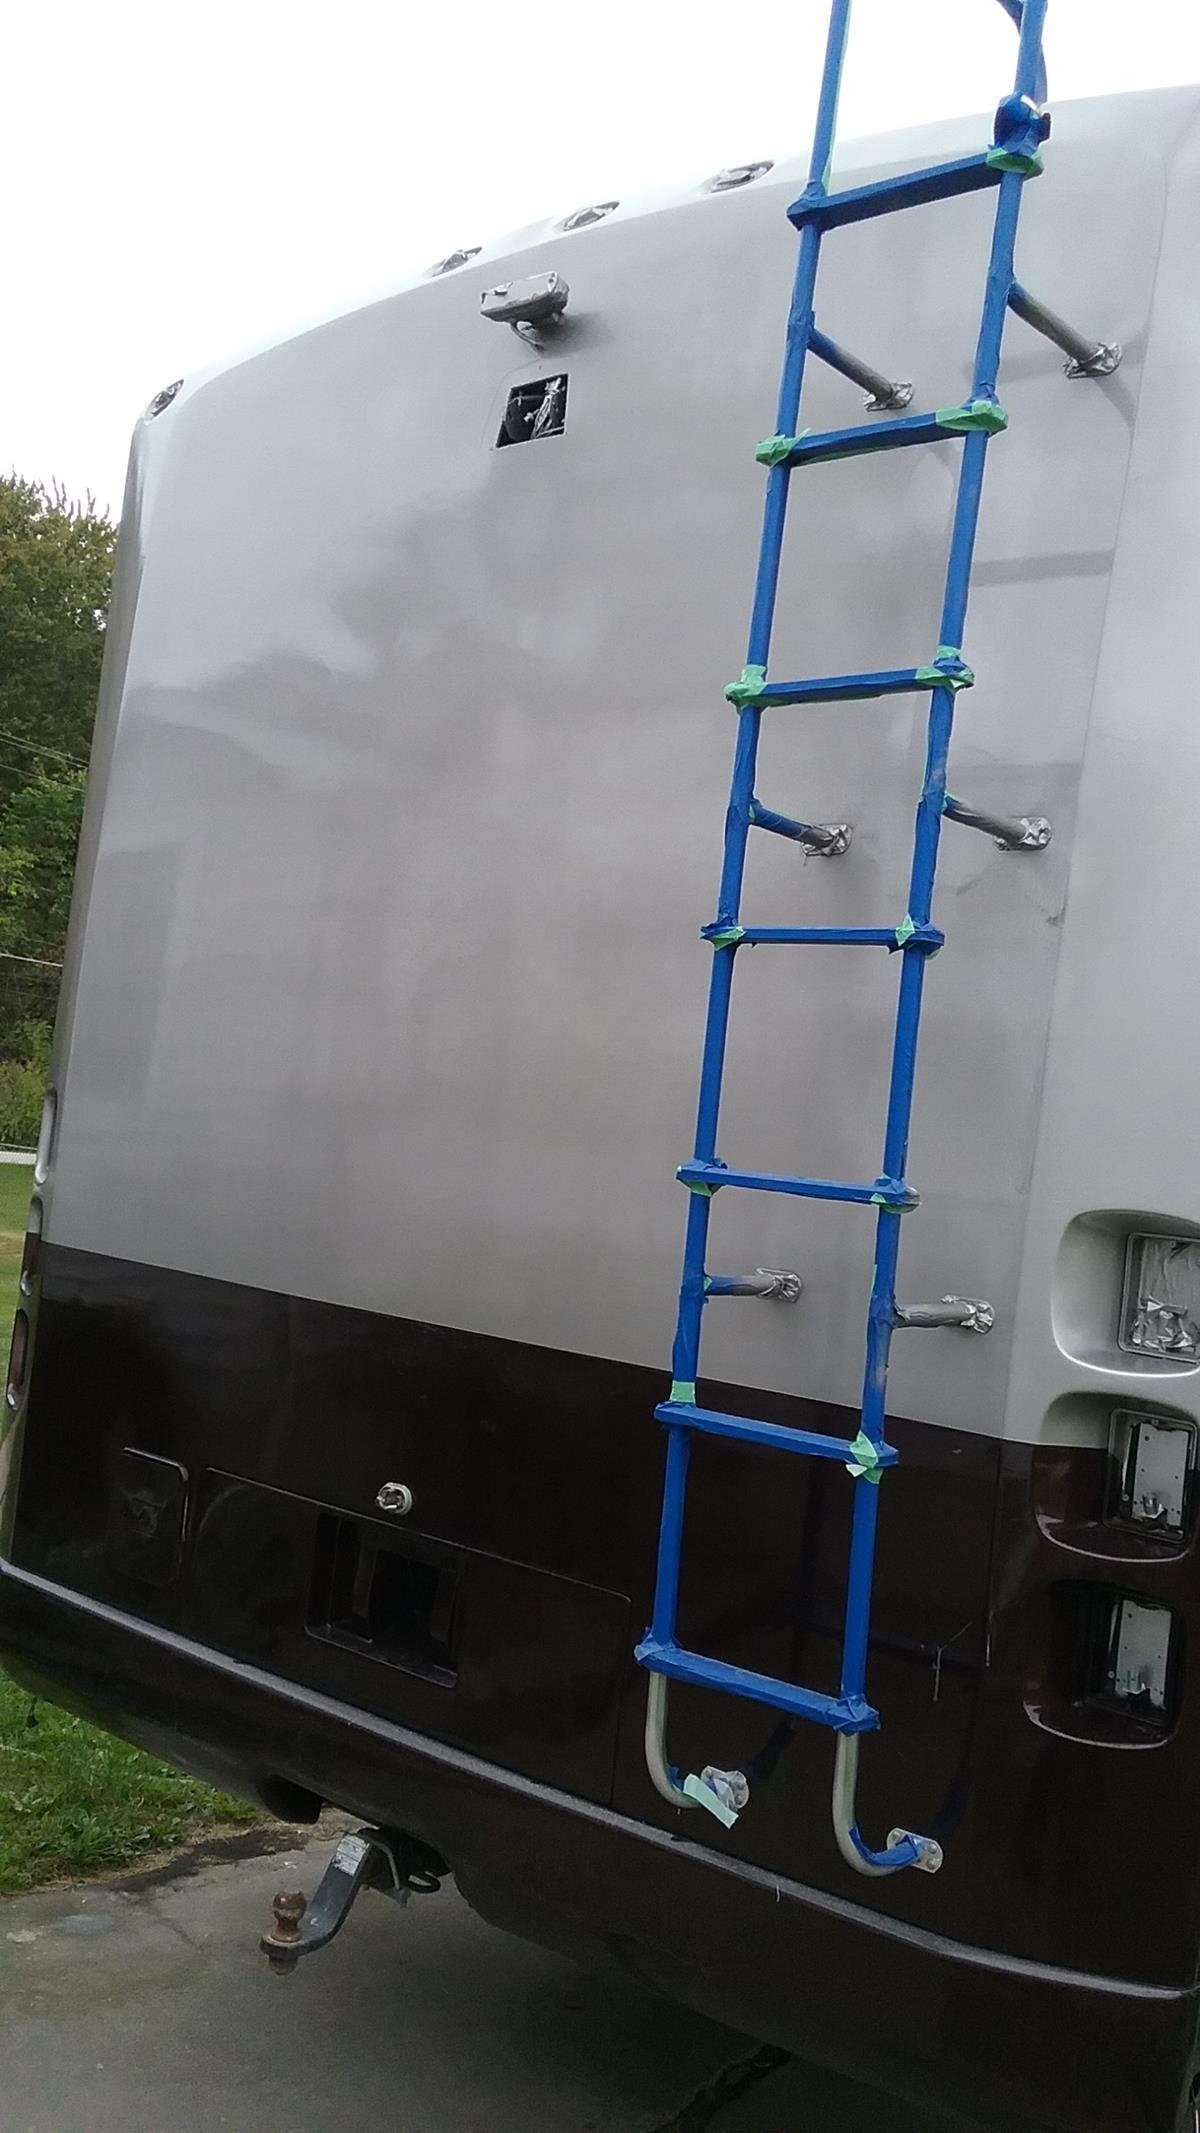
MUCH BETTER – I set the air at 30 psi, and did not use reducer. I was careful not to get to close (I stayed 12 – 14 inches away), and I made sure I had a 50% overlap. One minor screw up near the ladder. Its probably going to stay that way. Now all I need to do is see if I can do the rest of the side like this.
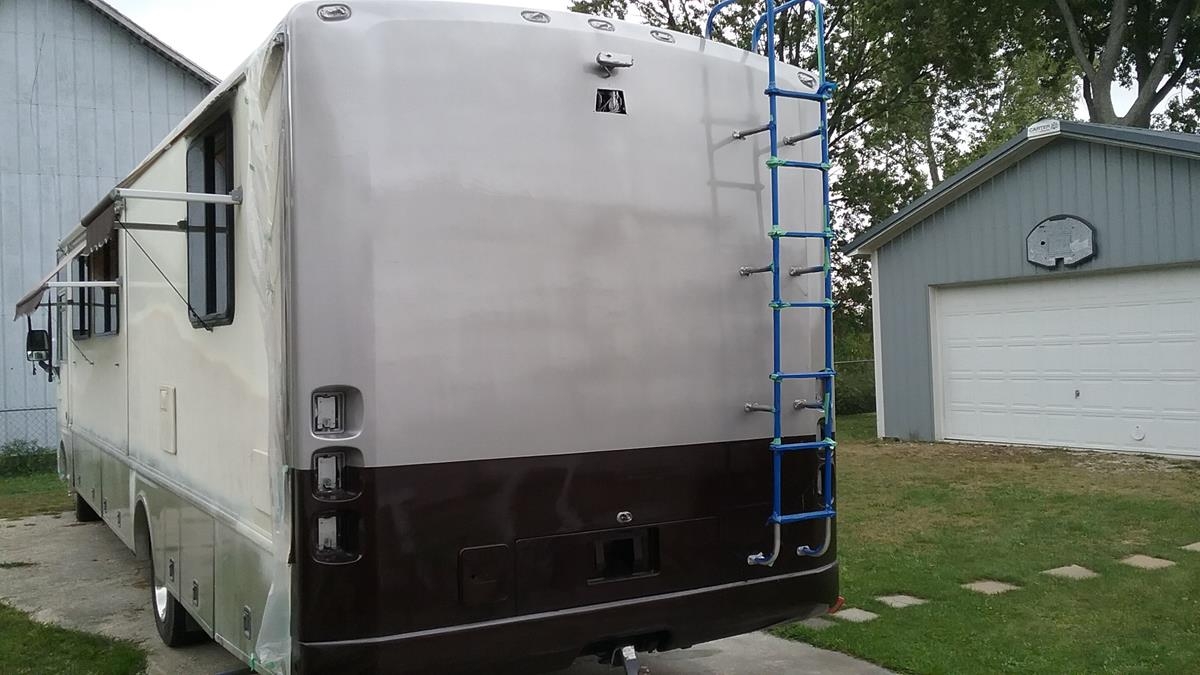
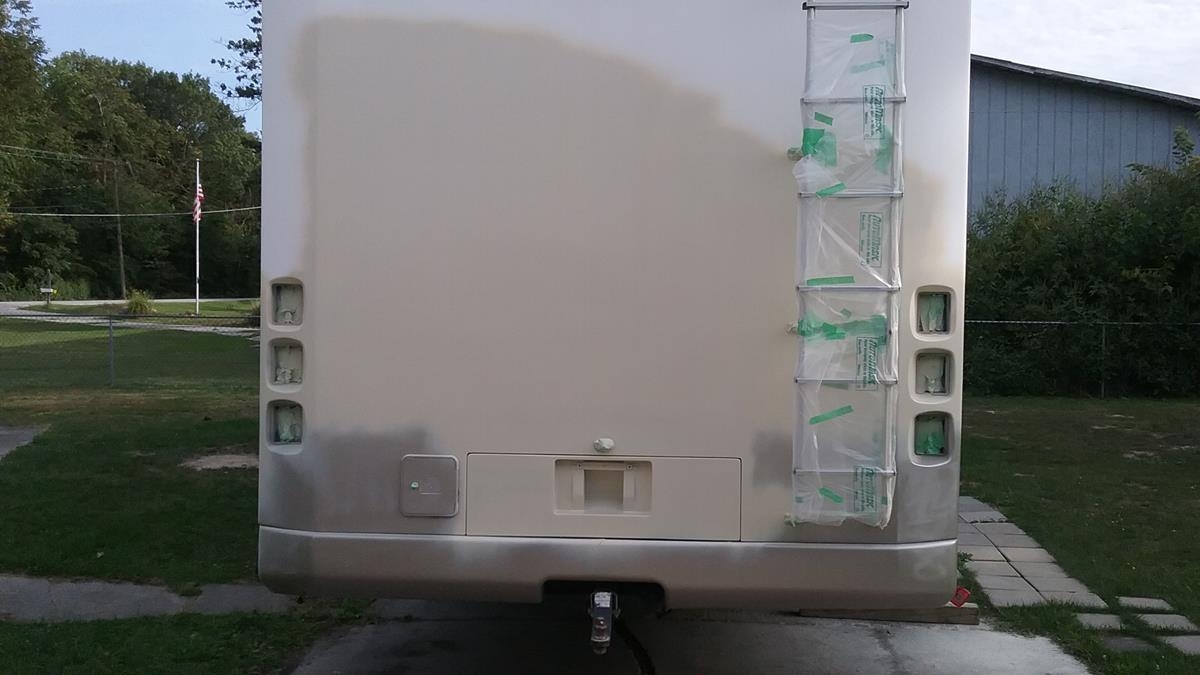
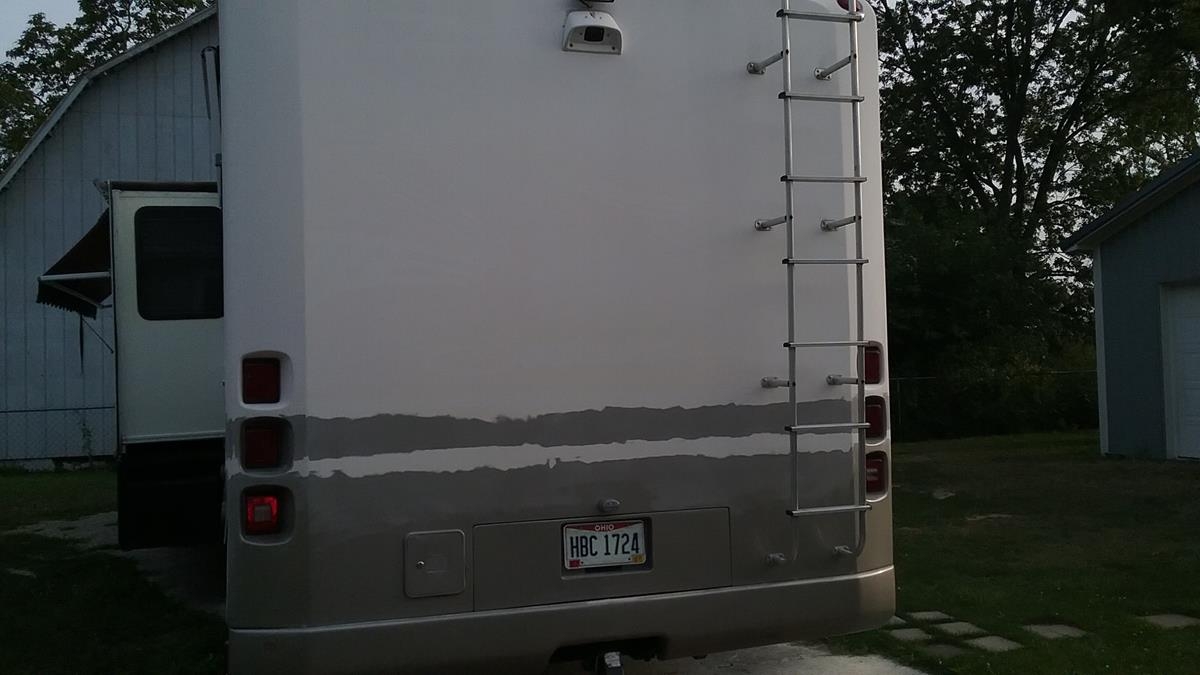
Sanded rear cap. painted. It looks a lot better, but still some blotching. I need to watch the overlap more closely, should be shooting for 50% overlap and a wet first coat.
I may re-do again. I think I know the problem, I’m using 4 parts paint, 1 part hardner, 1 part reducer to thin it out, I’ll try no reducer.
Sanded on the rear cap. WOW, A couple of the runs/blotches were 1/8 thick… I I sanded it down almost even. I think the majority of the repair will be sim-ply scratching the new surface, they re-painting. I got it on way to thick and it sagged and run…
URGH – the good news – Got the area cleaned and taped off – and mixed paint. 4:1 Silver:AZ Good color mix
BAD NEWS – Blotchy , runny. I put it on to thick. I think I was to close to the work. It seems I need to be about 12-15 inches for good coverage.
I’m not sure about the damage yet or what needs to be done to fix it.. I’ll do some testing this week when I get some time to see if I can salvage anything or will need to re-scratch and re-paint..
Sand and prep passenger side and front. Still need to use the grey scuff pad on everything, then it should be ready for paint. All exiting surfaces need to be dull for paint to stick properly.
Sand and prep front and passenger side..
Cleaned and sanded rear cap. My priority was to do a small paint test and also to do some mix test to see what it would take to lighten up the tan/gold.
A 8:1 mix of Silver / Arizona produced the best looking light color. Also, a 8:1 mix of Silver / Brown produced the purplish color for the stripe.
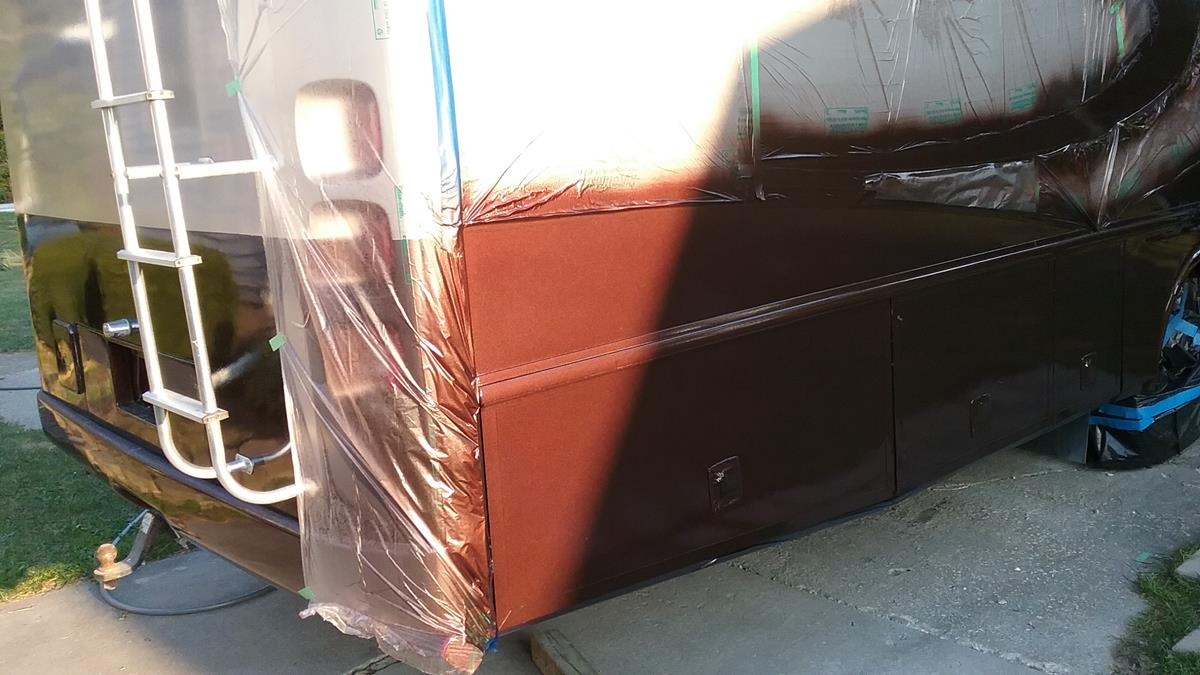
Masked and painted the lower rear cap — I initially put to much paint on and got some runs, but these will work out. The color is PERFECT.. I can’t wait to get the light color on to see how they contrast. I did get the paint gun adjusted and I now have a good spray. This was two coats, A wet first coat, then about 15 mi9nutes later, a second light wet coat with the spray pattern at 90 degrees to the first coat.
The paint is on order, Around $750 for paint and shipping.
- Mahogany Brown Metallic (AU-2304) (2 gallons)
- Iridum Silver Metallic (AU-2118) (2 gallons)
- Arizona Bronze Metallic (AU-2201) (1 gallon)
Cleaned a couple glue remnants I missed. Removed lights and fixtures to get ready for paint. Filled and sanded a couple small body work bondo.
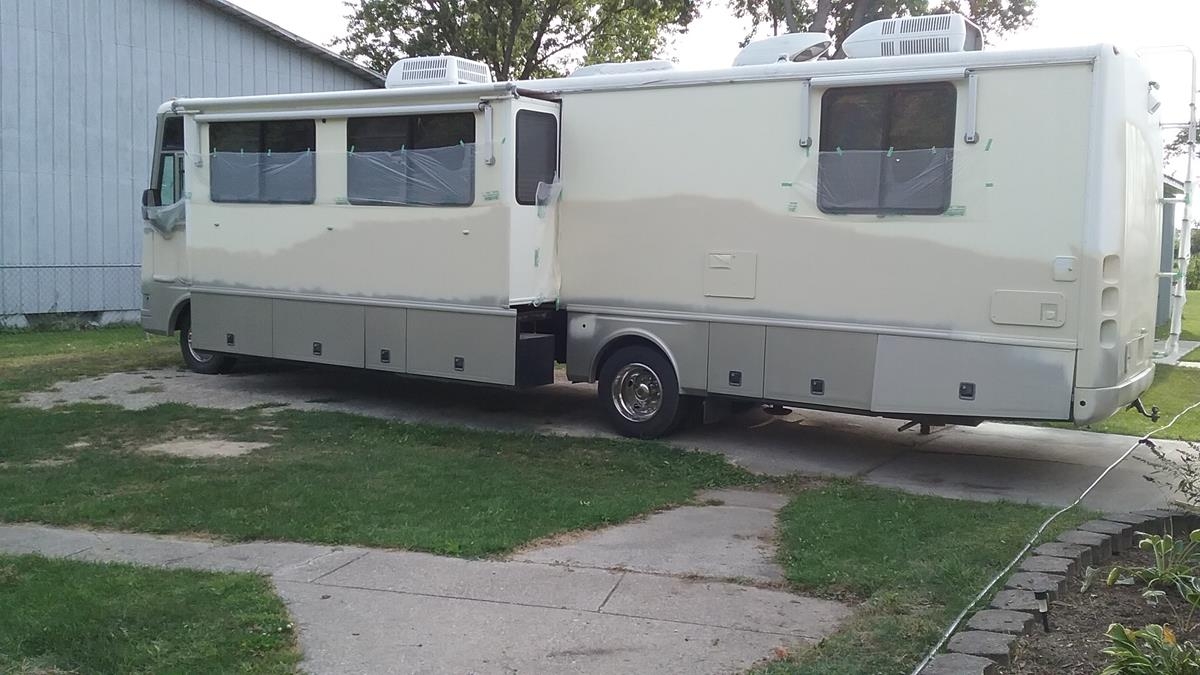
Painted primer on front, back and drivers side/

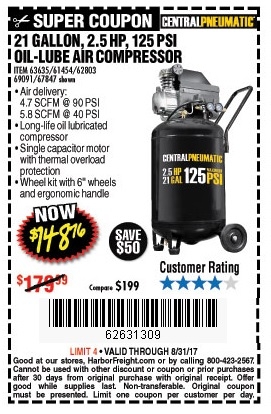
Sanding… I used the new 21 gallon compressor (Harbor Freight on sale $148) and a pneumatic palm sander. WOW. That’s the way to go. I used 180 grit 3M paper.
 I cleaned up the primer mess I made last week by sanding off the clumps and build up. I then went around and feathered all the lines. Total time was about 4 hours. I worked for 20 minutes at a time and then took a short break to let the compressor catch up.
Found areas that need additional work, glue that needs removed, a couple stickers I missed. Also I still have some ridges where some graphics were located. I’ll try sanding those again, but I think I’ll need to do some primer/filler.
Paint lines feathered
Aug 21, 2017
Painted primer. Didn’t have very good luck with the spray gun, splattering. I’m going to get a larger compressor and see if this will resolve the problem. I remember doing this before before when I painted my airplane, – Spray on 100 lbs of primer, sand off 99 lbs of primer..
Anyway, a lot of sanding to bring the primer back down and feather out the paint lines and etching lines from the old decals. The gel coat under the “Southwind” decal and the lines and graphics decals is protected from the sun and weather, and the surrounding area was worn / etched down. This created raised ridges everywhere there was vinyl graphics. The primer filled this in and then feather the raised portions.

Aug 13, 2017
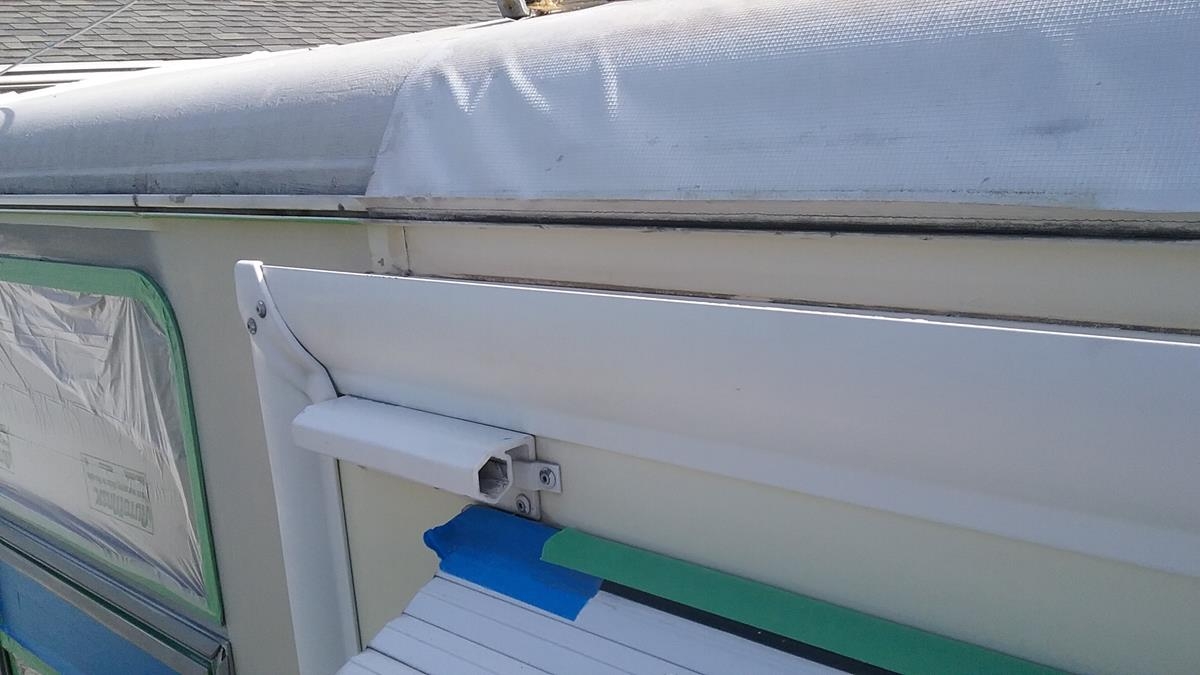
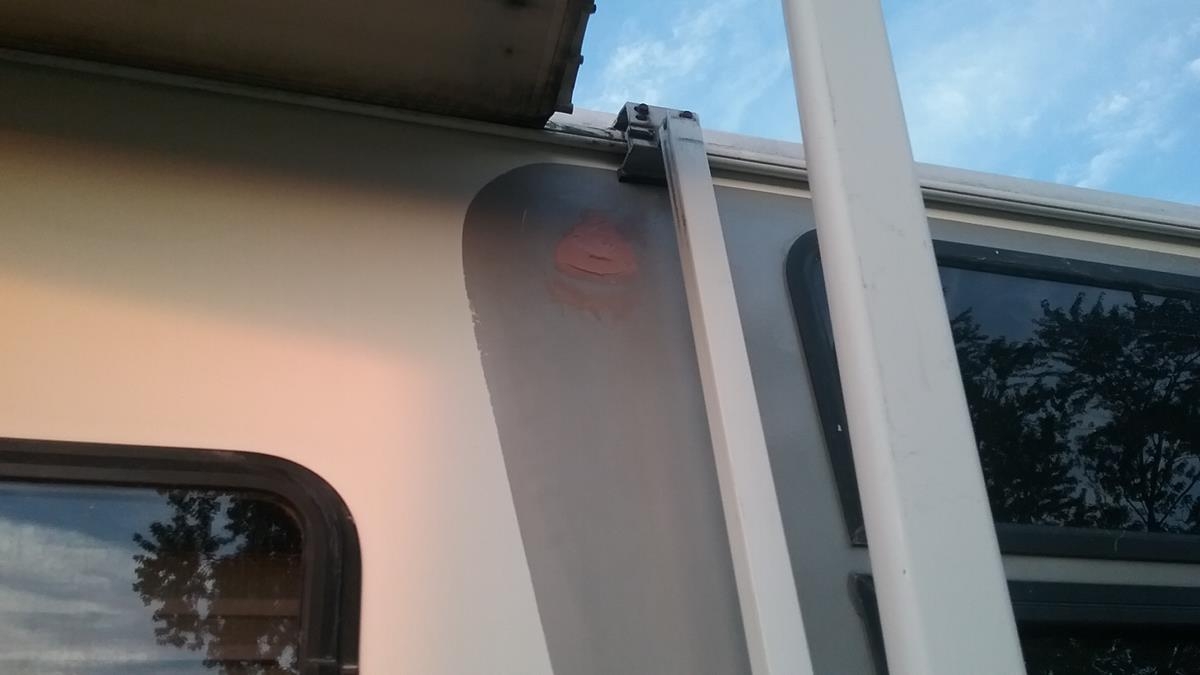
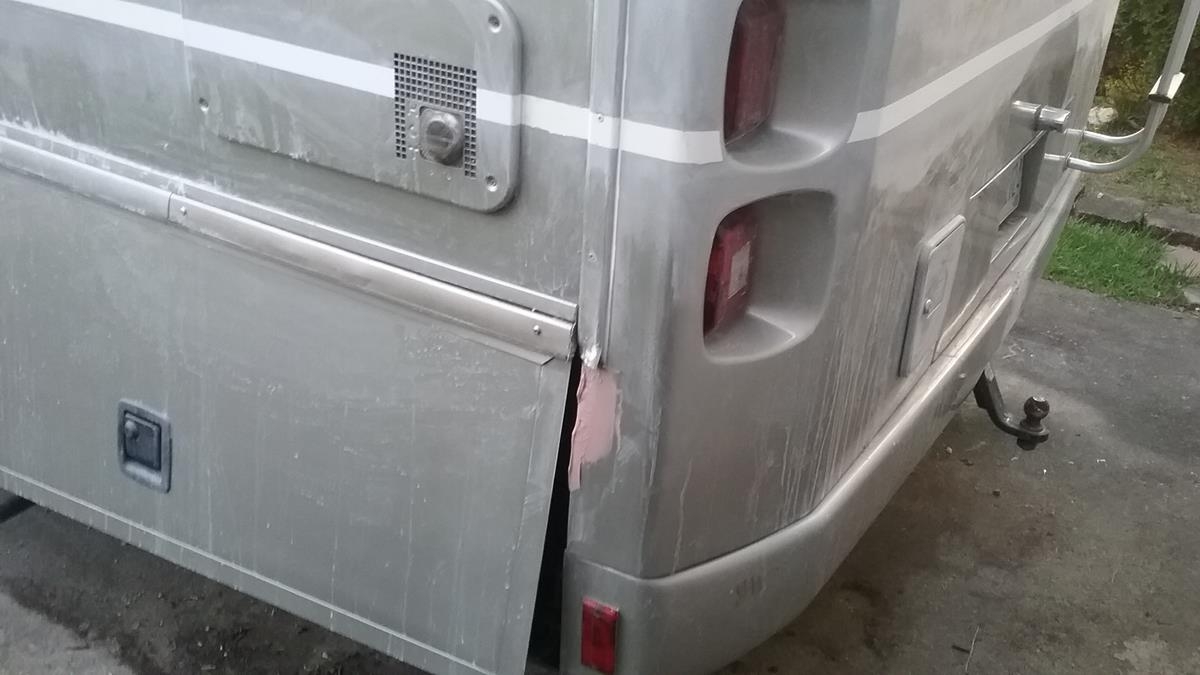
Sand – sand – sand… Continue cleaning up around windows doors. Removing silicon sealant and sanding paint lines. I have two places that needed Bondo fill, One up near the awning, where it got damaged when the awning broke (READ HERE). The other on the back left when a corner where the trim caught a fence post (READ HERE). I put the first coat of Bondo on, It needs to be sanded, leveled and primed before painting, also the trim needs to be straighten a little where that damage is.
Every square inch is being looked at, I see minor stuff,
I haven’t been able to work outside, so in some free time I found a paint supplier that had more color options, TCP Global. The paint line is “Restoration Shop” . I believe this is Kirker paint that’s being re-labeled. I order several 1 quart cans of paint to test with.
The two main colors are Mahogany Brown Metalic (the dark brownish color) and Arizona Bronze Metalic (the light color) This paint runs about $50 a quart or $110 a gallon. Urethane single stage.
I think the Arizona may be to dark, so I’m going to experiment with either mixing some white with it or possibly mixing the brown with the Iridium Silver Metalic to add a redish brownish tint darken it.

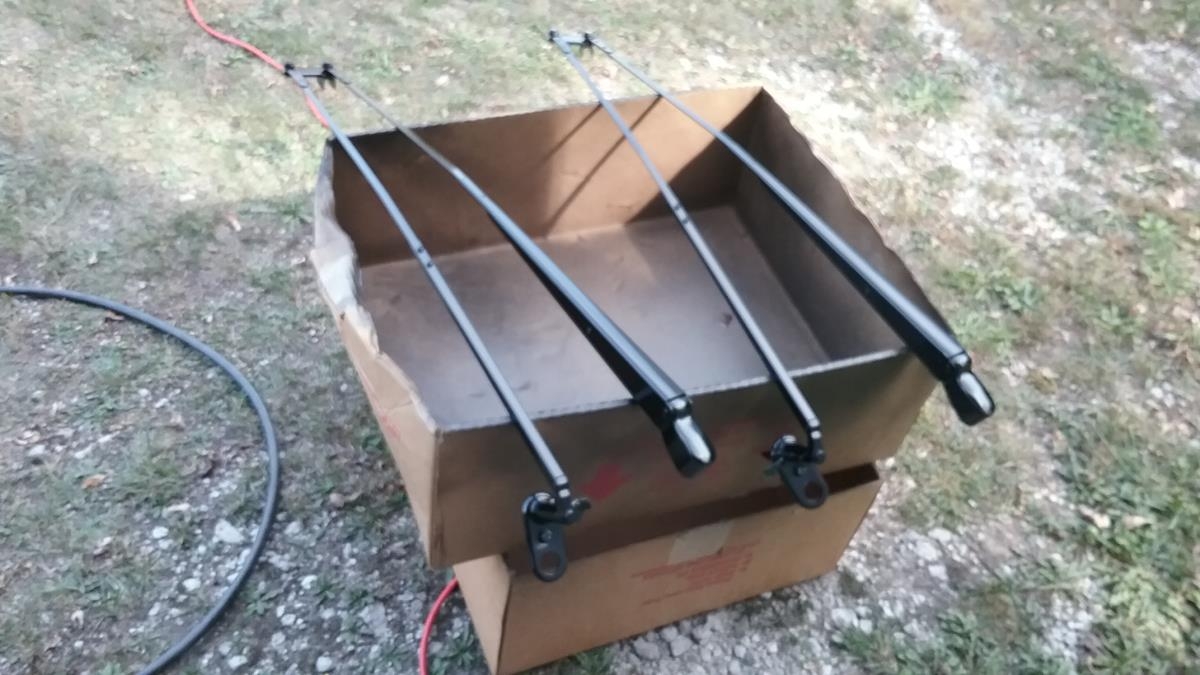
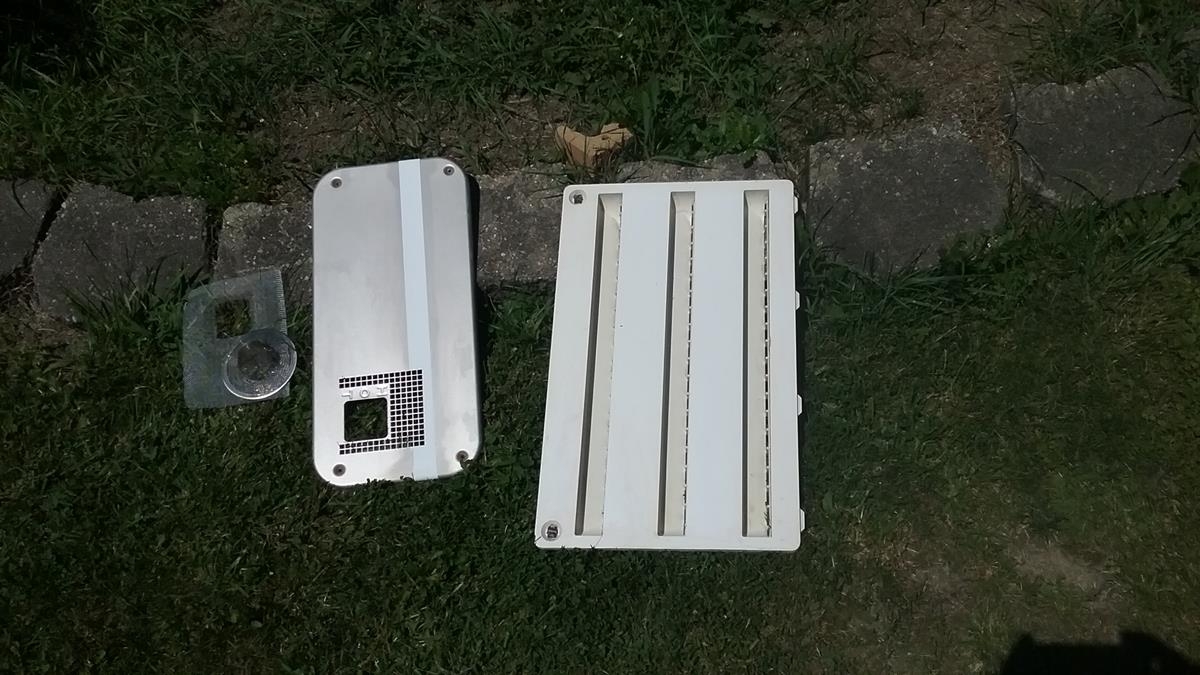
 Removed strips around top, looked at top of front cap and also awnings and topper to see how to proceed with prep and paint.
Sanding, Sanding, more Sanding. Using #330 wet paper, I sanded all the ares that had the vinyl on them, Also feathered in transitions on paint strips.
Cleaned up exterior covers
Removing the glue -URGH.. I tried various solvents, Acetone, Paint thinner, lacquer thinner, Naptha, brake cleaner, gasoline: not very successful on any of these.
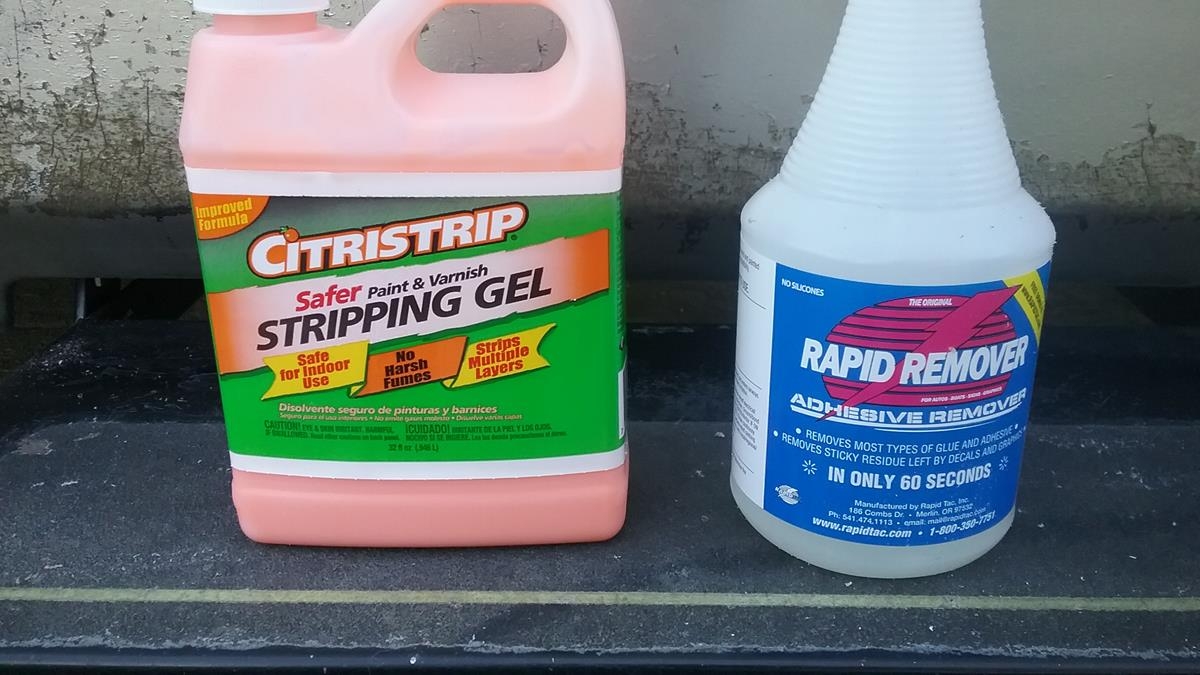 Two Items that I had success, Rapid Remover and Citristrip (stripping gel).
Rapid Remover sprays on, let it sit for 90 seconds, then use a plastic razor to scrape the residue off. This stuff softens the glue for a few minutes, if you wait to long, the glue re-hardens and you need to do it over again. Available at Amazon, $33 for 32oz spray bottle.
Citristrip – I was looking for the adhesive stripper, but Home Depot only had the stripping gel so I figured I’d try it. Its a little thick, so I used a small paint brush and applied it over the glue. I let this sit for 5-8 minutes then used the razor to scrape it off, This did a good job also. Available at Home Depot, (Available at Home Depot, $11 for a 32 oz bottle.
I was able to get most of the adhesive off, There still remains some small thin areas that I’ll work on today. I think I’ll put some Citristrip stuff on, let it soak, then use a small green scrubby pad.
 I used the hot razor method and got most of the drivers side stripped. There’s still a small line that goes across the top. it runs under the awnings, I need to get that. I’ll use the eraser for that.Also the side walls of the slide-out had vinyl on them, I got the majority of it off, but there’s a little bit I can’t get to, I think when I pull the slide back in, I’ll be able to get to it from inside the Southwind.
I have a glue that needs to get removed. I’ll start on that this weekend.
Worked an hour last night, got the back and part of the drivers side stripped.
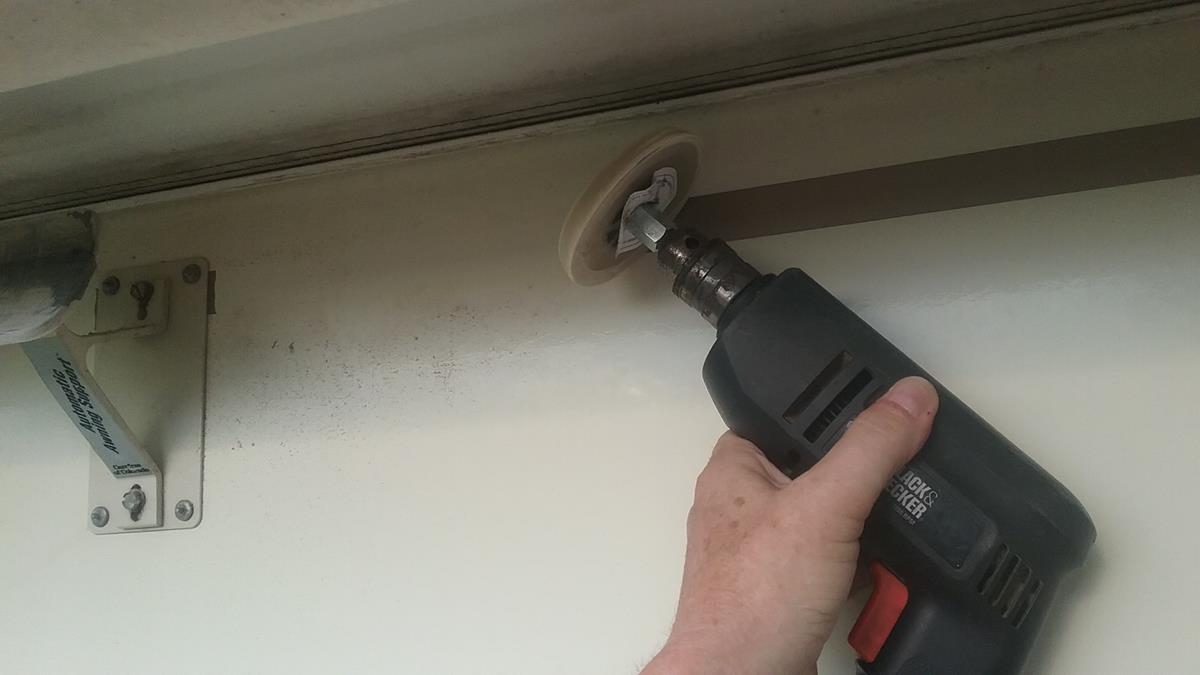
 UPDATE – Using the eraser – I found that the eraser works better if I hold it so the debris blows onto the piece I’m working on. In the above photo, I have the debris blowing down, and I’m working right to left. I found a better method.. (By the time I’m done, I’ll be real good at this)
This depends on which way the drill is rotating. yes, you can reverse the drill. In this case, looking at the drill in the picture, the eraser is rotating clockwise:
Work from left to right, Tilt the eraser at about a 45 deg angle so the top edge (about the 12 oclock position) is doing the cutting, and blowing the debris on the stripe to the right. As you move to the right, the debris is actually helping with the cutting.
If you want to work from right to left, simply reverse the drill rotation so its turning counter clockwise.
 More graphics removal The eraser works good, The pull method is the best as it also removes the glue. I’d say either one of these takes about the same time.
Removing graphics – still finishing up side, front and back
I’ve now tried several different methods and this is what I’ve come up with
Pull off – Slow tedious, works with thicker graphics that aren’t brittle. Don’t apply heat as it softens the vinyl, it stretches and pulls apart. This is the preferred way because it also pulls the glue off with it. I used a razor blade to lift the edge, then grab it with my fingers and pull slowly at a 90 degree angle.
Eraser – Slow and tedious, works with the thin vinyl and graphics that are cracked, eraser also removes most of the glue.
Razor and heat – Slow and tedious – this works were the vinyl was painted over and the vinyl is now thick. Heat the area, then use the razor to get under the vinyl. each swipe of the razor will get 1/4 to 1/2 inch of separation. Operate the razor with very light pressure and a very shallow angle to reduce possibility of razor digging into the gel coat. This method leaves the glue, so it needs to be removed.
Continued working on scrapping old decals off. The decals had been painted over and clear coated. I tried several methods with the heat gun and plastic razors. The method that I had the most success was to use a heat gun and a straight razor.
Heat up an area then at a very shallow angle and not a lot of pressure, take a 1/4 to 1/2 inch slice under the decal. This lifted the decal and left some glue on the surface. very car.
 Very good progress, worked on it for about two hours.
PAINT – Looking at single stage paint. Eastman seems to have a good line of single stage. They also offer some “mix” charts to show colors when their basic colors are mixed. I’m looking at a couple of theirs to get some ideas on how well these match.
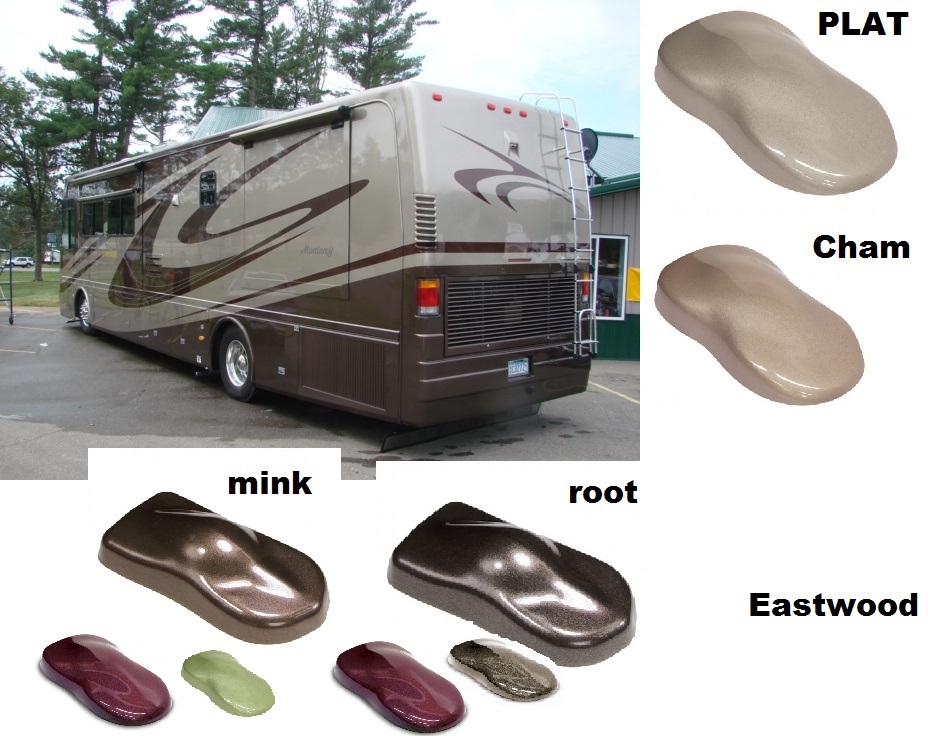 platinum-frost-silver-metallic
mink-coat-metallic-intermix-paint-kit
root-beer-metallic-intermix-paint-kit
The Mink and root beer are mixes of two basic colors
carbon-metallic-base-gallon-kit
black-cherry-pearl-paint-96-oz
TOOLS ETC
I bought a cheap heat gun from Harbor Freight ($8). seems to do a good job. don’t get the areas to hot.
Bought a couple different style eraser tools, on Amazon. I’ll try these and report back.
Adhesive removal – I got one on Amazon (xxx). Last night I found some adhesive removal at Menard’s. I’ll try both and report back.