
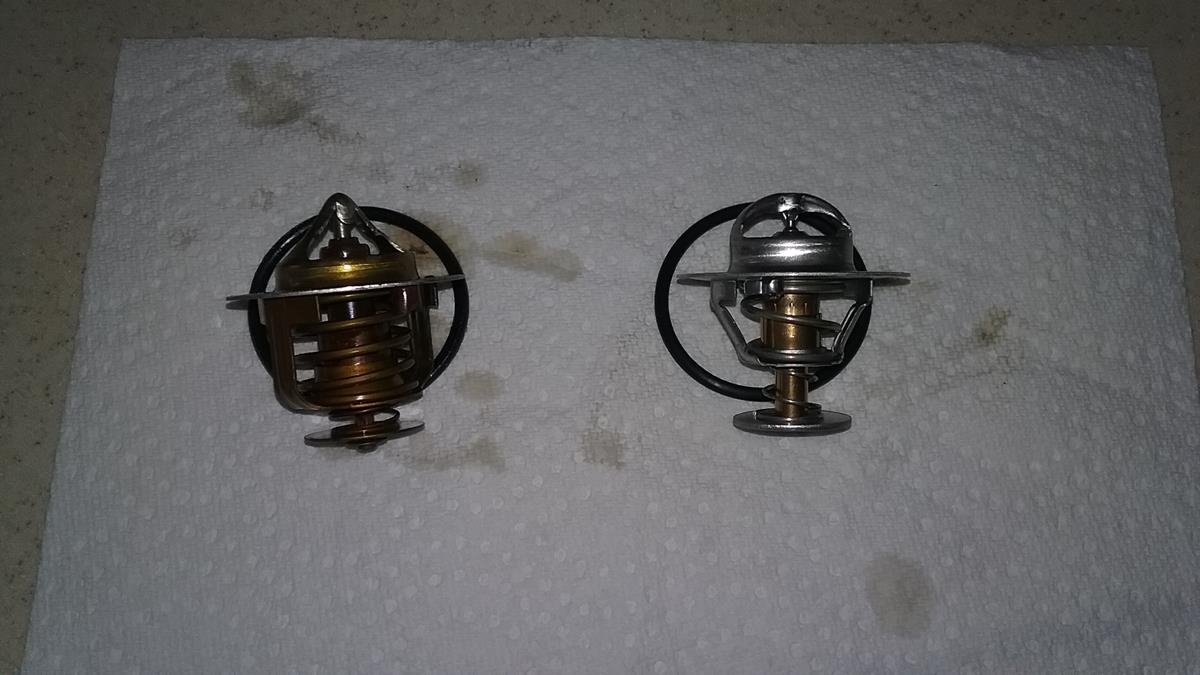
The water pump hasn’t given any signs of impending failure, but at 18 years old, I figured its cheep enough and reasonably easy to replace, so I’ll replace it as a “preventative” function. This will give me piece of mind that I’m good for years to come.
Draining the cooling system
I was planning on flushing the old antifreeze out and refilling with fresh green antifreeze, so several days before I started, I drained the coolant system using the radiator drain. Its on the drivers side and may be hidden behind the lower hoses. While it was draining, I removed the old thermostat and then put the housing back on without a thermostat.
I then left the drain open and ran the garden hose in the overflow bottle to re-fill the system with water. Leaving the water running, I turned the heater on full blast and ran the engine for a minute at high RPMs to circulate the water. I then allowed it to drain again. I did this three times to flush out the old antifreeze and replace it with water. I then opened the radiator drain and once again, drained out as much as I could.
Removing the water-pump
1) Cut 4 or 5 pieces of cardboard, 6 inches by 24 inches, Place these up in the radiator shroud between the radiator and the fan. These will protect the radiator when we remove the fan / clutch.
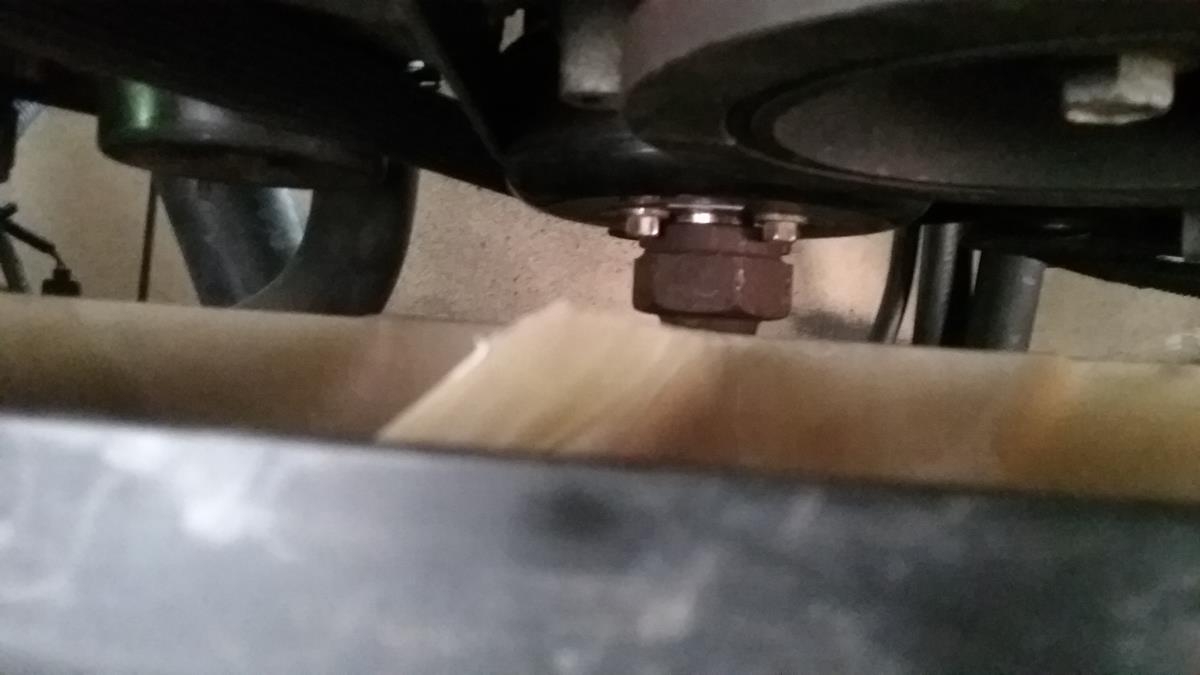
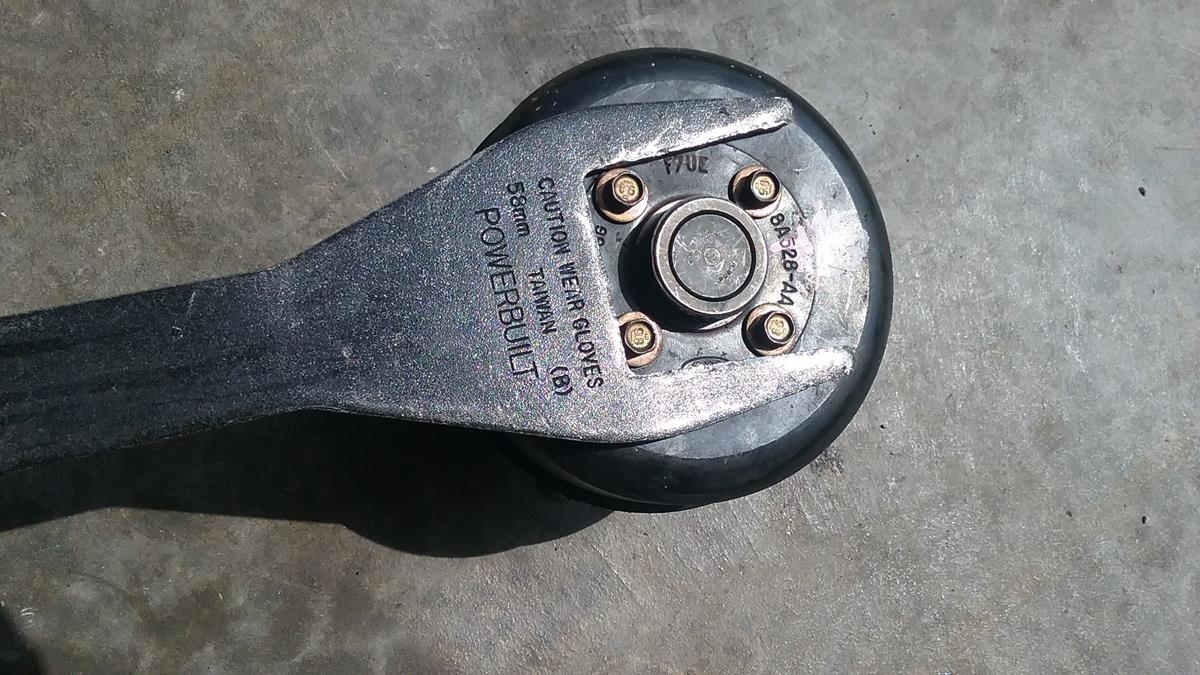
2) With the belt still on, remove the fan clutch – I borrowed the fan clutch wrenches from Auto Zone, I placed one wrench over the four pulley bolts to keep the pulley from moving, and used another to loosen the fan clutch. The fan clutch threads are normal. (not reversed). Once the fan was lose, I spun it all the way off, and then pushed it up into the radiator shroud to get it out of the way . Make sure its resting up against the cardboard pieces so as not to damage the radiator fins.
3) Loosen the pump pulley – With the belt still on, loosen the four pulley bolts. Don’t remove them, just get them loose.
4) Remove the belt – Pull the tensioner and remove the belt. I usually pull it off of the power steering pulley, once its clear, relieve the tensioner and completely remove the belt.
5) Remove the water pump pulley. The bolts should be loose.
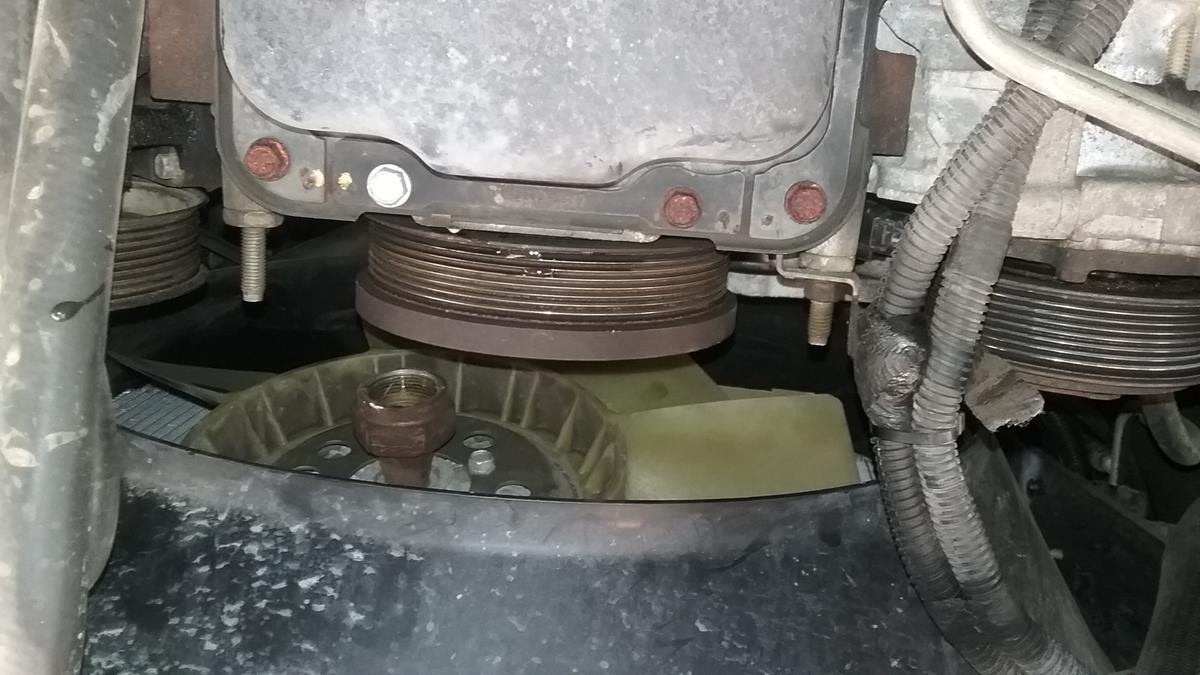
 6) Remove the pump – Operating by fell from the top or bottom, there are four bolts. I fell the little flange on the pump and follow this back to a bolt. On the bottom of the pump, there is a engine bolt very close to the pump bolt, I’m not sure it the head size is the same or if it could accidentally be removed. use caution.
If the radiator was drained, there shouldn’t be any water when the pump is removed.
From the top, once these 4 bolts are out, I was able to get a thin blade screwdriver between the pump and the block where the bolts were on the left and right side. Again, this is done by fell.
Pull the pump out through the top.
7) Use a piece of #200 sandpaper, I cleaned the pump cavity on the block where the o-ring will make contact. Then use a paper towel to wipe the entire cavity surface so its clean.
Install new Pump
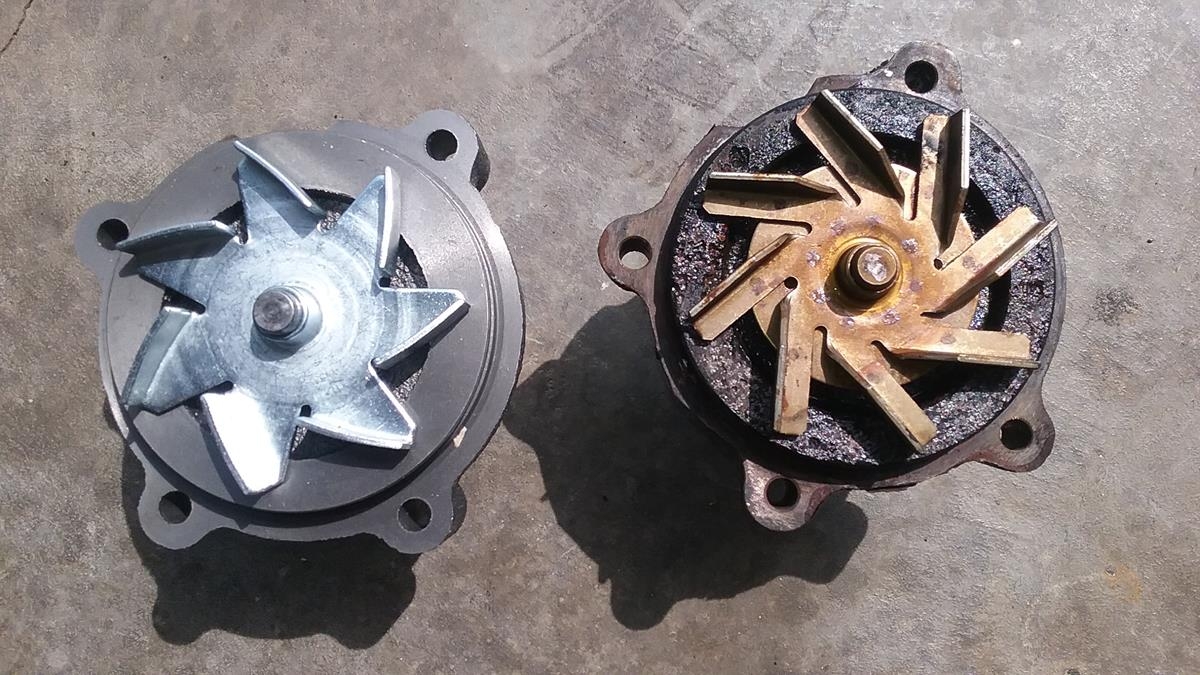
Inspect the new pump, notice there is a machined indentation. This will go toward the bottom (the indent is there to provide clearance for a bolt that goes into the block)
1) Wet your fingers with a small dab of silicone. Apply a very, very thin layer to the inside surface of the cavity where the o-ring will contact. This helps the o-ring to slide into the cavity and also helps sealing.
2) Wet your fingers with a small dab of silicone, apply this to the o-ring and the o-ring surfaces on the water pump. Install the o-ring in the groove on the water pump.
3) Carefully install the pump into the cavity, the indentation toward the bottom. When its lined up the pump should slide into the cavity. Verify this by feeling the bolt holes are up against the block.
4) start all four bolts into the pump, verify they are all started and the pump is flush with the block. Tighten the bolts.
Install the Pulley
5) Slide the pulley on the pump and install the four bolts, snug them up as best you can. We’ll tighten them later.
Install the fan clutch
6) Its easier to put the fan clutch back on before installing the belt. BUT , don’t put it all the way on, just get it started a maybe two or thee turns on the threads. We’ll tighten it later.
Install the belt
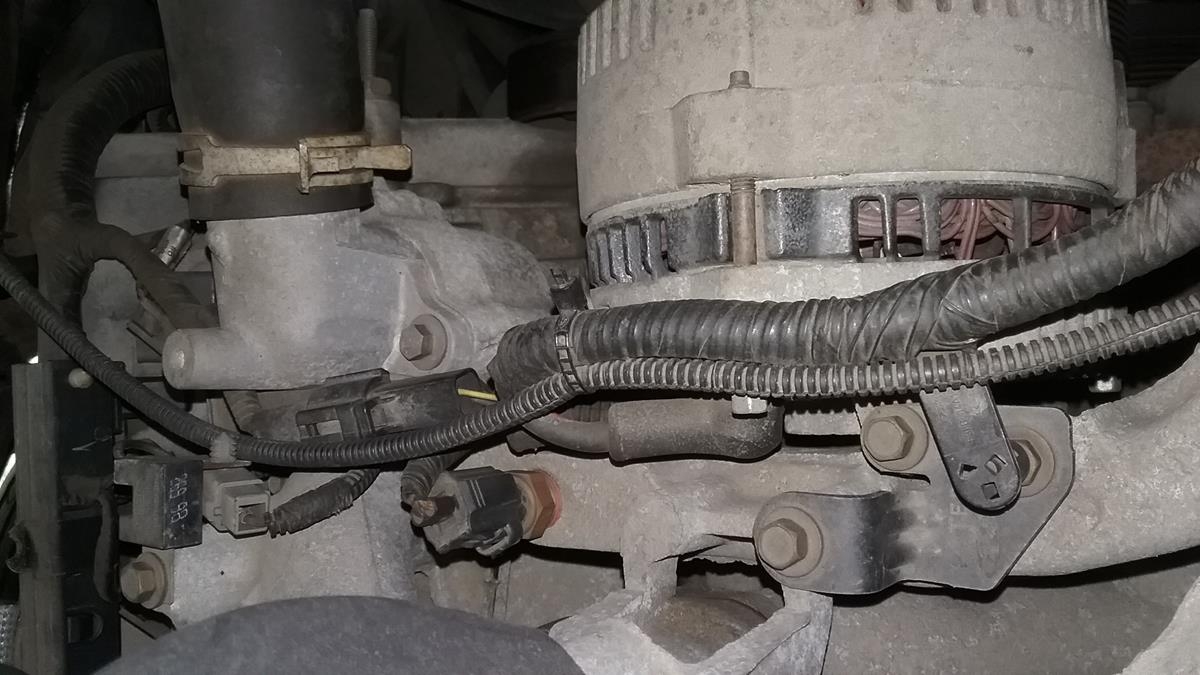
7) Install the belt. From the top, make a small loop and push it down through the tension pulley (1) and the idler pulley (2). This loop ultimately goes around the AC compressor (9). I then drape the belt over the top of the alternator, and the rest of the belt can be routed from underneath.
 Once its routed, the last step is to pull the tensioner and put the belt over the power steering pump.
8) tighten the four water pump pulley bolts
9) Tighten the fan clutch, Use one wrench to hold the pulley and the other to tighten the nut.
10) Don’t forget to remove the cardboard pieces from the radiator shroud.
Install the Thermostat.
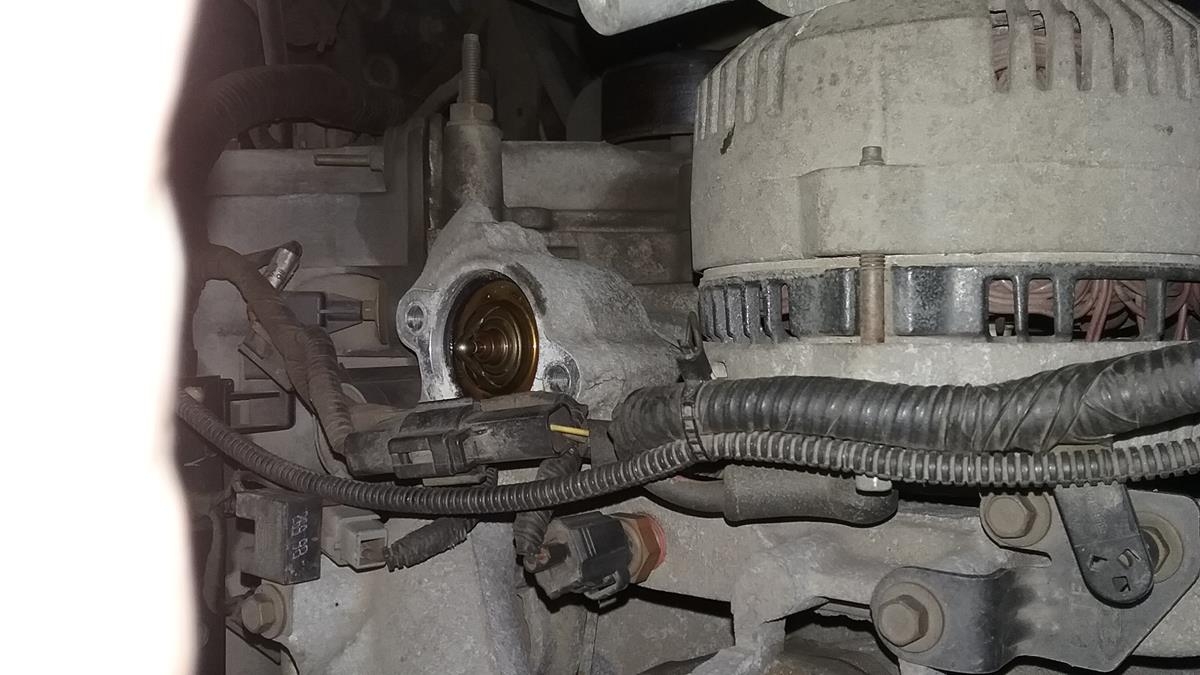
11) remove the housing and install the thermostat.
 12) Use a little silicone and wet the o-ring. Place the o-ring in the cavity
 13) Re-install the top housing and tighten the bolts.
Refilling the coolant.
14) Verify the radiator drain valve is closed. The system should now be ready to fill.
My F53 takes about 31 quarts of coolant. To get a 50/50 mix. I should use just a little under 4 gallons of pure antifreeze. When I re-filled mine, There was about 4 gallons of water in the block, so mine took almost exactly 4 gallons.
Dump 4 gallons of antifreeze into the system, then top it off with water. DO NOT USE PRE-MIX. You want to use full strength antifreeze.
15) Run the engine at high RPMs to verify fill, Test drive with the heater running full blast, re-verify fill and no leaks.
Have you considered replacing the fuel pump as preventive maintenence? Ours died without warning at approximately 48000 miles… while researching the fuel pump online I noticed a trend of failures around 50,000 miles… not a hard task at home… not much fun on the side of the road… food for thought…
Hum, I hadn’t given it a lot of thought, but you’re correct, it would be a lot easier to change it in my driveway than it would out on the road just after I filled the tank…
Rock Auto has a carter pump with fittings and sock for $50
To avoid the hassle… I would in replace the whole housing and assembly…
DARN – I have a full tank of gas. Maybe I’ll start pumping the gas into my other cars over the next few months and when it gets near empty, I’ll drop the tank. Or do this next spring….
Bad idea using tap water on these newer vehicles – use distilled water only.
Also, Ford’s specified G-05 coolant, not traditional green. You can get it at NAPA.