
We knew the microwave/convection oven didn’t work when we bought our “New-to-Us” Southwind. That wasn’t a big deal, the original was 18 years old and was probably ready for an upgrade anyway.
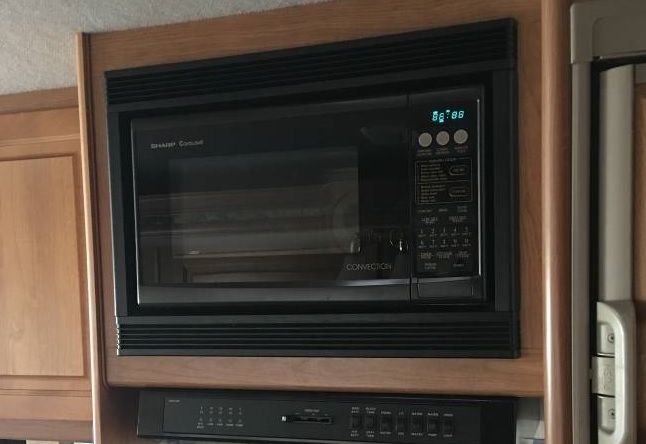
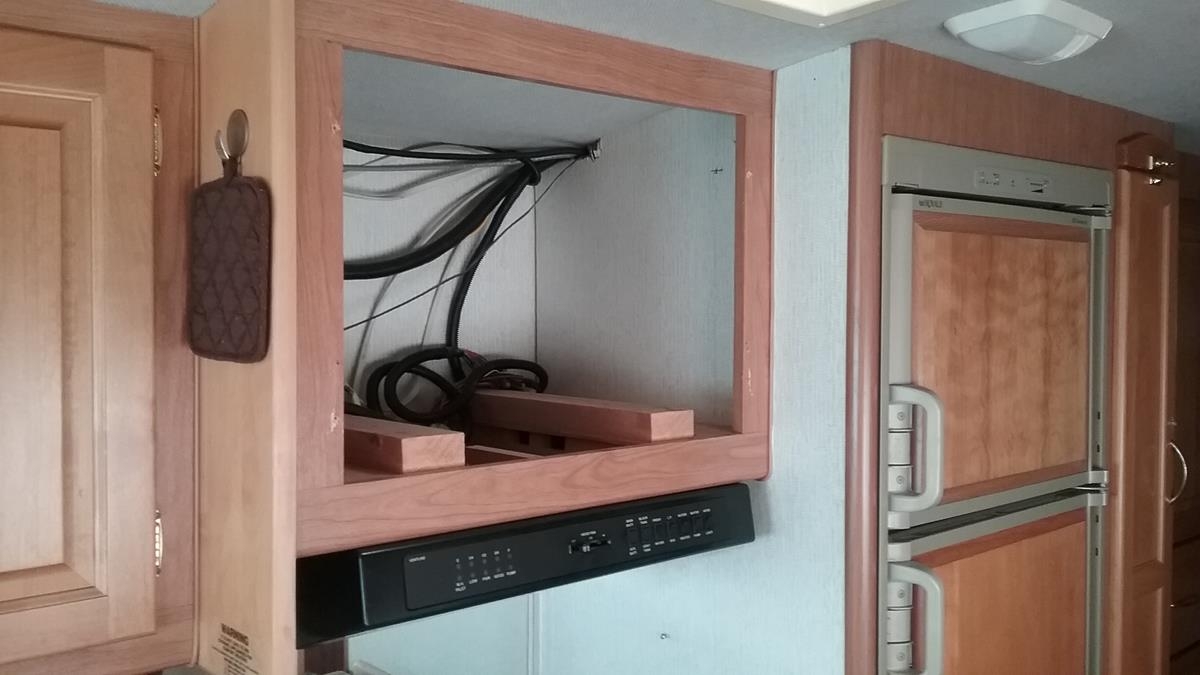
Removing the old oven was straight forward. The side trim pieces popped off and the top and bottom pieces were held on by two screws.The original Sharp microwave had a couple brackets on each side that secured the microwave to the wooden cabinet frame. It also had a sheet metal duct to vent the microwave out the front. I’ll re-use the mount brackets, but wouldn’t need the duct sheet metal.
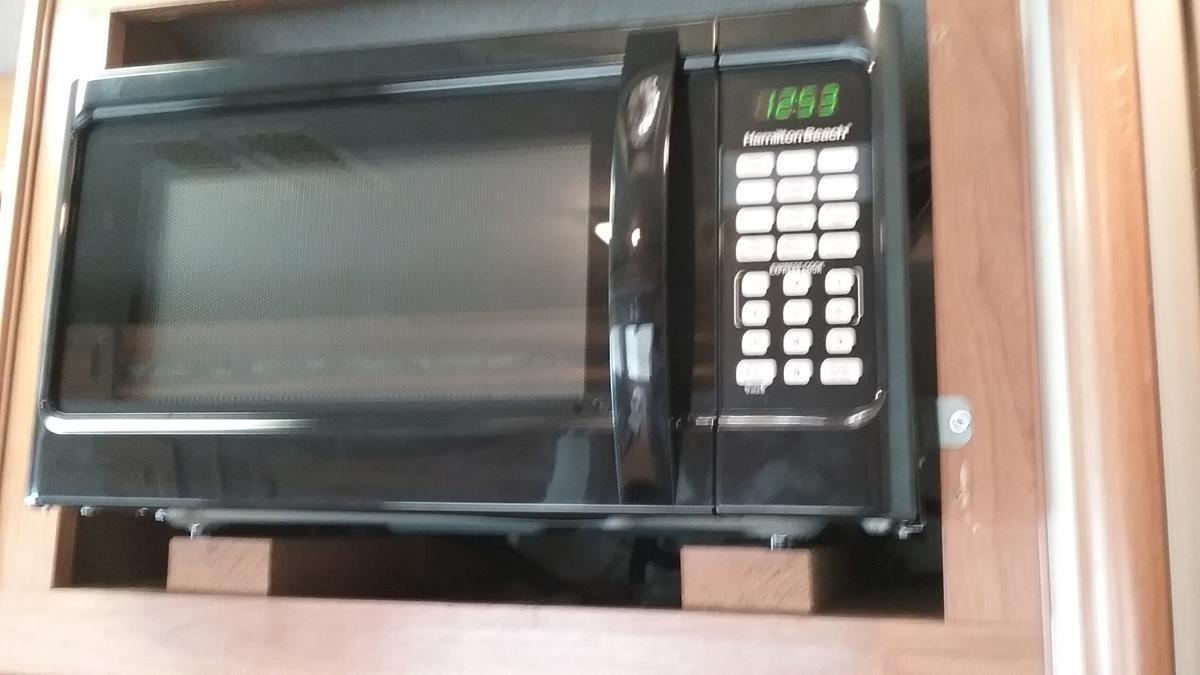
We measure the original microwave; 11 1/2 tall x 21 wide x 14 deep. We never use the convection oven so all we needed was a regular microwave. A trip to Walmart and we scored a Hamilton Beach unit with almost the exact same dimensions for $70.
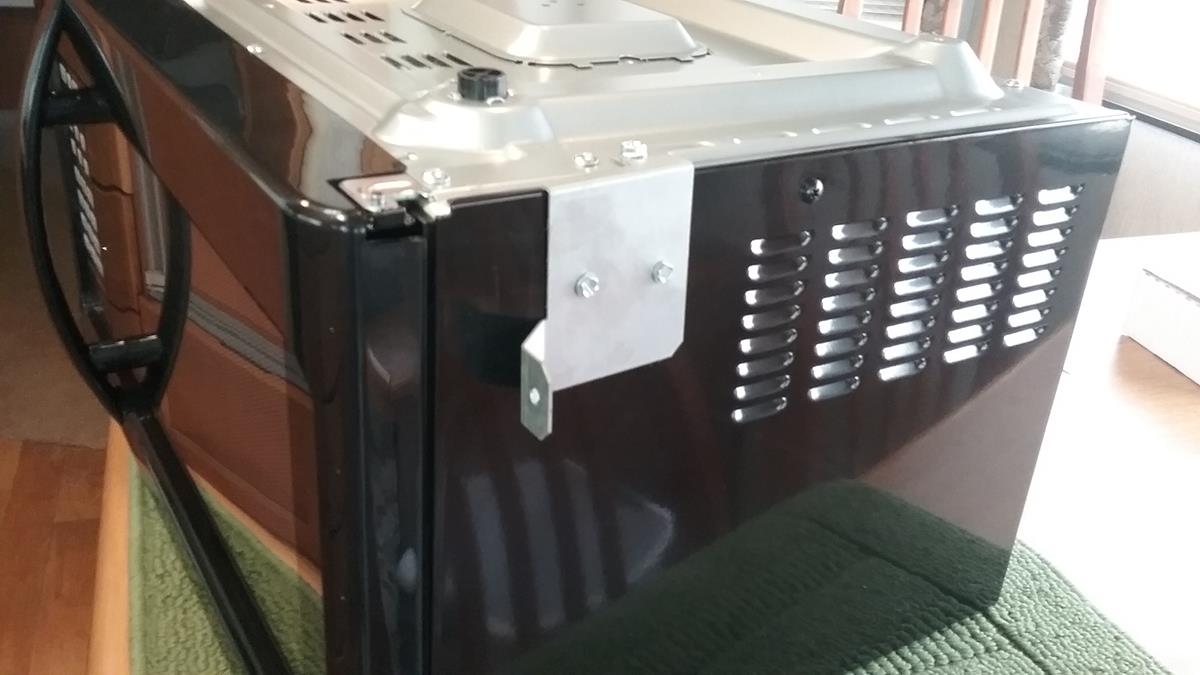
The original side brackets would be ideal for the new microwave. To make sure the brackets would work, I took the top cover off of the new microwave and verified the bracket screws wouldn’t hit anything when I screwed them on. There was plenty of clearance on the sides and bottom to re-use the old brackets. The original Sharp brackets would work just fine with the new microwave.
We placed the microwave in the cabinet, and temporarily installed the side trim pieces to make sure there was plenty of clearance for the doors, and to verify they opened and closed ok without hitting the side trim. Once I verified the door was OK, I marked where I needed to install the mount brackets on the microwave. I then installed the mount brackets on the bottom and sides of the new microwave at the locations I just marked.
The new microwave is just a little wider than the original, so I cut 1/4 inch off of the original side trim pieces. In the original installation, the side trim pieces were held in place with clips. This won’t work with the new installation so I drilled two holes in each of the side pieces and used long screws to secure the side trim pieces in place.
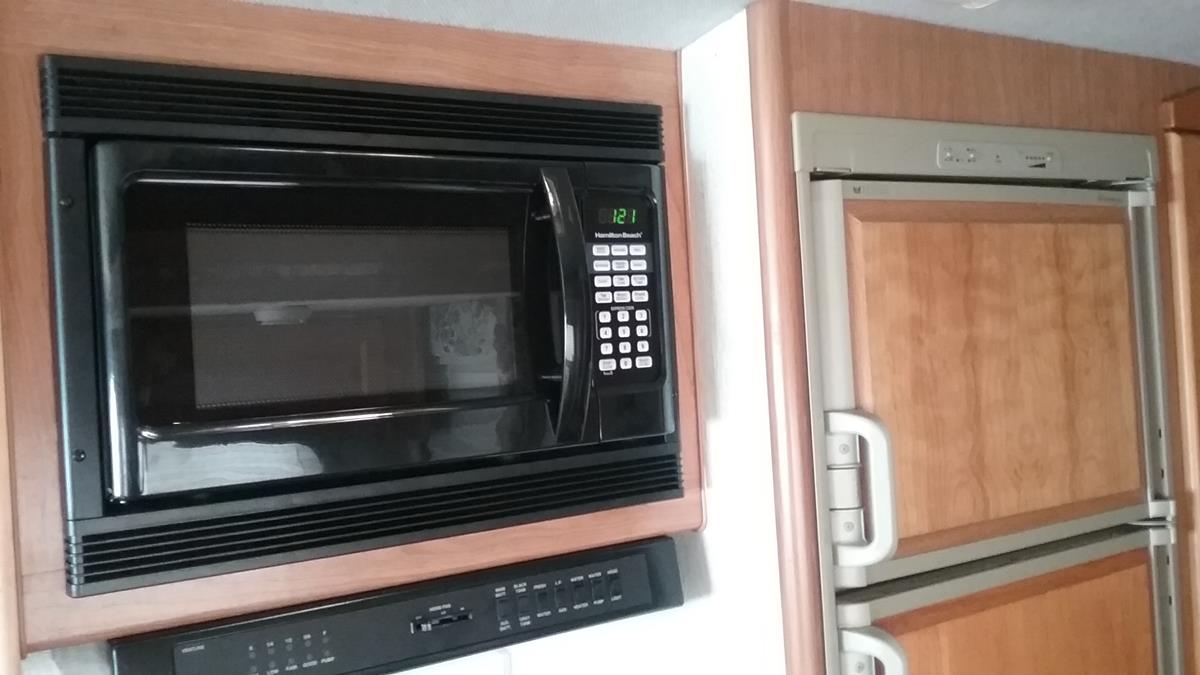
To anyone looking at the installation, it looks factory installed,.