
I haven’t had any trouble with the A/C units. They both seem to be starting OK and pumping out cool air..
During my pre-purchase a couple years ago, I noticed the rear A/C cover was cracked and brittle. I knew someday I’d need to replace the cover. The front cover was different than the rear. I initially thought it was a different A/C model. but that’s not the case. Both units appear to be old RVP units. I believe Coleman owns them now.
It appears that one of the previous owners had replaced the front cover with a MaxAir cover. I ordered a new one for the rear AC unit. My goal is to remove the covers, inspect the units, determine any information from them, size, numbers, etc. Replace the capacitors if they are original, and replace the cracked rear cover.
REMOVING COVERS
WARNING, to avoid shock, remove shore power while working on the AC units.
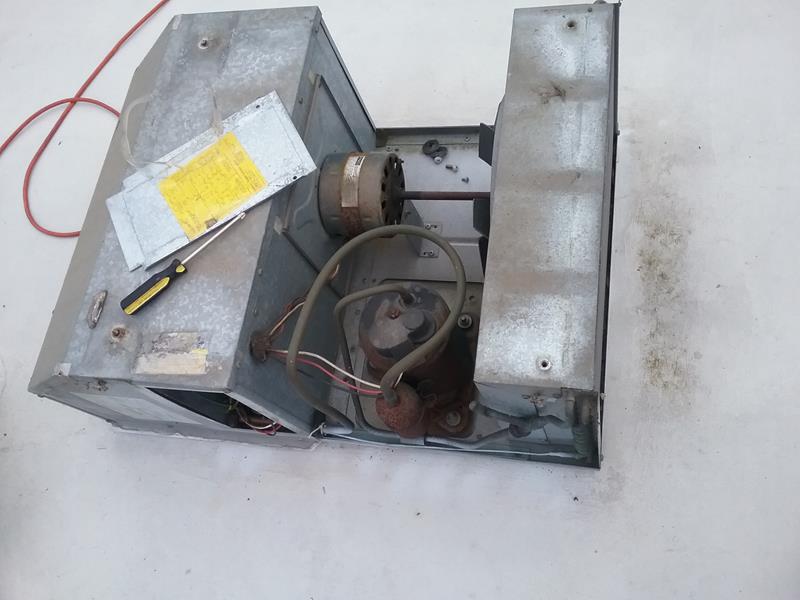
The front cover came off easily, remove four bolts from the top. The rear cover, not so much. Two bolts came out, but I had to use a die grinder and cut the heads off two bolts to get them out.
The units looked reasonably clean, considering their age. The capacitors were original, and someone has installed hard starts on both units. From the part numbers on the compressors, I was able to determine the units capacity
FRONT > 11.7k btu
REAR > 9.2k btu
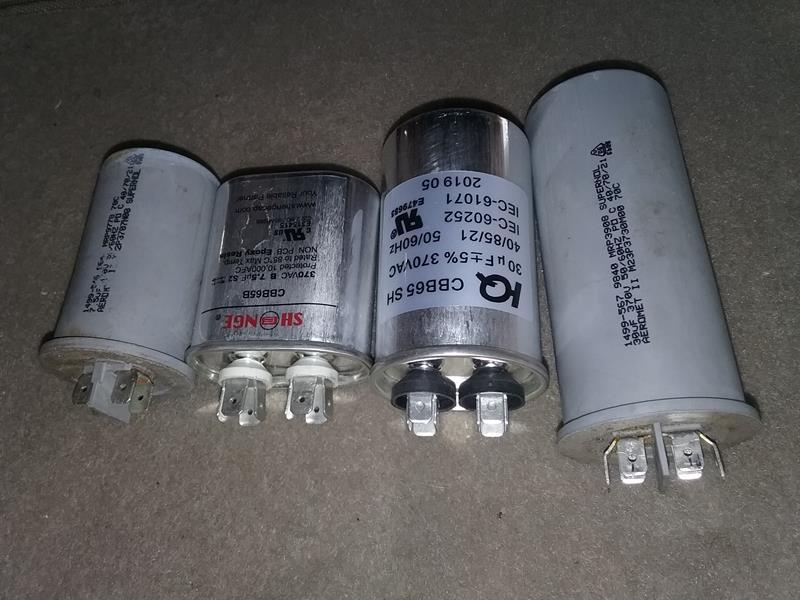
I ordered new capacitors for both units and a new cover for the rear unit
30uf @ 370 volts (Compressor Capacitor)
7.5uf @ 370 volt (Fan Capacitor)
NEW CAPACITORS
WARNING: The capacitors store electricity and can give a shock. Use a screwdriver to short across the terminals to discharge the capacitors.
The old capacitors were bulging a little, that’s a bad sign of impending failure. Before starting, I took a few photos of the wiring to refer to when I re-assembled..
Cover removed from the capacitor compartment.
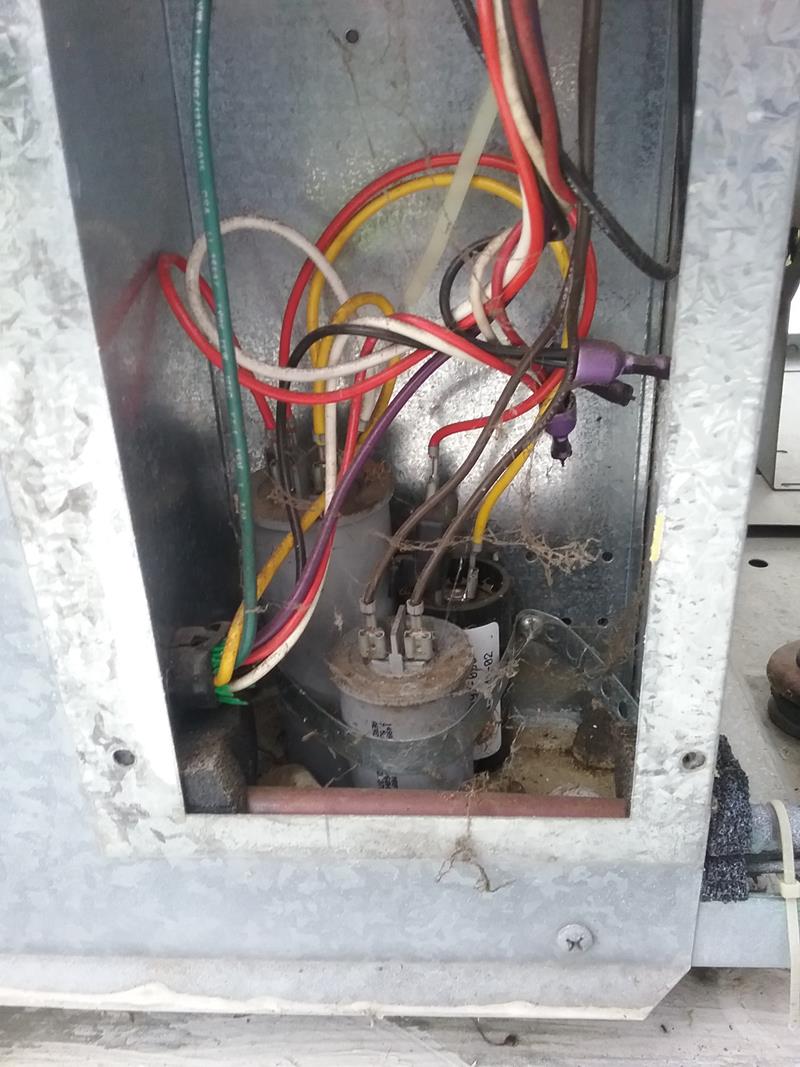
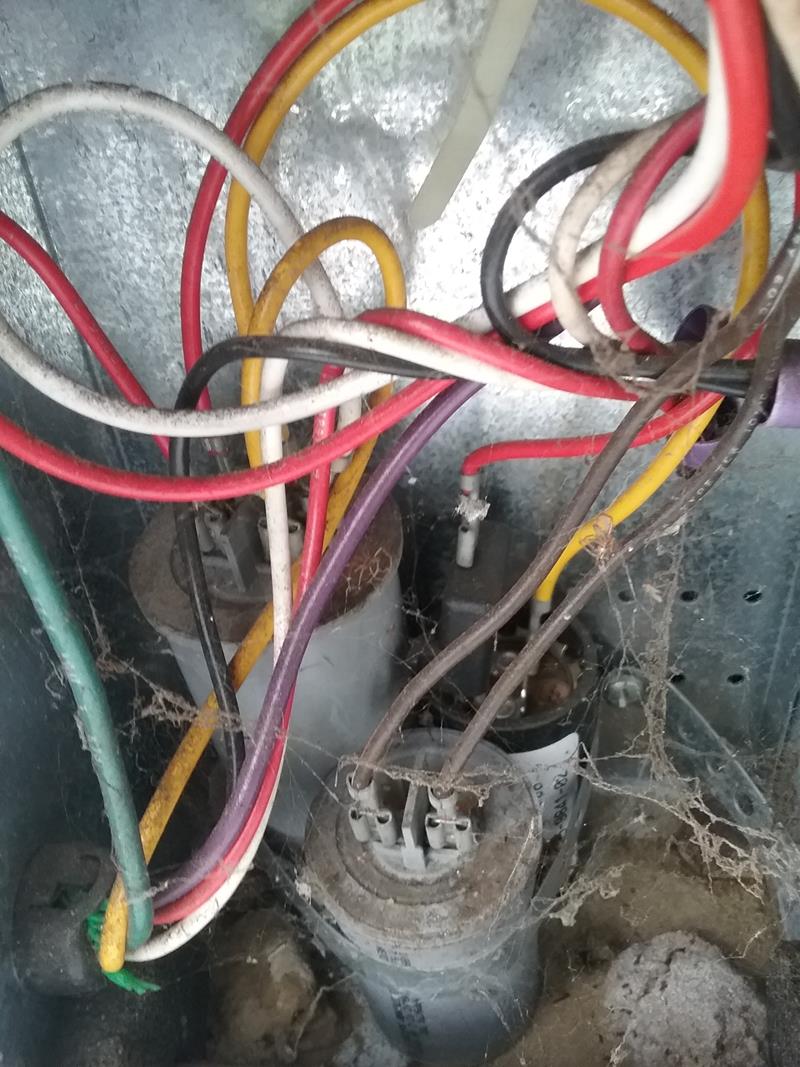
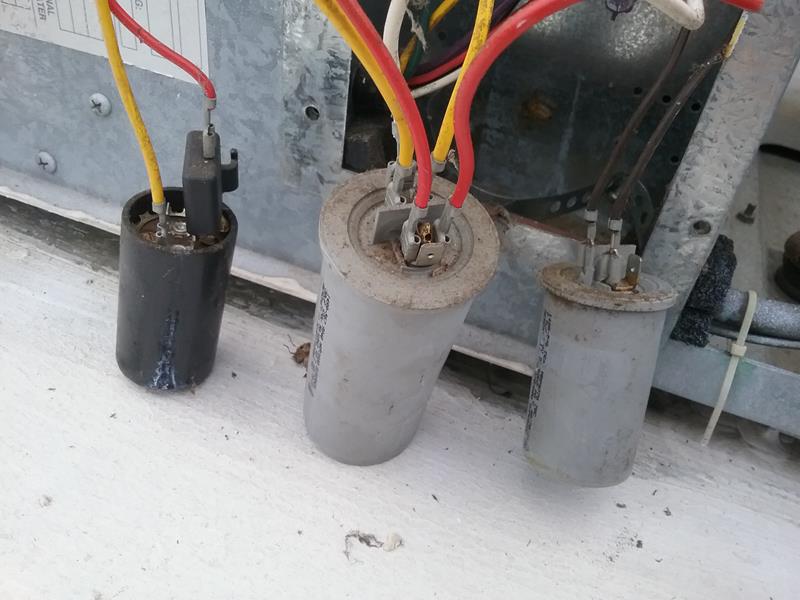
In the photo above, the left black capacitor is a hard start that someone had installed. The center is the compressor and the one on the right is the fan capacitor.
Wiring was straight forward, simply pull off the wire spade connectors from the old caps and push them on to the new capacitors.The new capacitors were a little smaller, but they fit in the compartment. I reused the little strap to secure them.
A quick test and the fans and compressors started right up.
NEW REAR COVER
I’m installing a new rear cover since the old original was cracked and broke. I’m surprised it hasn’t fallen off yet.
The cover is held in place by four bolts. The two front bolts had rusted into the nut plates. To get the cover off, I ground the heads of the bolts off. Once the cover was off , I attempted to remove the bolts, no good, they were seized into the nut plates.
The nut plates are riveted into the sheet metal cover. I removed the sheet metal cover and used a die grinder to carefully grind off the riv-nut plates. This left two holes, approximately 3/8 diameter in the sheet metal where the old nut plates used to be.
I bought a couple 1-1/2 inch by 5/16 x 18 stainless bolts and hardware.
I inserted the 1 1/2 inch bolts with a large flat washer that came up through from the bottom side of the sheet metal. I then put a large flat washer and a nut on the top to hold the bolt to the sheet metal. I used red locktite to secure the nut and tightened it down as hard as I could.
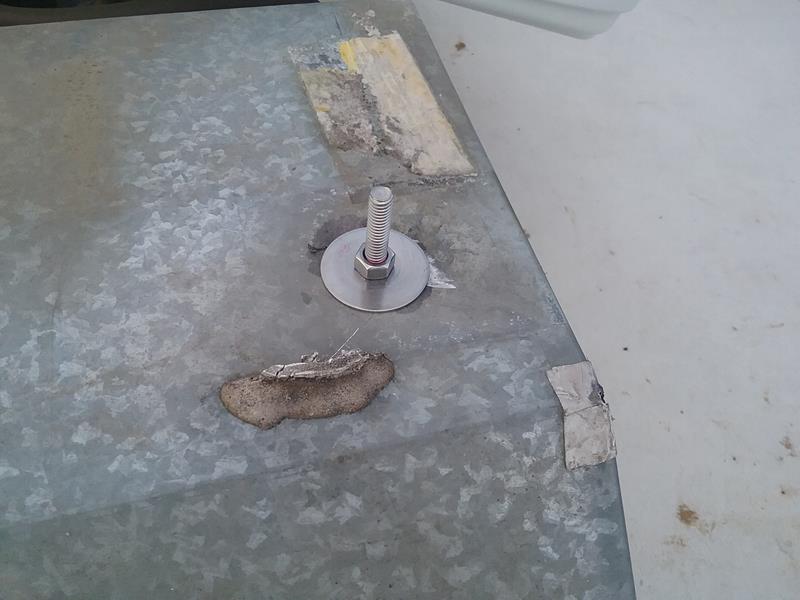
I reinstalled the sheet metal cover on the A/C unit.
On the new MaxAir cover, I used a rotary file and opened up the two front mount holes so when I installed the cover, the new bolt and nut would fit inside the oversized hole. I bought 6 very large flat washers with the center hole 5/8 diameter, the 5/16 nut would fit through this hole.
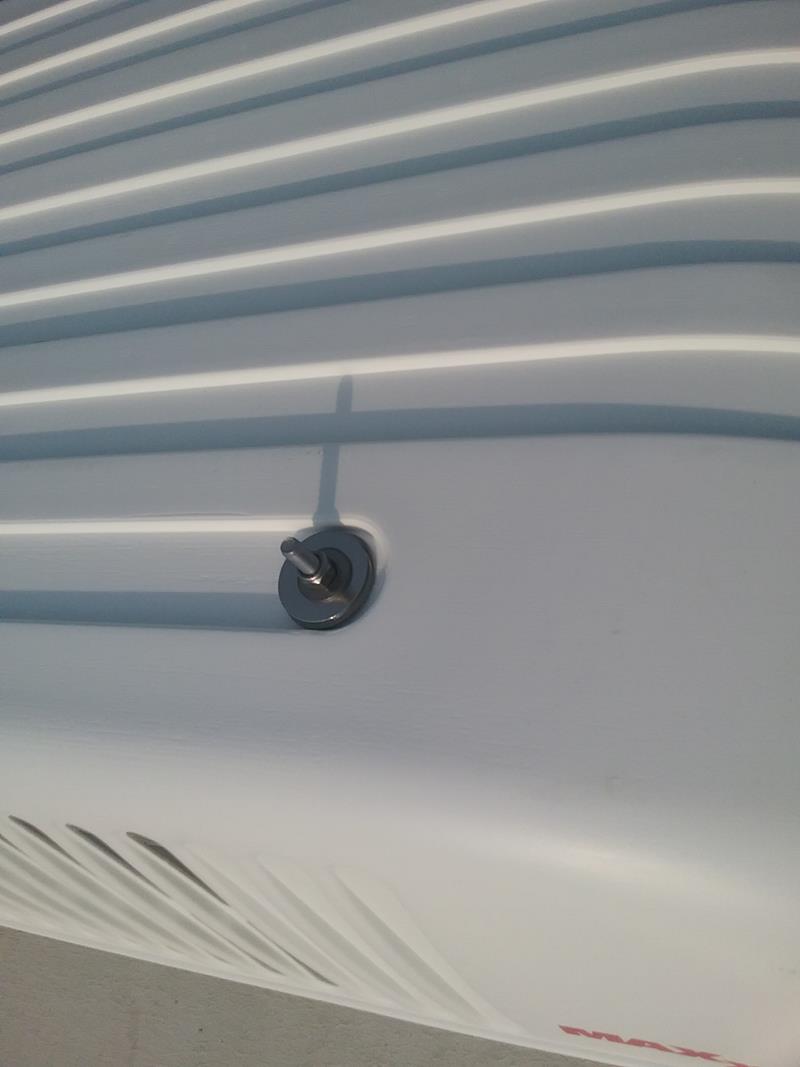 I placed a couple of these washers on the bolt, and then used a couple 5/16 flat washers and nylon self locking nut to hold the cover in place.
MODIFIED COVERS TO IMPROVE AIR FLOW
Before installing the new cover, I used a die grinder and cut out the rear of the cover to allow improved air flow. I also did this on the front cover.
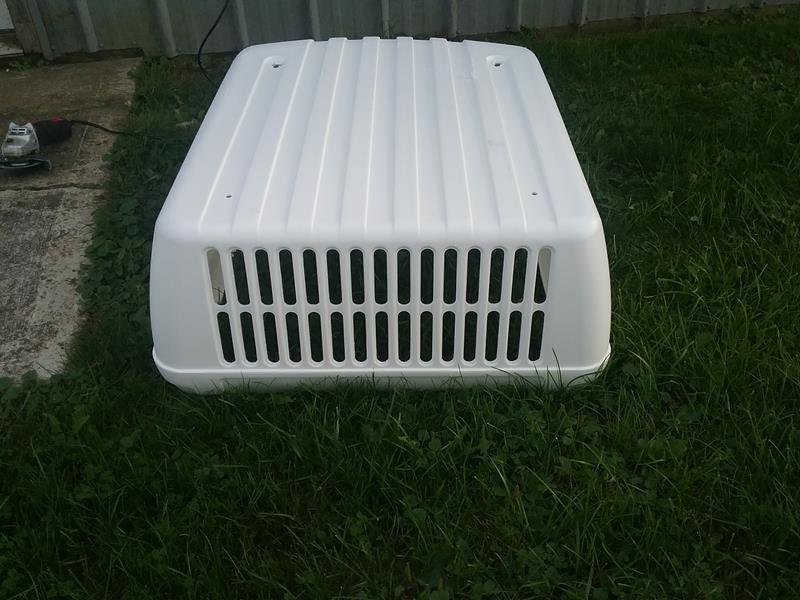
Rear of cover before cutting out louvered area.
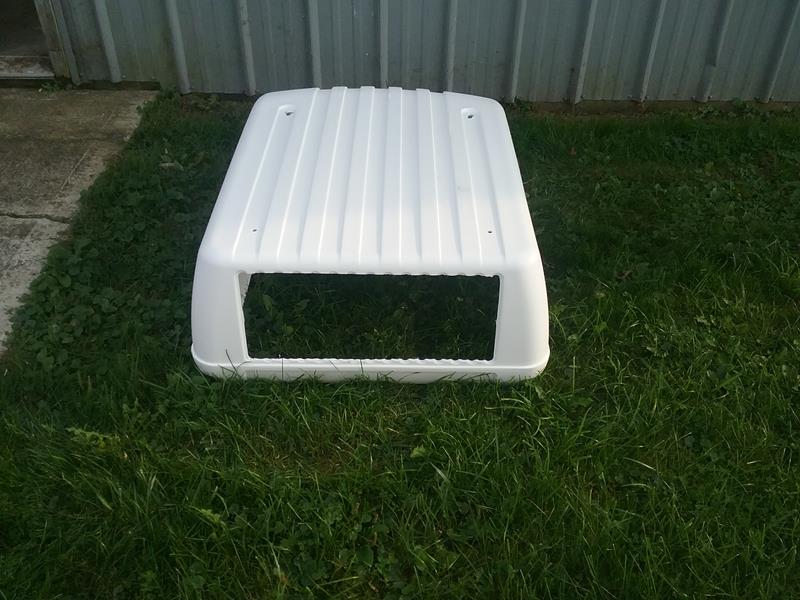
After cutting out louvered area.
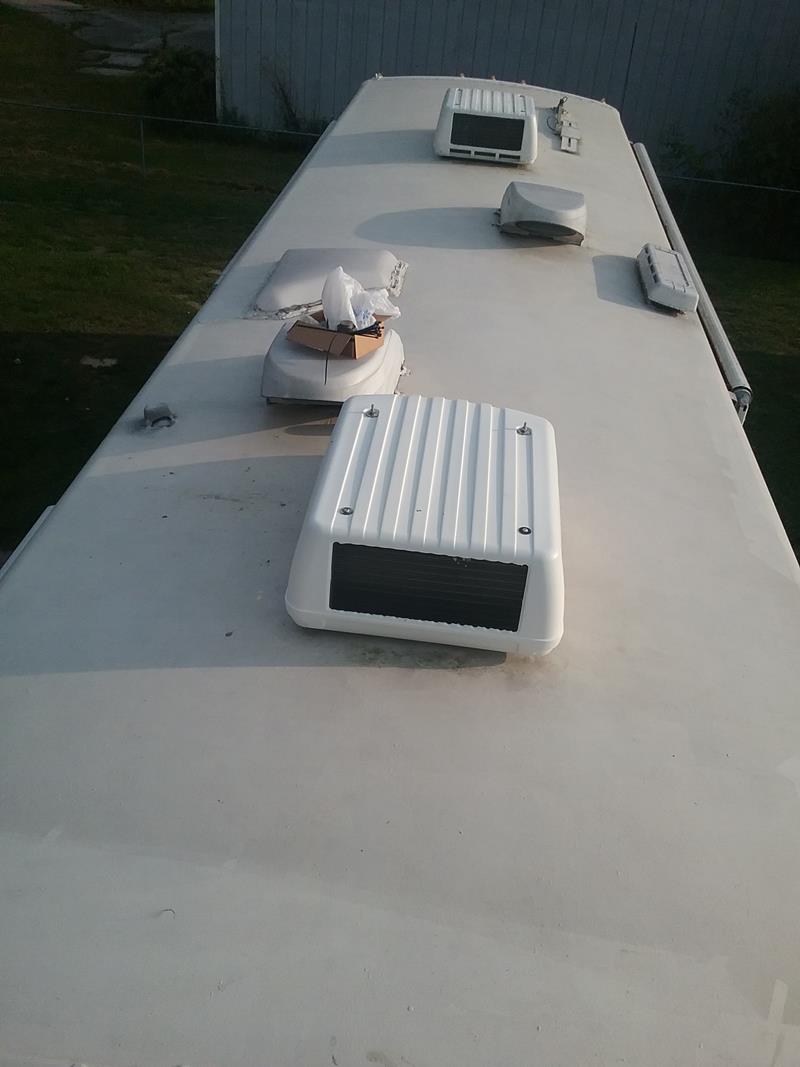
New cover installed, rear louvers cut out of both front and rear covers.
As usual, great info. Thanks.
Hi,
I have a 2000 Southwind 35S and can’t thank you enough for all the information you have provided.
I do have a question..I found your ECC project with the Raspberry PI. I plan on giving that a try just to play with the Raspberry. However I am not a great programmer or electrician. Can I contact you with questions on this project?
I didn’t see another way to contact you so that’s why this is here.
Hope to hear back from you.
Thanks,
Jeff
Jeff, Not a problem. The ECC I built is in the early stages and kind of a Proof of concept.
I’m getting a lot of people who are interested, so I’ll work on it more. My goal will be to make it as plug and play as I can, with no (very little) technical expertise required.. I’ll put up a web site to answer peoples questions. Take a look at
http://www.waiterecc.com
2 quick questions
1 what are you going to cover the two hole on the cover with? To keep out bees and squirrels and the lot.
2 would not a acorn nut worked better on the outside top nuts on the cover. I know they must be snagging every branch and leaf you drive under.?
1) what two holes???
2) The stud sticks up above the top of the cover, maybe 3/4 inch. I never had any problems with the studs catching anything..
you cut out the vents from the covers. leaving big hole in the covers. I bought mesh to cover my hole so i don’t gather wasps and such. I glued them in place and after 6 months on the road I’m happy to say wasp and bee free. Oh and my wife pointed out that when I cleaned the AC’s the first time I had mud daubers all over my coils. pain in the butt to get all that mud and yuck off of them.
I have a 1999 Fleetwood south wind
The front ac unit makes a noise every now and then like it is bearing on the fan blade. Has anyone had this happen to them? I just bought it so haven’t been in top as on vacation. Has anyone replaced the bearings? Both ac units work great. It is a shed system made by itellitec
It might be time for some roof top maintenance.
rotate the blower by hand and see if it makes any noise . The blower motors are fairly easy to change.
I have a 1999 fleetwood southwind 32v—My front a/c stopped working—I purched 3 new capacitors—-The a/c worked just fine for 2 days—now nothing. Do you think one of the capicators may be bad—-or is ther a ground wire someplace. Appreciate any help you are able to give.
Do the blowers run, i.e. FAN LO or FAN HIGH?
Now nothing works—no fan, no compressor. I was wondering if one of the new capicators are faulty.
no—nothing
Its possible, but I’d look at other things first:
Verify the 120 volts is OK.
Swap the front and rear plugs on the control module and see if the problem stay in the front A/C unit.
My front a/c on my 1999 32v won’t come on. There is no power at the a/c. Checked circuit breakers they are all good. Any suggestions? I thought it was the time delay switch–put a new one but still no luck
I have a 1999 Southwind 32v my front a/c wouldn’t come on—behind the circuit breaker box is a board that has a clear plastic dome covering what appears to be a relay—-when I tap the plastic dome the front a/c come on. Do you know the name of that board? It looks like there may have been a cover of the board but it is no longer there. Thanks in adavance