
The Soutwind originally came with old picture tube style TVs, one in the front room above the passengers seat and one in the bedroom. The previous owner had removed both and installed a small 20 inch LG TV in the front room but didn’t do anything in the bedroom.
We decided to move the small 20 inch TV from the front room to the bedroom, and buy a new 32 inch TV for the main room. We ended up with a 32 inch Element from Walmart, $130. We could probably go a little larger, but I was initially concerned about weight and how far down the TV would hang. As it turns out, neither of these are an issue, and I could have easily gone up one size, maybe 38-40 inch.
I like to have the TVs operate directly from 12 volts, This eliminates the need to run the generator just to watch TV.
The new Element TV won’t operate on 12 volts, however, the old 20 inch LG can. The Bedroom TV requires 19 volts. I ordered a 12 – 19 volt converter and rewired the rear TV so it can now run on 12 volts instead of 110 volts..
MAIN TV
I removed the old TV and the mount so I could see how things were wired and mounted. I decided to relocate the outdoor antenna switch closer to the front of the cabinet. Then replace the two outlets in the cabinet with regular 120 volt outlets. I also added an outlet inside the TV cabinet. You can never have enough outlets.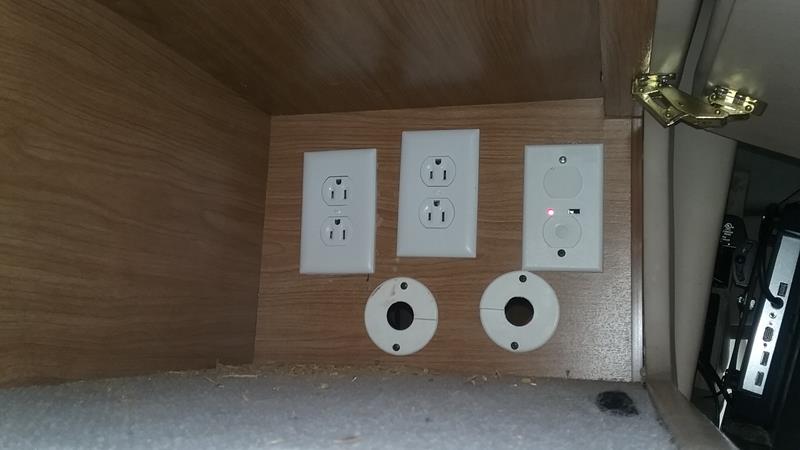
Mounting the TV
The original opening would easily support the weight of the new TV, I just needed good structure to mount the TV to. I cut two lengths of angle iron and bolted these to the side walls of the TV cabinet opening.
I then cut a piece of 5/8 plywood that fit in the opening. I cut two large round holes for cables and ventilation. Then mounted the TV swing arm to the plywood. I left a large gap at the bottom, this will be used for the satellite receiver.
Its not clear in the photo, but on the bottom of the plywood I mounted a 1×2 wooden strip. When the TV is in a stowed position, the TV rests against this strip so the TV doesn’t bounce around. I installed a nylon appliance strap and mounted it so it can be used to secure the TV while traveling.
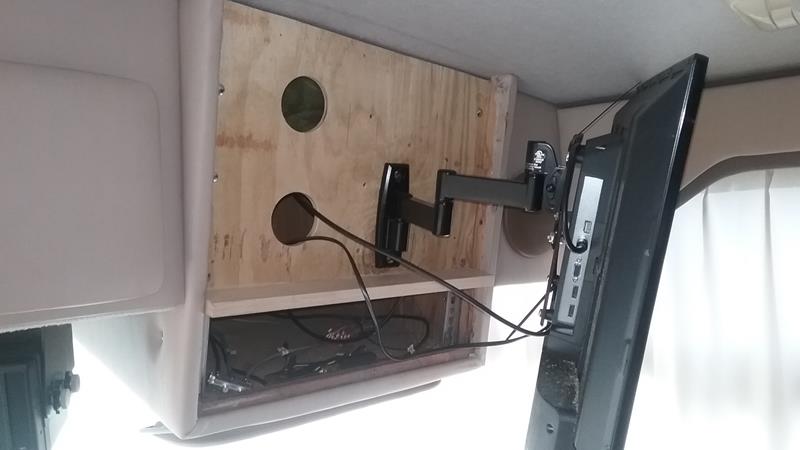
The TV is on a swing arm. It can be viewed in its travel position or the arm can swing around and the TV positioned more toward the center of the room.
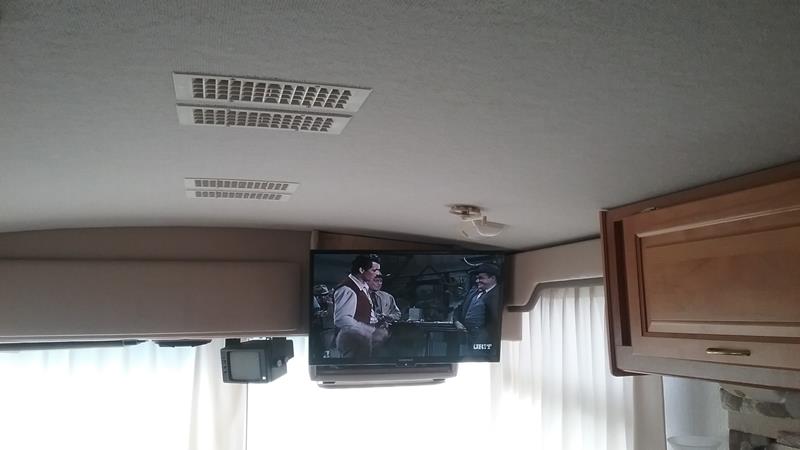
I painted the plywood mounting panel and also installed a removable cover on the bottom opening. The installation is secure and robust.
BEDROOM TV
The original bedroom TV cabinet was in the corner and hung from the ceiling. I’m sure it was a head banger every time you walked around the side of the bed.
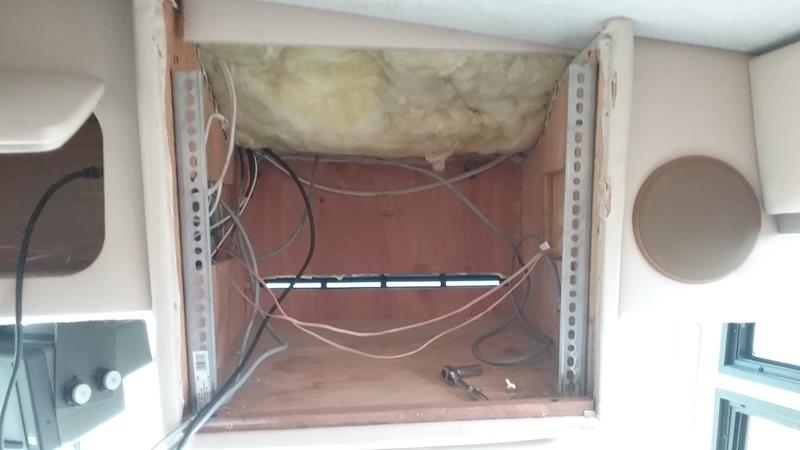
At some point in the Southwind’s past, someone removed the TV and the cabinet. There was nothing there but holes in the wall, a lot of holes. It appeared someone had attempted to mount a TV, but they failed because there’s no structure to the wall, its just 1/8 plywood and wouldn’t support the weight of even the lightest TV.
This wall is the exterior wall, its the wall shared with the large cloths closet. In order to mount a TV to the wall, I had do something to stiffen and add strength to the wall.
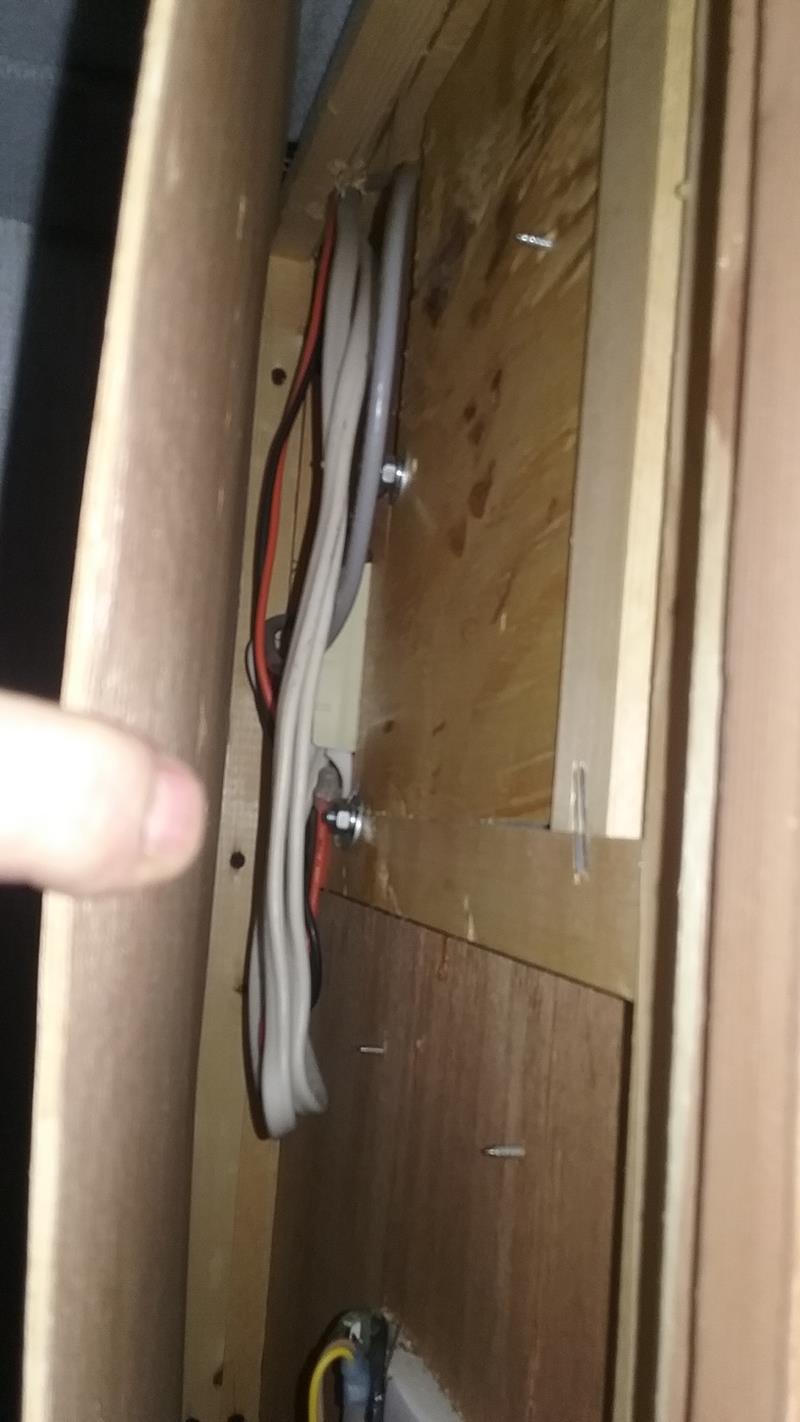
To see how the wall was constructed, I removed the closet door and carefully preyed the inside wall panel away (1/8 plywood) so I could see what the inside of the wall looked like.
The framing of the wall would support the weight of a small TV, but there wasn’t anything to mount the TV to. I needed to add something stiff to mount the TV to, and repair or hide all the holes in the wall.
I cut a piece of 5/8 plywood so it would fit in the cavity between the walls. After cutting and fitting the plywood, I glued it to the backside of the bedroom wall. (inside the bedroom / closet wall) .
I then used a piece of white paneling left over from another project, cutting it to fit over the old exterior wall. This covered all the holes in the wall. I then glued the paneling in place. I used several finish screws to that went through the new panel, the old wall, and into the new plywood to hold this together and allow the glue to dry.
This created a thick structural sandwich that I could mount the TV tom, and it would transfer the loads out to the walls framing..
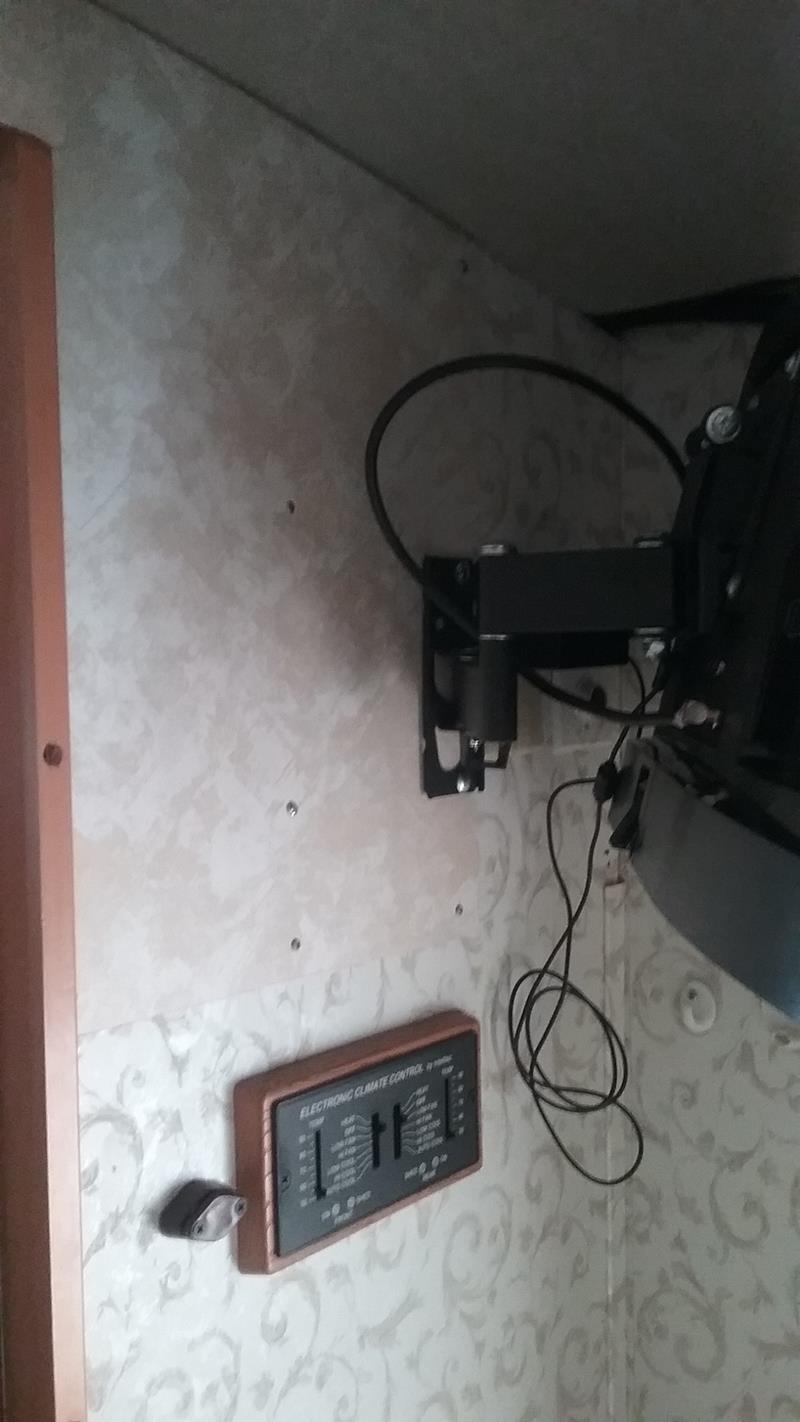
The TV mount was installed on the reinforced wall using short bolts and nuts I then used staples to reattach the wall inside the closet.
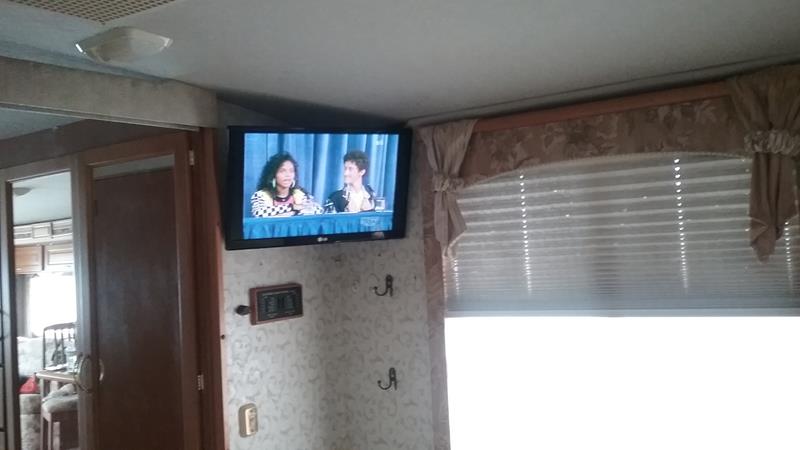
The new bedroom TV looks good and is tucked up against the wall so you don’t hit your head on it while walking around the bed.
I love your web site. I have a 1998 Fleetwood Southwind 32V. I’m in the process of switching out the old tube tis with smart tis right now and am stealing all your tips and ideas, Thanks!
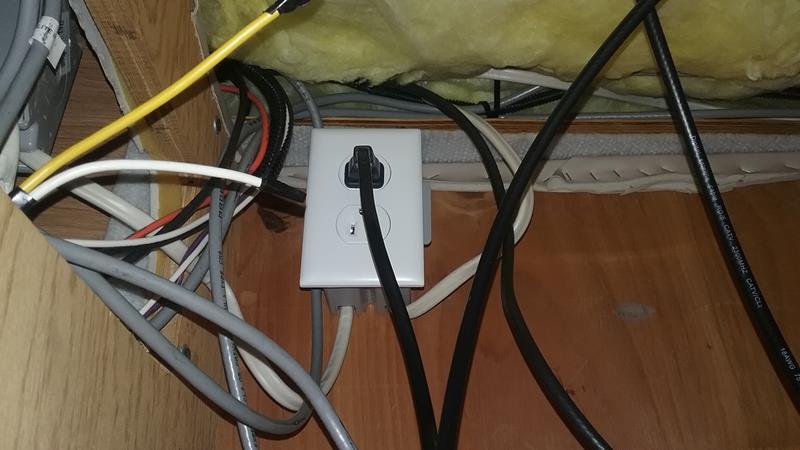
Hi great site, I have the exact rig, 99 southwind, just did a full demo and remodel, it was quite a job, but I still have so much to learn about this coach, what was the purpose of the black outlet located near your tv, I’m no electrician at all! Just curious what its intended for and why it has the other wires running into the small module of sorts under the plug
I don’t have any black outlets.. Are you looking at the two round holes ? these are for feeding cables behind the TV.
Weird, I have a black 110 plug not the top of box and a blank on the bottom, when I open it up there is normal white Romex and what looks like 12v wires meeting at the module behind the blank then ending at the 110 outlet above, its at the same location as your set of outlets in upper compartment,
It may be a 120 volt outlet thats disabled when the engine IGN is ON.
They plug the TV into it, this way you can’t watch TV while traveling (the engine is running)
I may have replaced mine with a regular outlet. I don’t remember.
Just wanted to drop you a note to thank you for this article… I followed it ( mostly ) and installed a new 32″ in my 1999 Fleetwood!
EXCELLENT – Someday, I may install a larger TV. but for now the 32 inch is good.